Users Online
· Members Online: 0
· Total Members: 188
· Newest Member: meenachowdary055
Forum Threads
Latest Articles
Articles Hierarchy
#3_11 Smart Security Camera
Smart Security Camera

Building the Housing
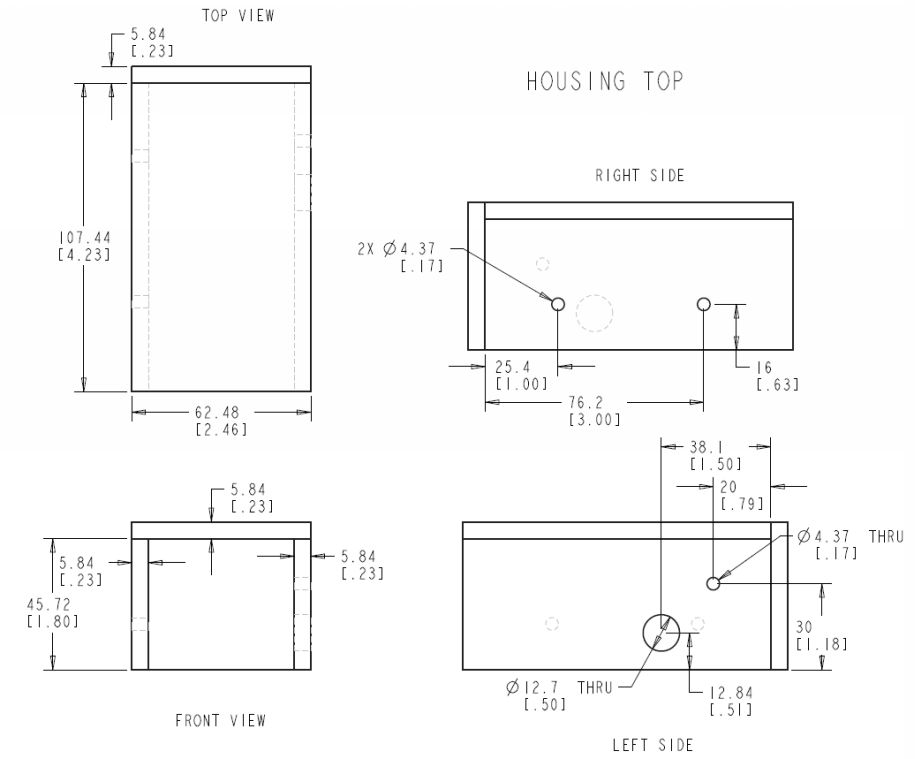
The housing consists of two components made from 1/4" (really 0.22" - 0.23") medium density fiber (MDF) board. A bottom portion holds the camera and Raspberry Pi Zero in place, and a top portion attaches to the mounting bracket. We drew out some basic designs with a few holes to mount the components. Schematics of the upper and lower portions of the housing with exact dimensions can be found in the "Schematics" section, but you may want to vary your dimensions based on the parts and hardware available to you.
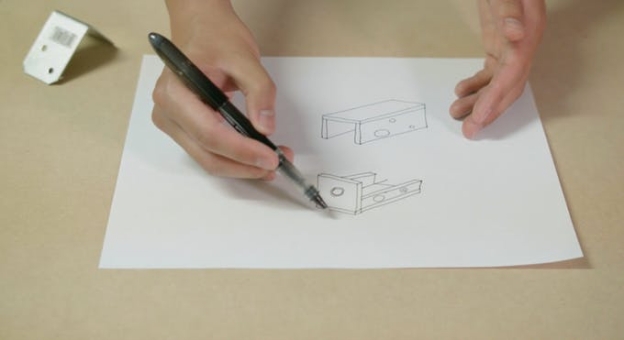
Cutting and Gluing the Housing
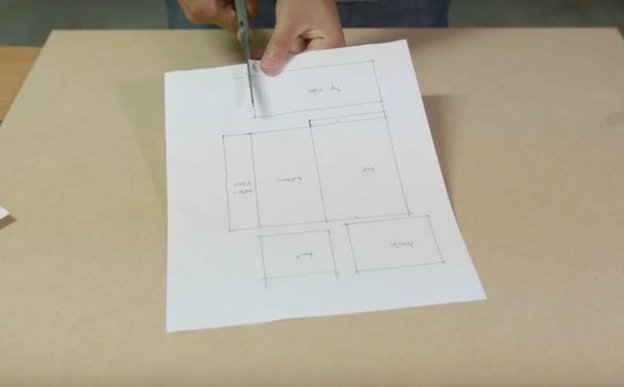
Once we had our basic design, we created some paper templates to cut the MDF board. Paper templates aren't needed to cut the MDF board, but we found that it was easier to position the parts on the board. They can also be saved for later and used to build another camera if you make a mistake while cutting. The exact measurements for this template can be found in the attachments section below. Trace and cut out each piece, being sure to label them. Then trace the template pieces onto the MDF board.
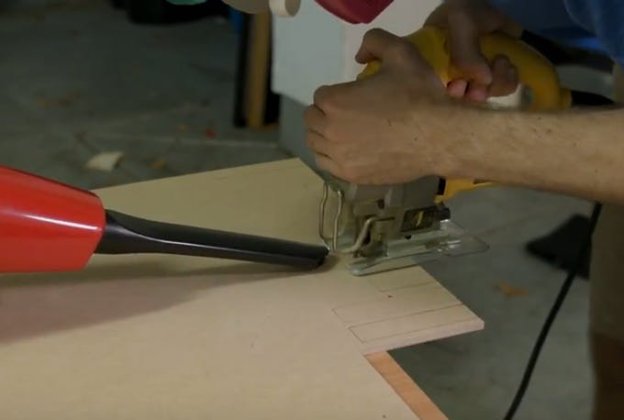
Using an electric jigsaw, cut out each piece of the housing. Be sure to wear safety glasses, cut in a well ventilated area, and wear a breathing mask. The fine dust generated is not good for you. All the dust also tends to cover up the traced line and makes it hard to see where to cut. We found it really helps to have a second person vacuum up the dust as you cut. You can also use an air compressor to blow it away if you have one.
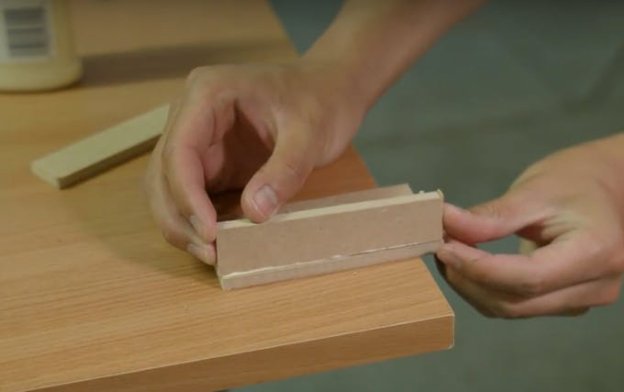
Assemble the pieces together using wood glue according to the schematics. Use clamps to help you hold them in place while the wood dries.
Drilling Lots of Holes
Get ready to drill.
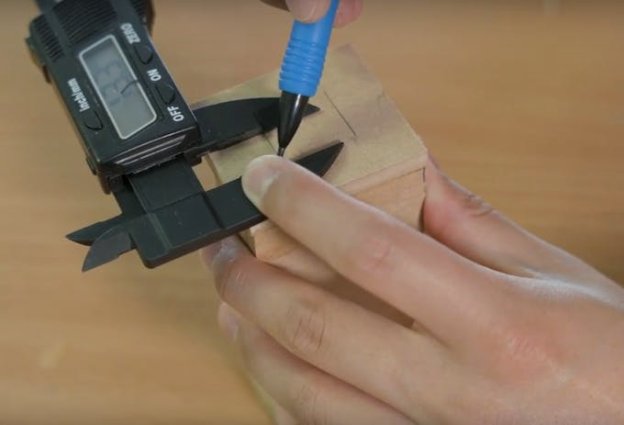
For the camera mounting holes, because there are four small holes for mounting, you want to be very careful when measuring and marking the hole locations on the front face of the housing. We found the camera mounting holes form a 21.7 mm x 13.3 mm rectangle. Line the actual camera module up with your marked holes to be sure they are in the proper location.
After marking the holes, use a small drill bit to drill 4 pilot holes in those locations. Then drill through with a 7/64" drill bit. In the video, you'll see us drilling counterbores at these locations too for the screw heads to fit in. But this isn't necessary if you bought long enough M2.5 screws, unlike us.
The hole for the camera lens takes three steps because the camera lens does not sit flush with the rest of the circuit board and needs a place to fit in when mounted up against the housing.
First, drill a pilot hole exactly in the center of the two top camera mounting holes. Then, flip the housing over and use a 1/2" drill to drill a counterbore on the inside face just deep enough for the lens to sit in. Go very slowly when drilling the counterbore because it's easy to go straight through the housing. Practicing on a scrap piece is highly recommended. Lastly, you can use the same pilot hole to drill all the way through with a 5/16" drill bit.
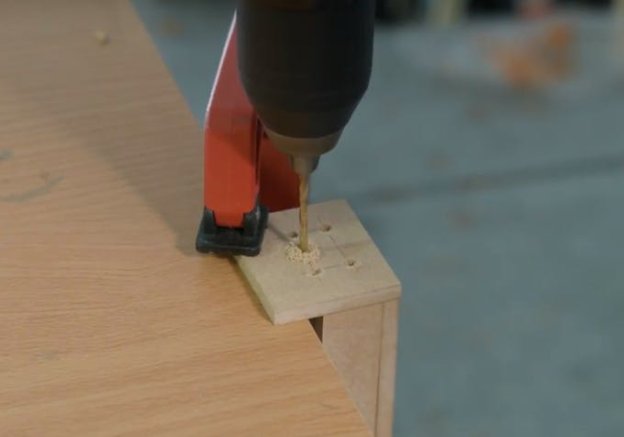
Now we need to drill a hole for the micro-USB power cable to go through. Since the upper housing will cover the sides of the lower housing, we need to drill the same hole in the same location on both portions of the housing.
Line the Raspberry Pi up in the lower portion of the housing with the ribbon cable port at the back of the housing so that the cable won't crease or bend too much. Then, mark the location of the micro-USB power port on the side of the housing. On the side of the housing, mark the vertical position of this hole as close to the inside bottom surface of the housing as possible without allowing the 1/2" drill you will use to hit the bottom of the housing; this is because the power port on the Pi will sit very close to the bottom, and you don't want your hole too high.
Mark a corresponding hole location on the upper housing, and make sure they line up when you put them together. Next, clamp the upper and lower housing together and drill straight through both pieces with a small drill to form pilot holes. After double checking the holes are in the right place, use the pilot holes to drill through with a 1/2" drill.
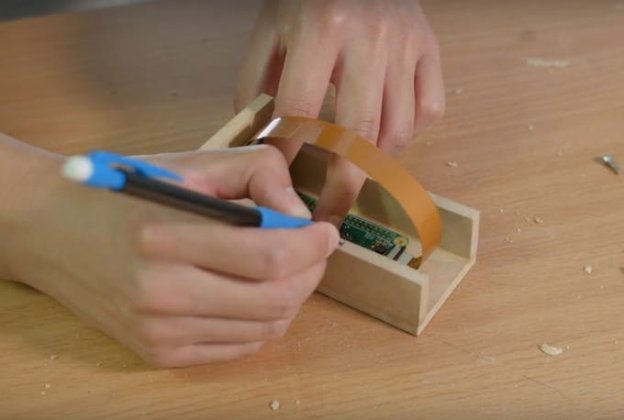
And now, finally, more holes! Line your metal mounting bracket up with the upper portion of your housing and find a hole to use as your pivot point. Make sure there is plenty of travel space as you pivot the bracket around. Also make sure it is high enough to not interfere with the sides of the bottom housing. Mark this location and drill a hole of an appropriate size to match the hole in your bracket. In our case, we used an 11/64" drill to fit a #8 screw.
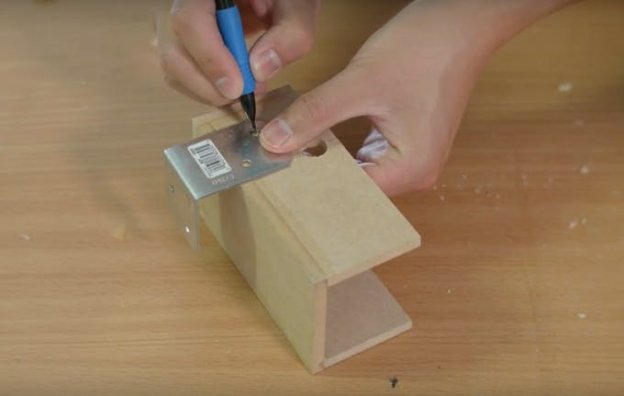
Okay, these are actually the last holes you need to drill. We need to be able to attach the upper housing to the lower housing. We chose to place two hex nuts inside one wall of the lower housing, allowing the outer housing to be screwed into the lower housing using these nuts. Drill two holes on the side of the lower housing with a 5/16" drill bit, making sure they are placed high enough that inserted screws will not run into the Raspberry Pi.
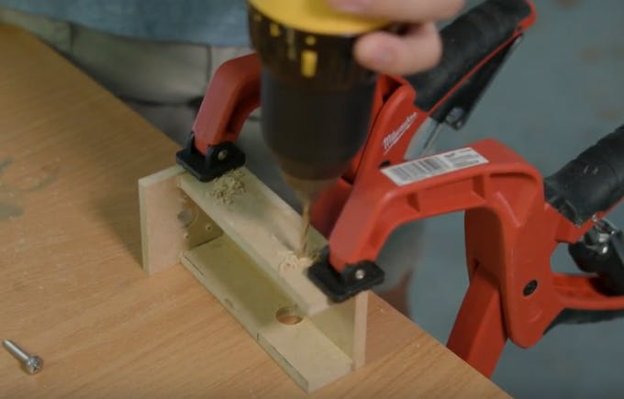
Paint!
Now that all the holes are drilled, paint the housing with black spray-paint (or whatever you want) to make it look nice.
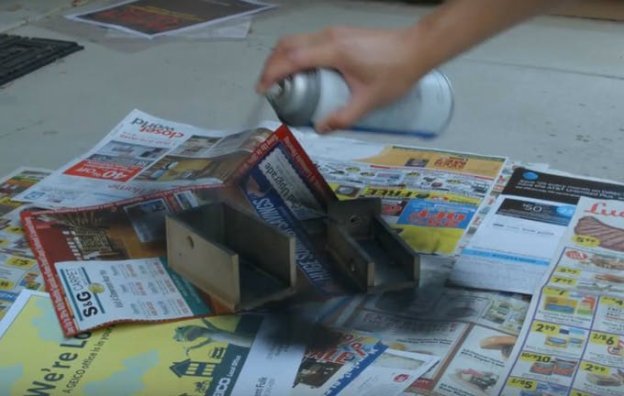
Final Assembly
Almost there. The metal mounting bracket for the camera is attached so that the angle of the camera can be easily adjusted. Slip a #8 x 3/4" screw through the 11/64" pivot hole in the upper housing from the inside, and secure it in place with a #8 hex nut on the outside.
Then slip the metal bracket onto the screw on top of the hex nut, and hold it in place with a #8 wing nut. The wing nut allows you to easily loosen the bracket, adjust the angle, and re-tighten.
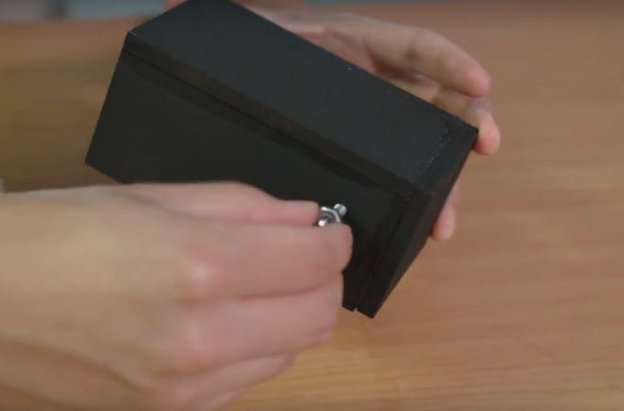
To mount the hex nuts into the holes of the bottom portion of the housing, use a cotton swab (or a piece of paper if you don't have one) to coat the inside surface of the holes. Then carefully slide the M4 hex nuts into the holes and allow them to dry. Be careful not to get much glue onto the threads of the hex nuts, and wipe off any excess glue.
The housing is now complete!
Mount Electronics
Using four M2.5 screws, screw the camera onto the front piece of the housing. We found that M2.5 screws actually threaded into the holes of the camera module slightly, so no tiny nuts were required. Then, plug the ribbon cable of the camera module into the video port on the Raspberry Pi.
Place the Raspberry Pi into the housing with the ribbon cable port facing the back end of the housing. This allows the ribbon cable to arc smoothly from the camera module across the housing to the Raspberry Pi.
Being careful not to pinch or crease the ribbon cable, slide the upper housing onto the lower housing.
Finally, screw the two portions of the housing together using two M4 x 20 mm screws, and plug in the micro-USB cable.
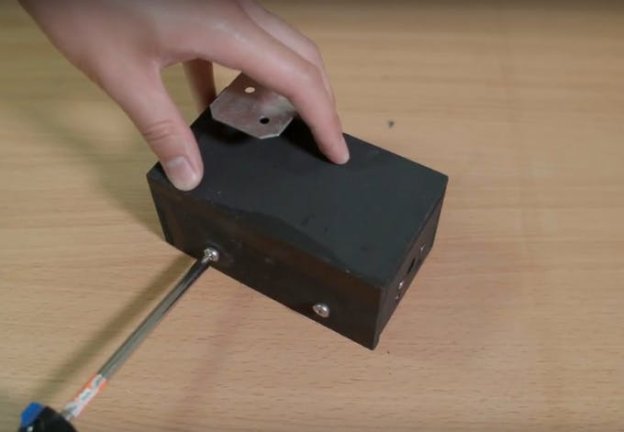
Congratulations! You've put together your own security camera. Now you're ready to make it a smart security camera.
Code
This project uses a Raspberry Pi Camera to stream video. Before running the code, make sure to configure the Raspberry Pi camera on your device.
Open the terminal and run
sudo raspi-config
SelectInterface Options, thenPi Cameraand toggle on. PressFinish and exit.
You can verify that the camera works by running
raspistill -o image.jpg
which will save a image from the camera in your current directory. You can open up the file inspector and view the image.
This project uses openCV to detect objects in the video feed. You can install openCV by using the following tutorial. I used the Python 2.7 version of the tutorial.
The installation took almost 8 hours (!!) on my Raspberry Pi Zero, but it would be considerably faster on a more powerful board like the Raspberry Pi 3.
The tutorial will prompt you to create a virtual environment. Make sure you are using the virtual environment by typing the following commands
source ~/.profile
workon cv
Next, navigate to the repository directory
cd Smart-Security-Camera
and install the dependencies for the project
pip install -r requirements.txt
To get emails when objects are detected, you'll need to make a couple modifications to themail.py file.
Openmail.pywith vimvimmail.py, then pressi to edit. Scroll down to the following section
# Email you want to send the update from (only works with gmail)
fromEmail = 'myemail@gmail.com'
fromEmailPassword = 'password1234'
# Email you want to send the update to
toEmail = 'anotheremail@gmail.com'
and replace with your own email/credentials. Themail.py file logs into a gmail SMTP server and sends an email with an image of the object detected by the security camera.
PressescthenZZ to save and exit.
You can also modify themain.py file to change some other properties.
email_update_interval = 600 # sends an email only once in this time interval
video_camera = VideoCamera(flip=True) # creates a camera object, flip vertically
object_classifier = cv2.CascadeClassifier("models/fullbody_recognition_model.xml") # an opencv classifier
Notably, you can use a different object detector by changing the path"models/fullbody_recognition_model.xml"inobject_classifier=cv2.CascadeClassifier("models/fullbody_recognition_model.xml")
to a new model in the models directory.
facial_recognition_model.xml
fullbody_recognition_model.xml
upperbody_recognition_model.xml
Run the program
python main.py
You can view a live stream by visiting the ip address of your pi in a browser on the same network. You can find the ipaddress of your Raspberry Pi by typingifconfigin the terminal and looking for theinet address.
Visit<raspberrypi_ip>:5000 in your browser to view the stream.
Note: To view the live stream on a different network than your Raspberry Pi, you can use ngrok to expose a local tunnel. Once downloaded, run ngrok with./ngrok http 5000 and visit one of the generated links in your browser.
Note: The video stream will not start automatically on startup. To start the video stream automatically, you will need to run the program from your/etc/rc.local file see this video for more information about how to configure that.
Receiving Emails
When receiving an email for the first time, you might get the following notification from Google:
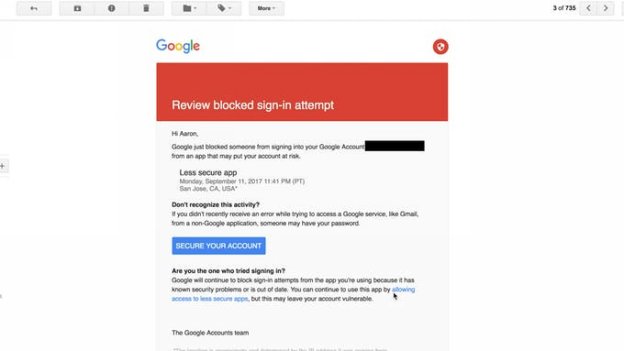
By default, Google blocks apps from using SMTP without permissions. We can solve this by clicking on the allow "less secure apps" link and toggle the feature on. The next object detected will send an email.
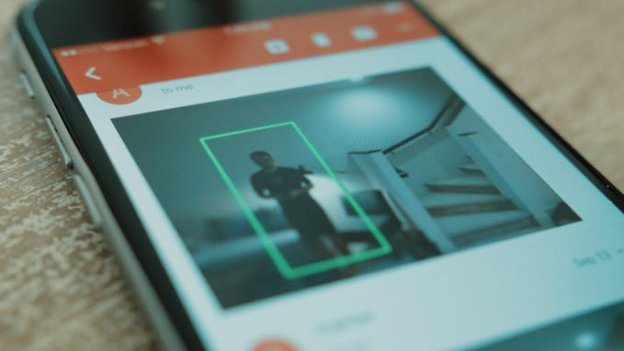
Mounting the Camera
The security camera Secan be easily positioned on a shelf or counter inside if you want to monitor your home while out of town. We set it on a shelf in our living room and it worked relatively well with normal lighting. Flipping the metal bracket 180 degrees will help level the camera.
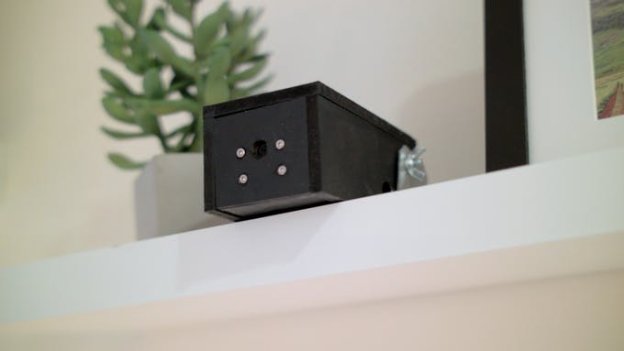
You can also mount the camera outside your house or by your front door with some 3M outdoor mounting tape.
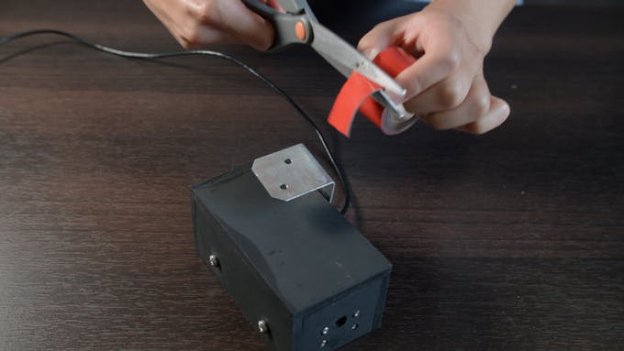
We stuck a large piece on the top of the metal bracket and mounted it on an overhang beside our front door. The tape should be strong enough to support the weight of the camera. You can plug the camera in outside with an extension cord or route the power wire through the hinge in your front door. We used the wing nut to tilt the camera down toward where a person would stand by the front door.
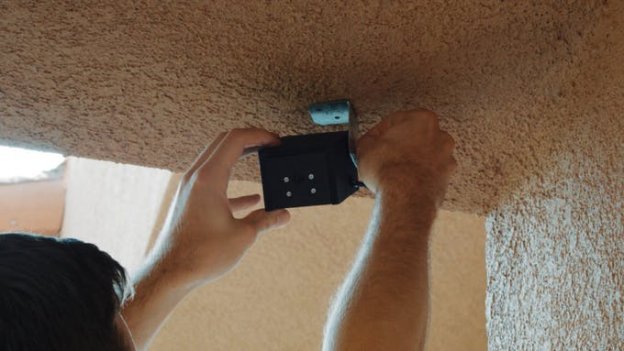
Note: the object detection works better if the camera is positioned at a lower angle (e.g. at the same level as the person it is detecting)
Show it Off
That's it! You've finished making an automated smart security camera. Now go beef up your home security security system with this cool little device!
Schematics
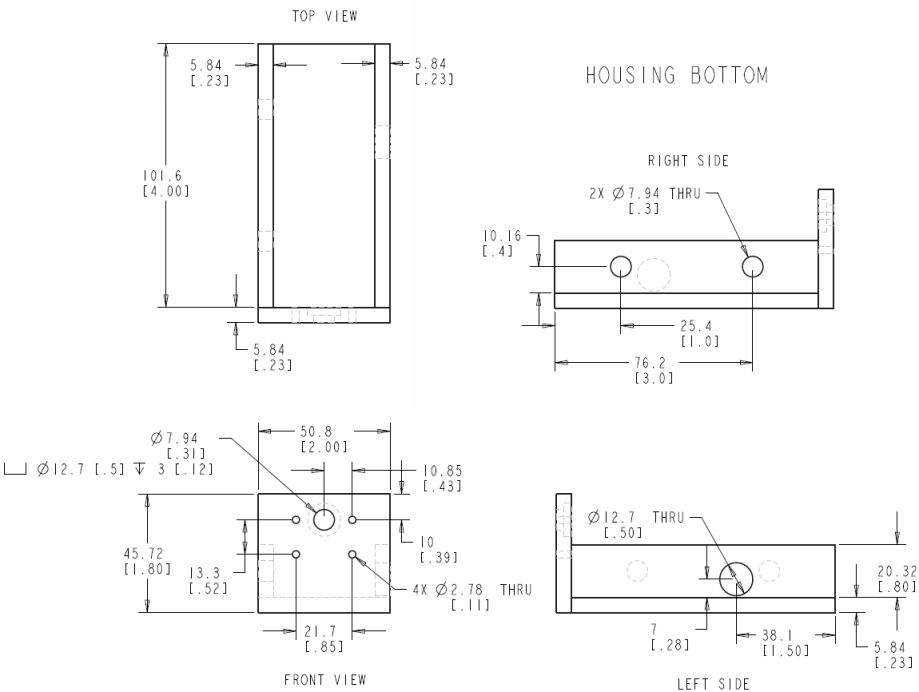
Housing Bottom Schematic
Dimensions for the MDF housing. The dimensions that you use may be different depending on the hardware and MDF board thickness you have. Use this schematic as a general guideline.
Housing Top Schematic
Dimensions for the MDF housing. The dimensions that you use may be different depending on the hardware and MDF board thickness you have. Use this schematic as a general guideline.
