I’ve been testing the latest Veeam Backup and Replication 6.5 Free Edition in the lab and find it to be an excellent, simple to use VMware or Hyper-V backup and recovery tool. The free version is designed to backup and restore your virtual machine to disk with fantastic compression rates without a schedule. If you want to be able to schedule your backups or use the replication component you will need to upgrade to the full edition. Click here to download the Product Overview PDF and also click here to download the differences between Paid vs Free editions
The installation process is extremely basic so I will not be providing a tutorial on those steps, however Veeam Backup and Replication does require either SQL Express which is included in the installation package, or an existing full version of Microsoft SQL.
In this tutorial I will show you the steps to successfully backup a virtual machine running on VMware vSphere 5.1, Restoring the Virtual Machine back into my vCenter server and lastly, how to browse the backed up image for files that were contained within the operating system.
Veeam Backup and Replication Free Edition – Backing up a virtual machine within VMware vSphere 5.1
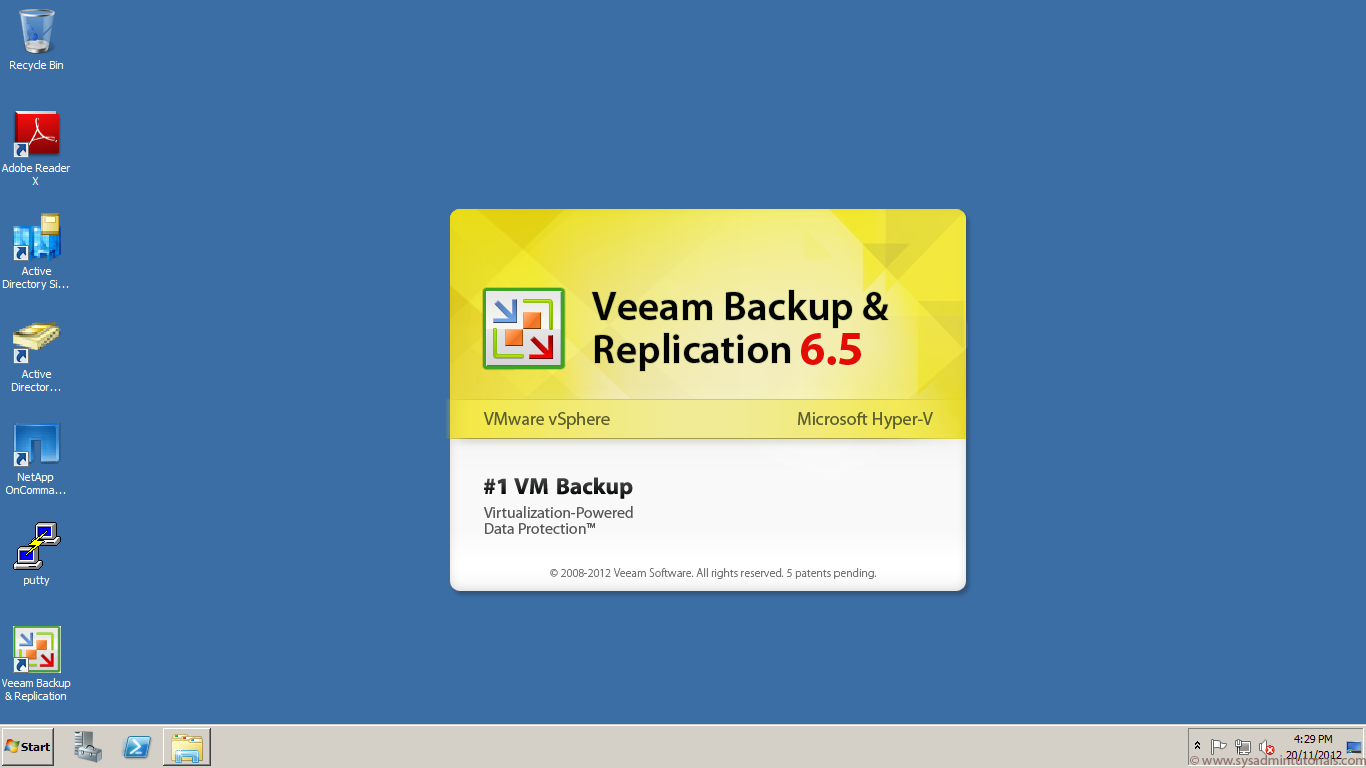
1. After installation, Veeam Backup and Replication places an icon on the desktop. Launch the Veeam Backup and Replication application. The following splash screen will be presented to you.
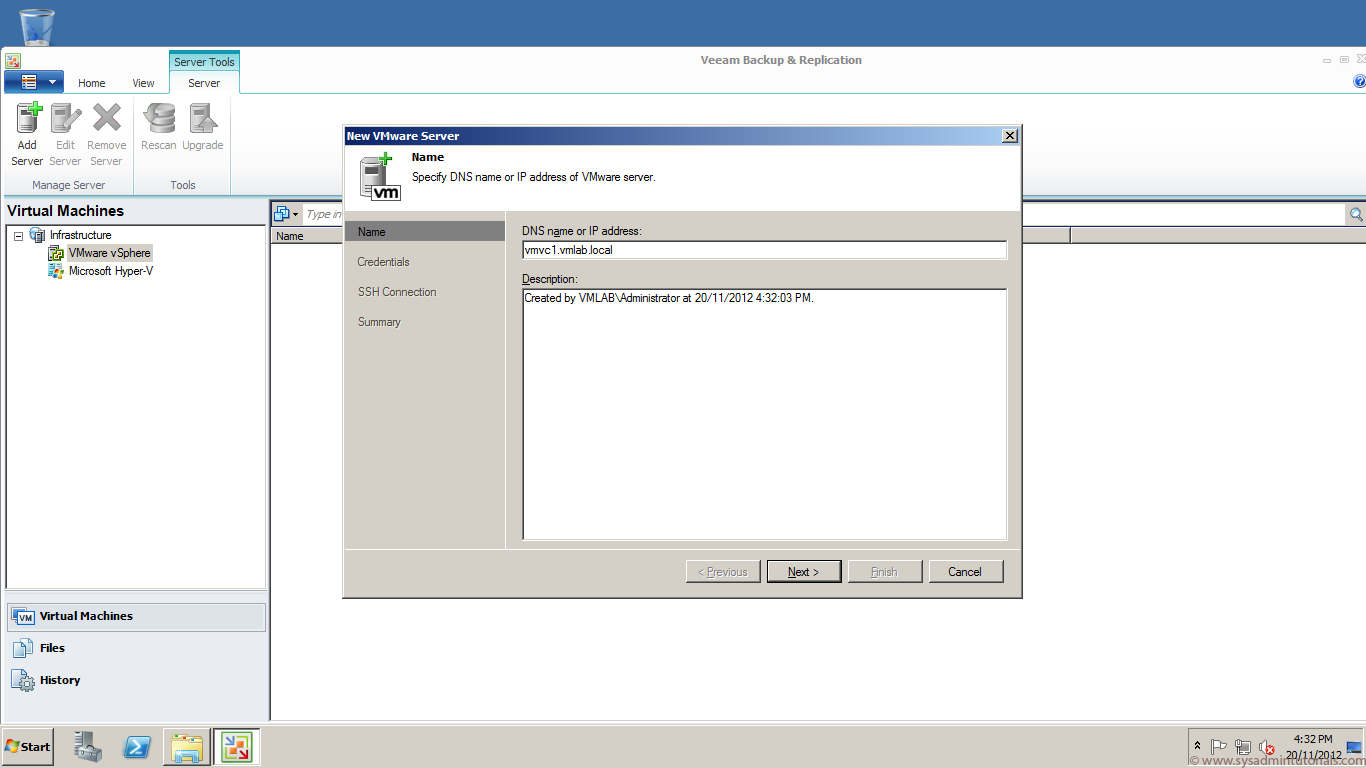
 2. Click on the Server menu and click Add Server. Type in the DNS name or IP address of your vCenter Server. Click Next.
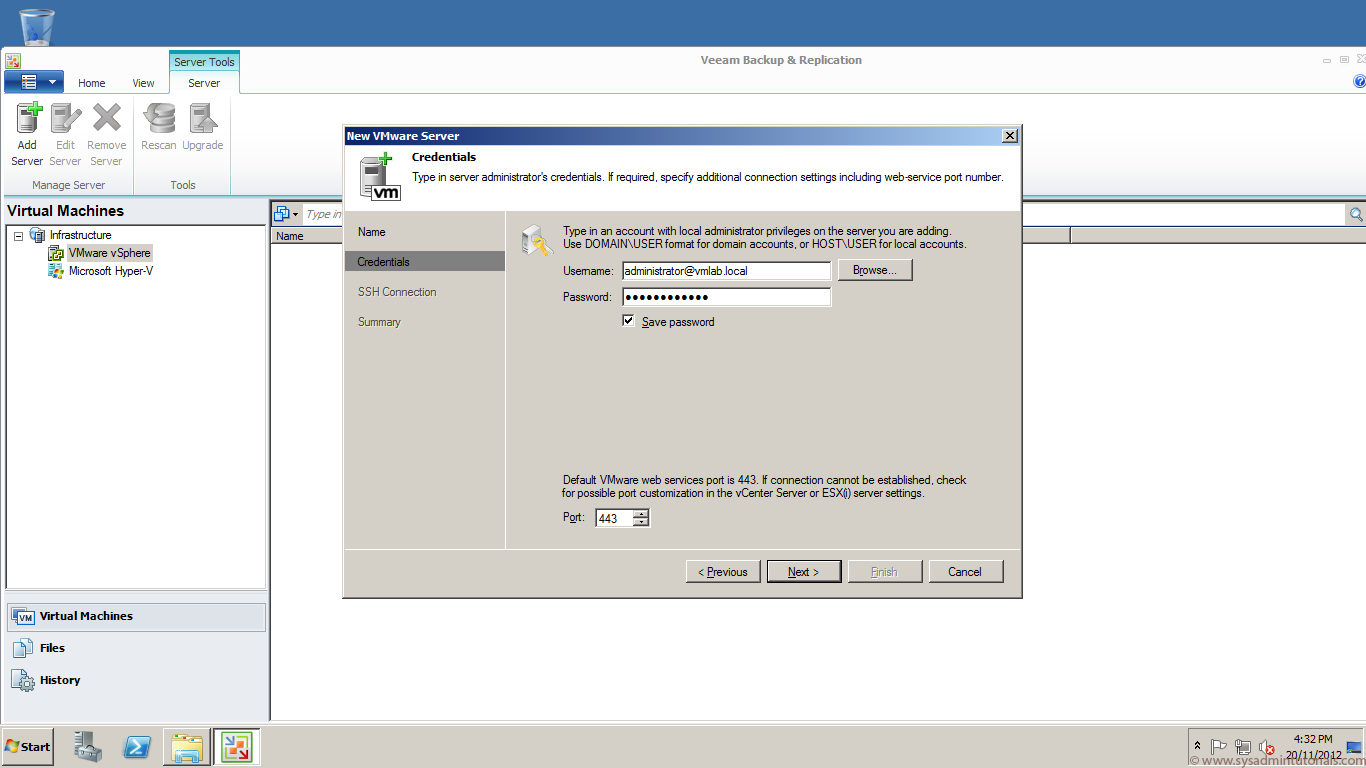
 3. Type in a username and password that has local administrator privileges on your vCenter server. Check that the your web services port is running on port 443, if not change it. Click Next.
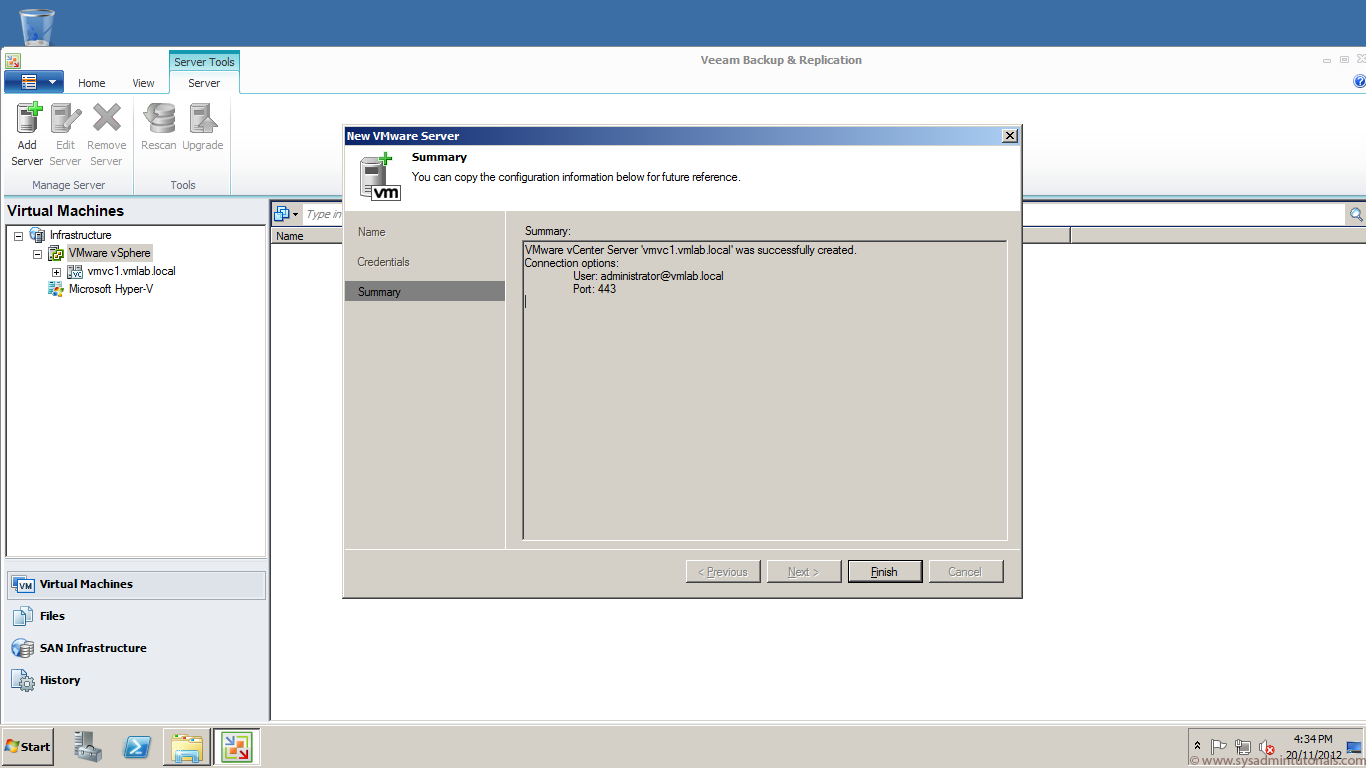
 4. The summary screen illustrates that the connection to your vCenter server is successful. Click Finish.
 5. This is my Virtual Machine that I will be backing up and restoring. It’s a Windows 2008 32-bit Web Server.
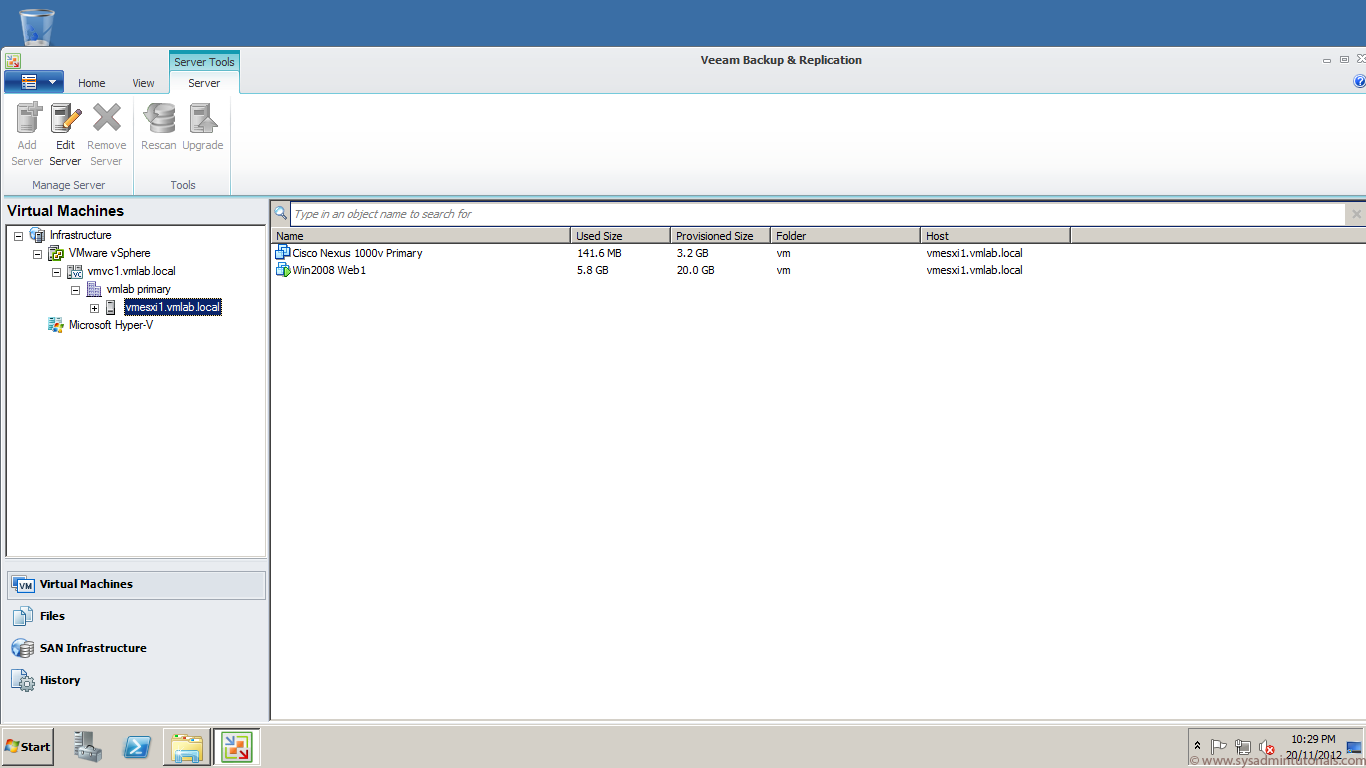
 6. On the left hand side, expand the tree under VMware vSphere and click on your vCenter Server. The list of Virtual Machines are listed on the right hand side.
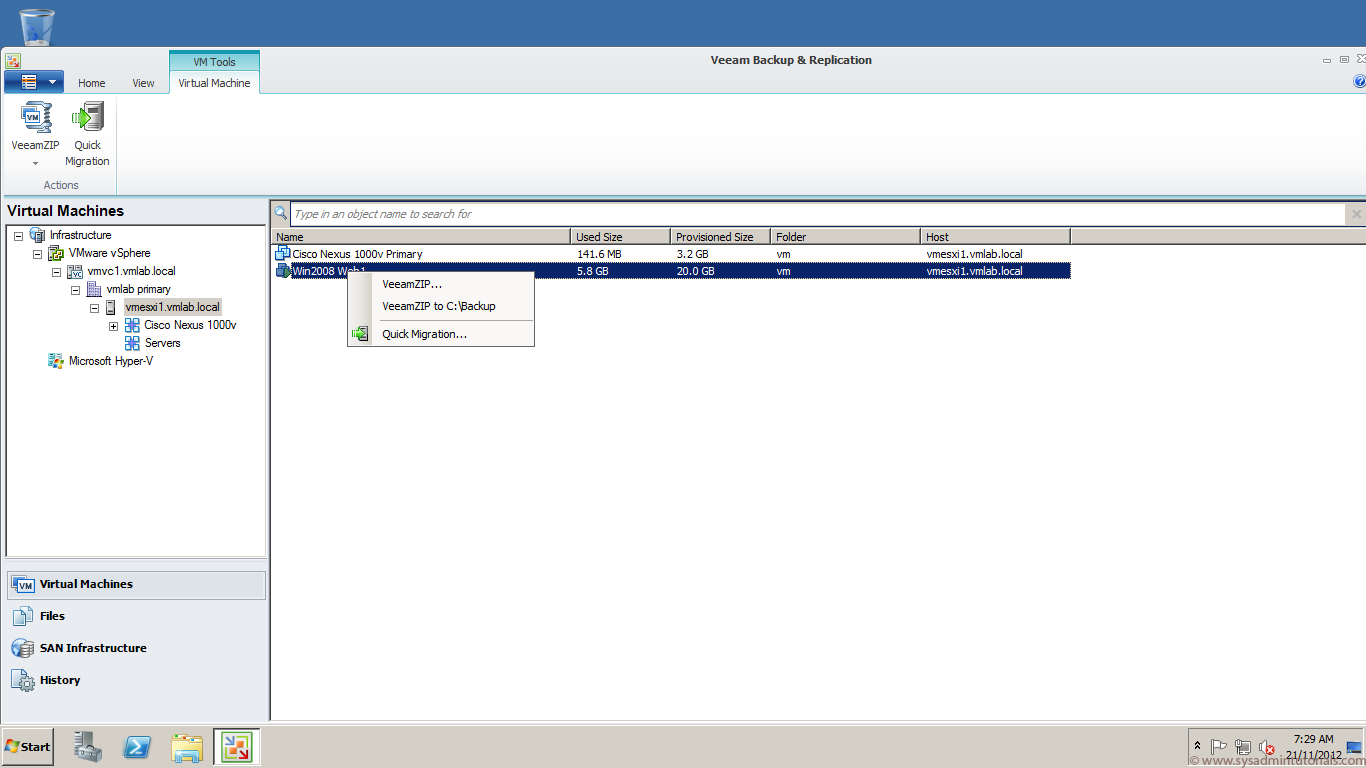
 7. Right click the Virtual Machine that you wish to backup and select VeeamZIP.
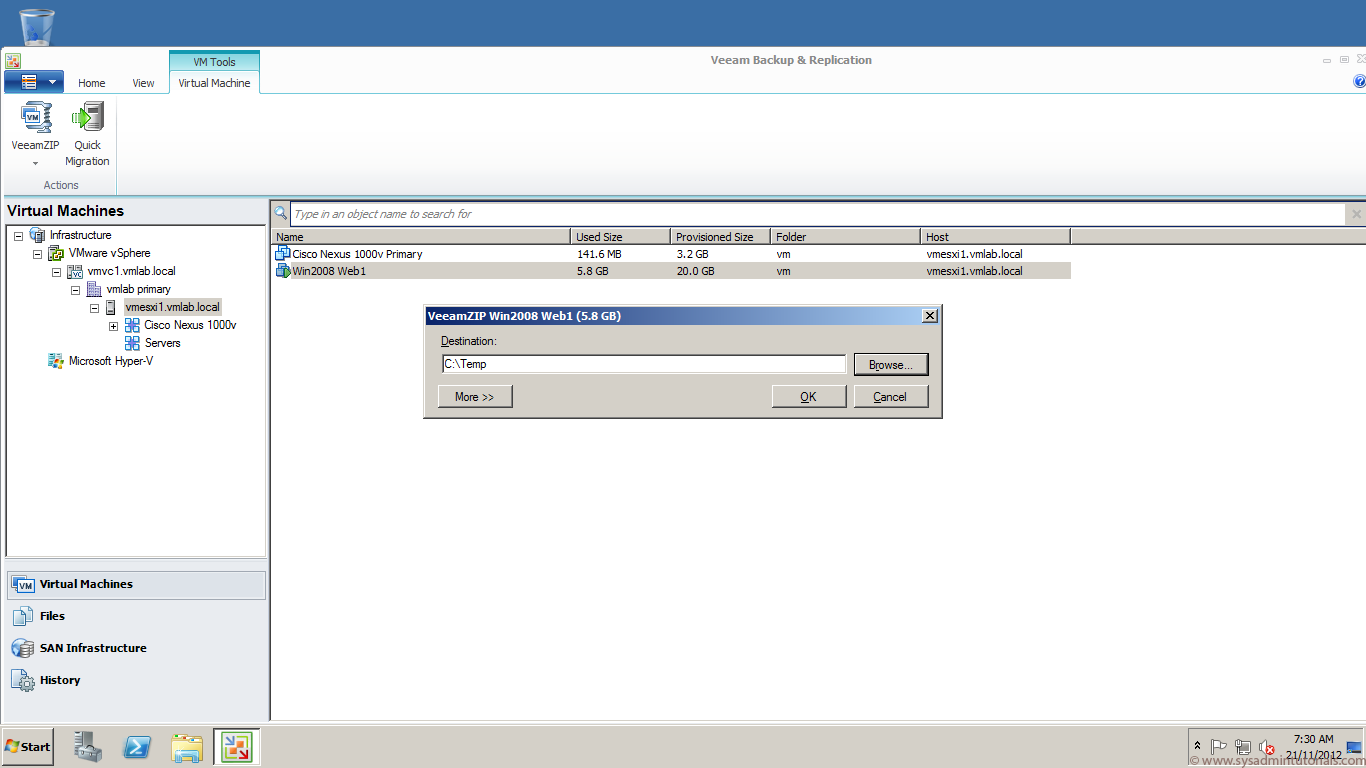
 8. Select the destination folder where you would like to store the image. Click OK to begin the backup process.
 9.This screen illustrates the Veeam backup status.
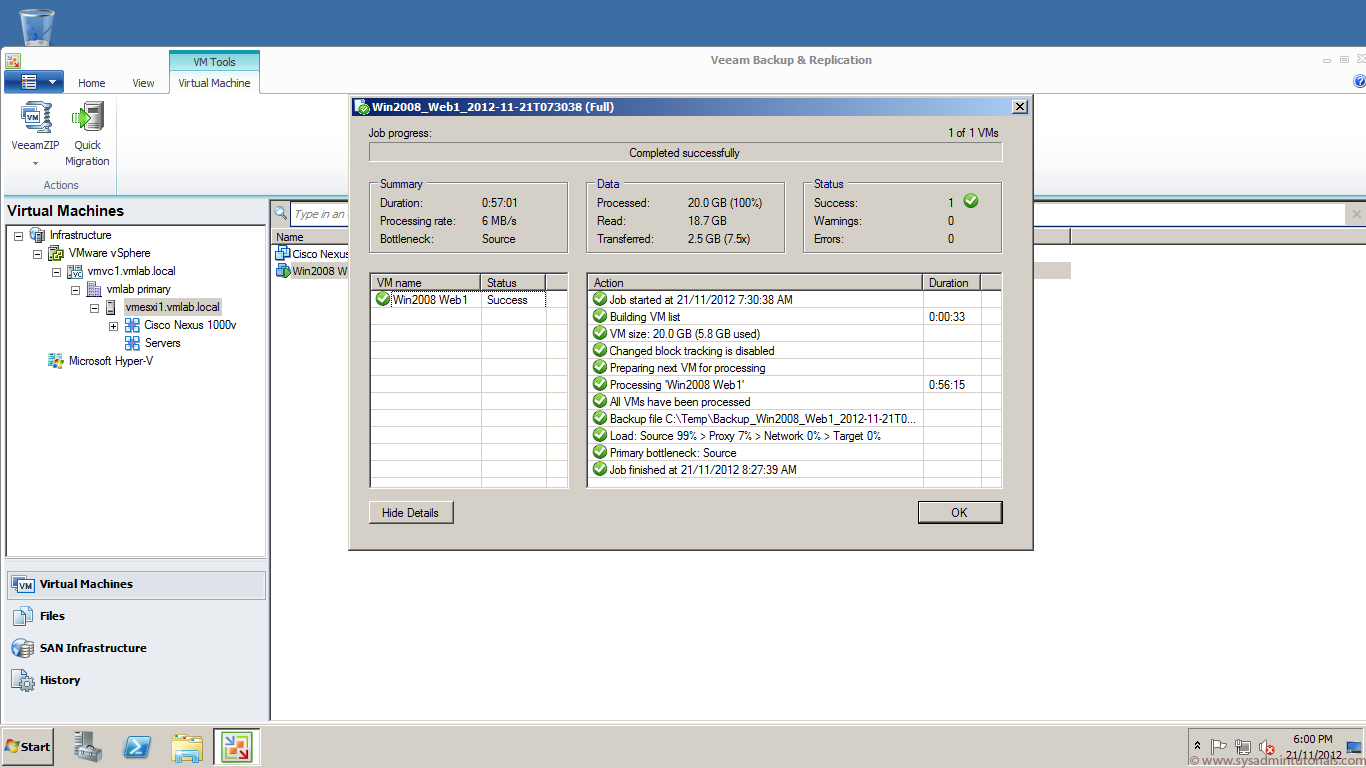
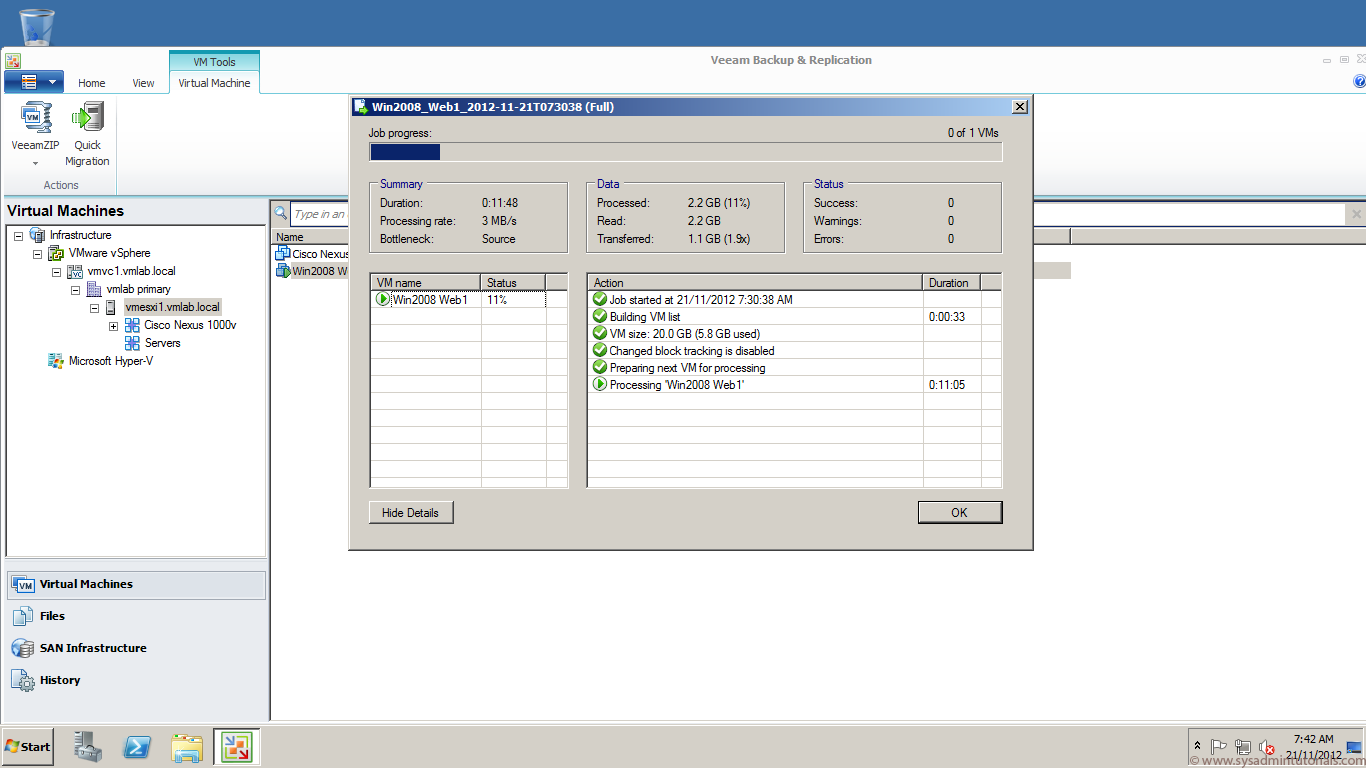 10. The backup has completed successfully. A list of what actions were performed during the Veeam backup are displayed along with other relevant details to the backup job. In this backup the total size of my virtual machine is 5.8GB, however with Veeam’s compression, it brought the backup file down to 2.5GB. Click Ok.
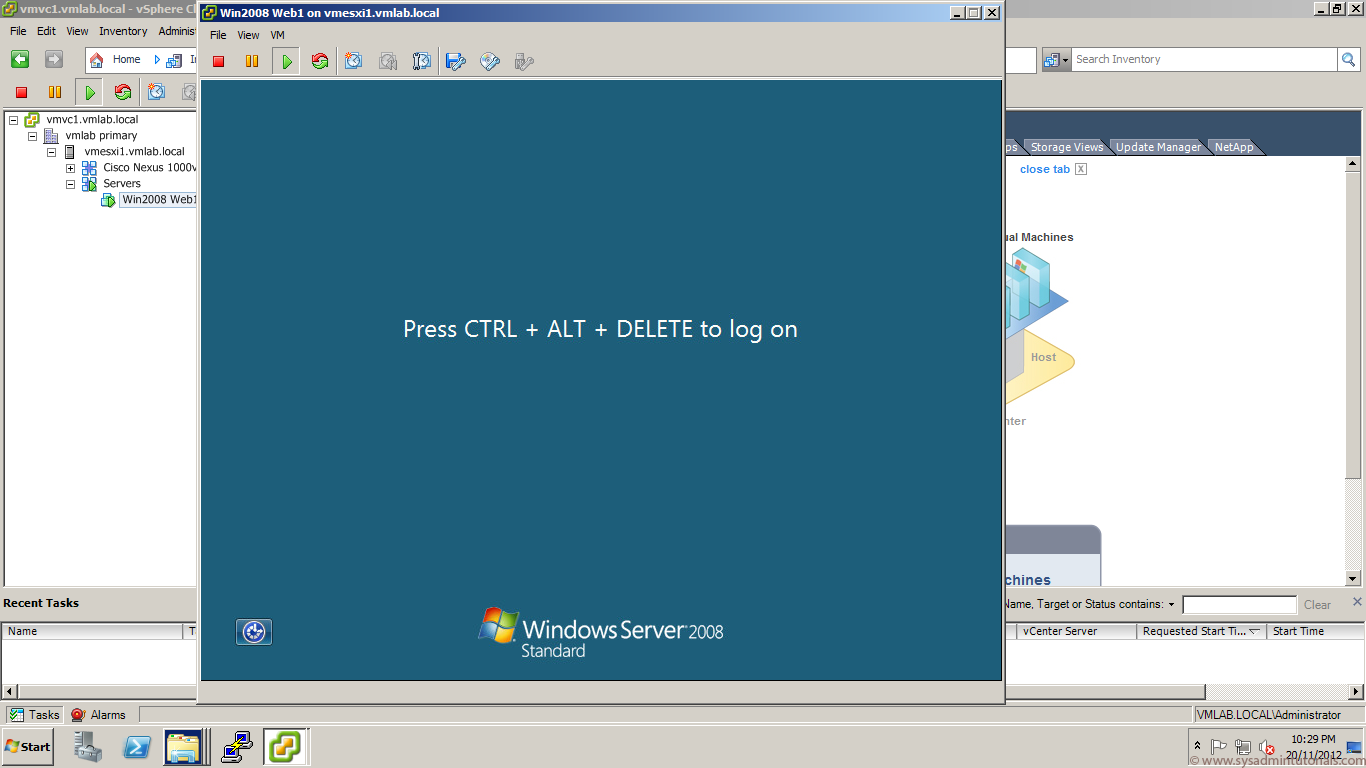
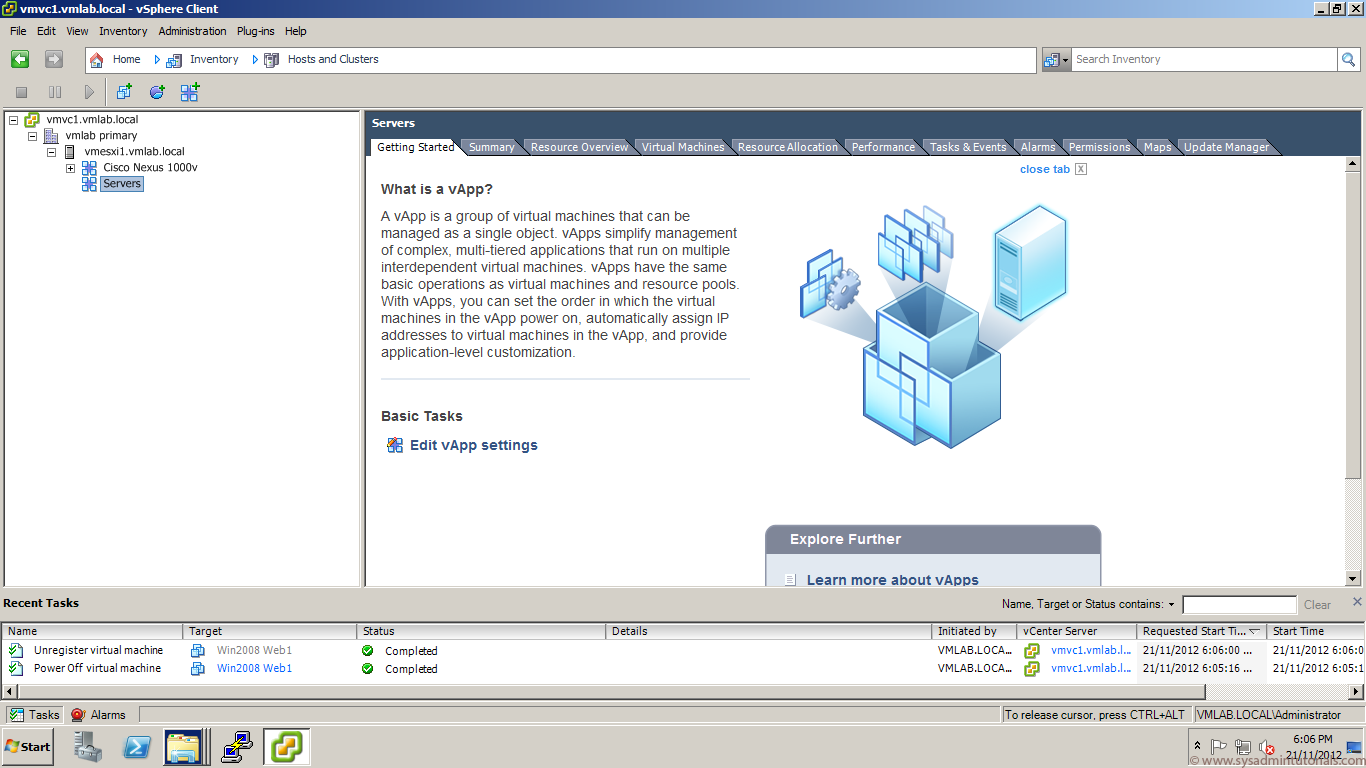
 11. I will now switch over to my vCenter server and delete the Win2008 Web1 virtual machine from disk.
Veeam Backup and Replication Free Edition – Restoring a virtual machine within VMware vSphere 5.1
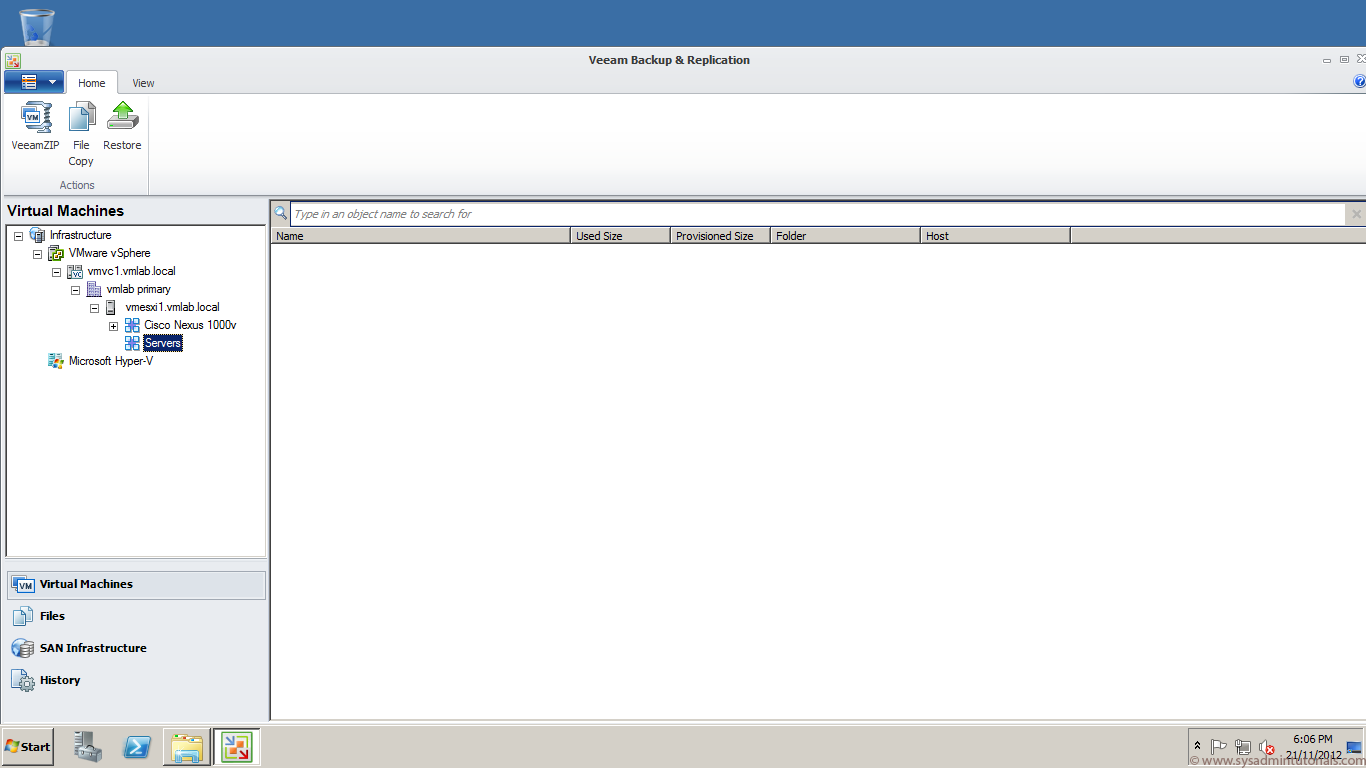
12. Switching back to my Veeam Backup and Replication Free Edition management console, I can now see that under my Servers vApp, there are no Virtual Machines listed. If you still see the deleted virtual machine you can right click on the vApp and select refresh.
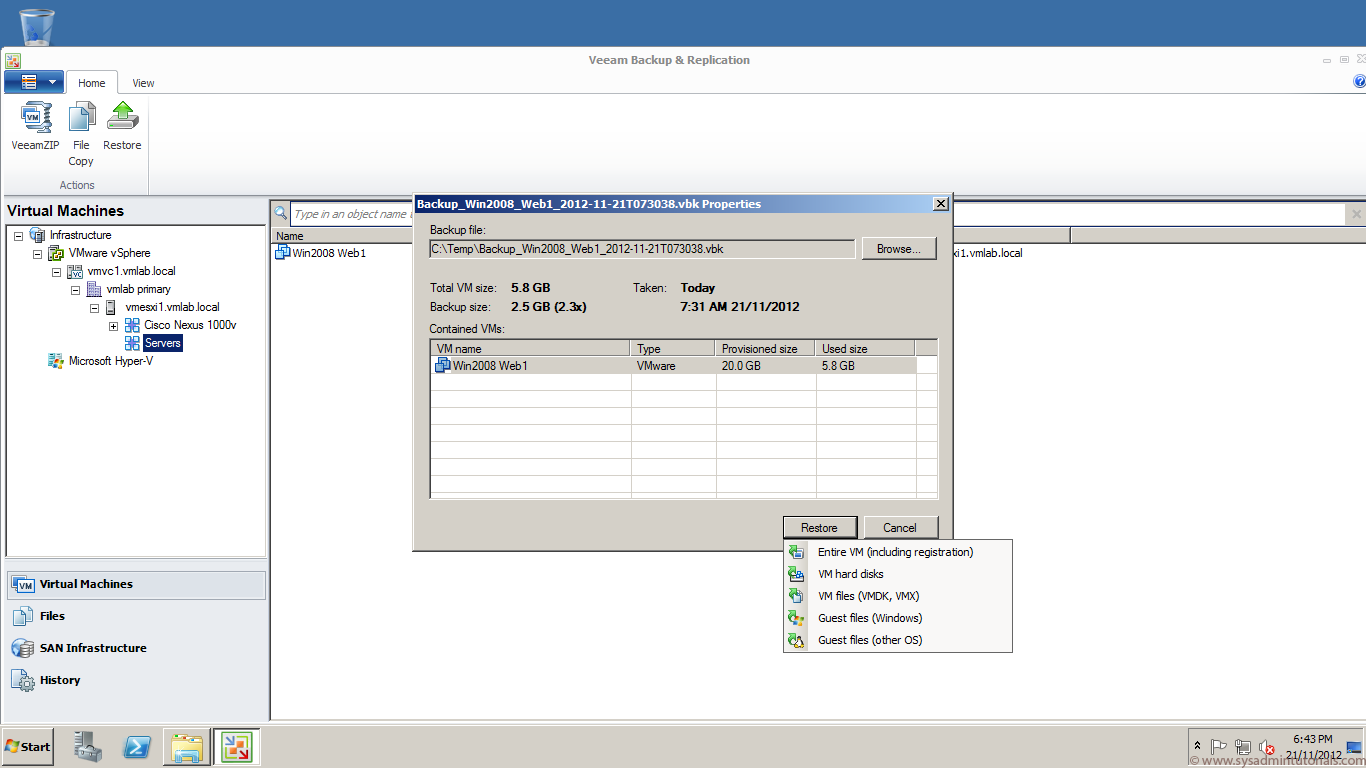
 13. Click on the Restore Button at the top left hand side, and Browse to your backup file from the previous steps. The program detects that within this backup file there are the following Virtual Machines – Win2008 Web1. Highlight this virtual machine and click Restore.
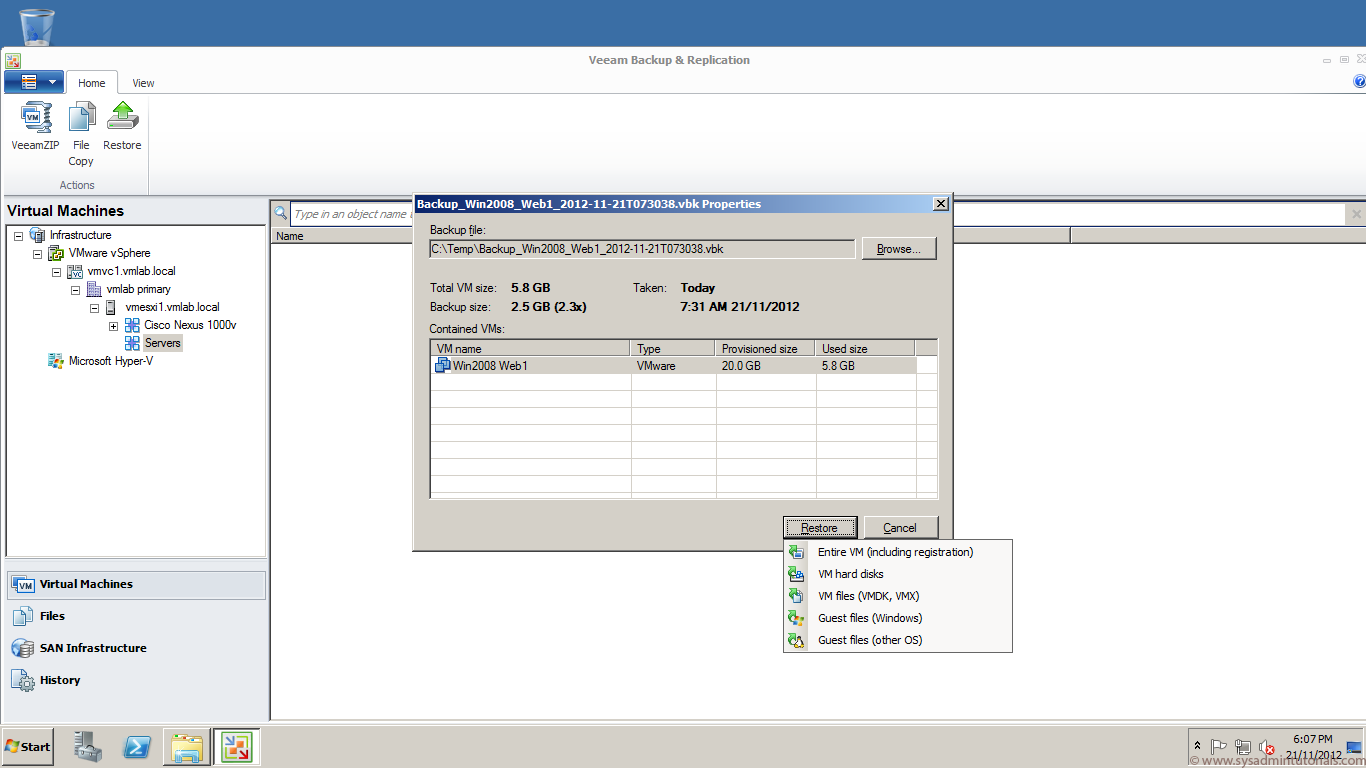
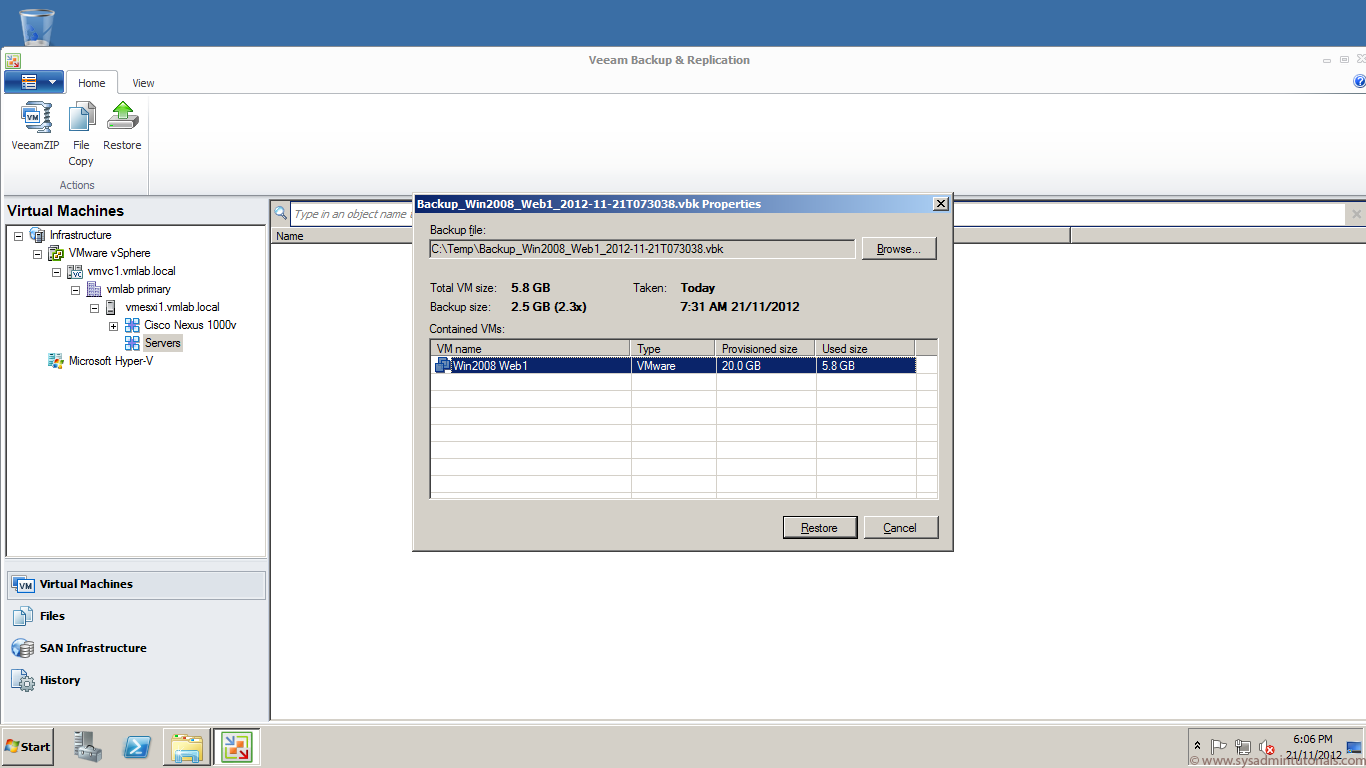 14. When you click the Restore button you are presented with a list of options. We will select Entire VM including registration.
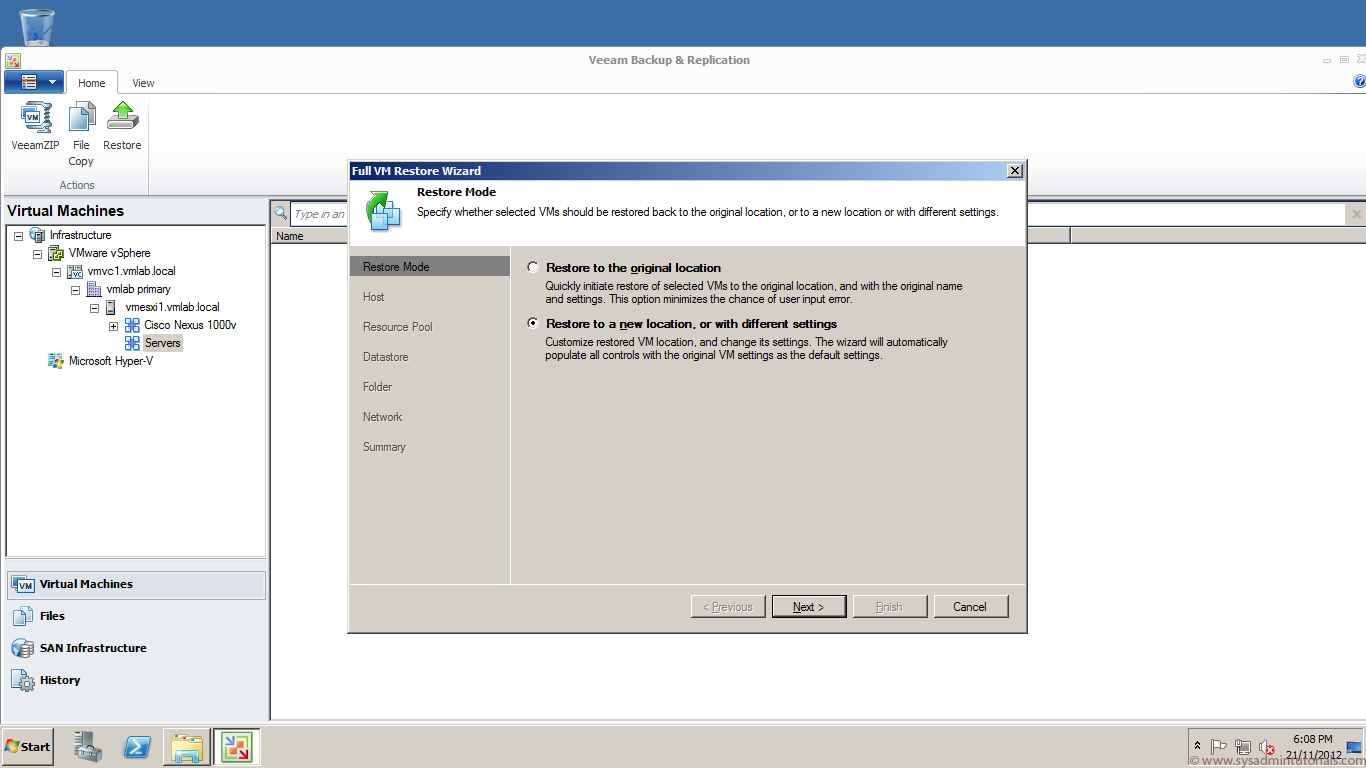
 15. We can click Restore to the original location, which is what we will be doing in this tutorial. However I will select the second option of Restore to a new location, or with different settings so I can illustrate the different options we have during a restore process. Click Next.
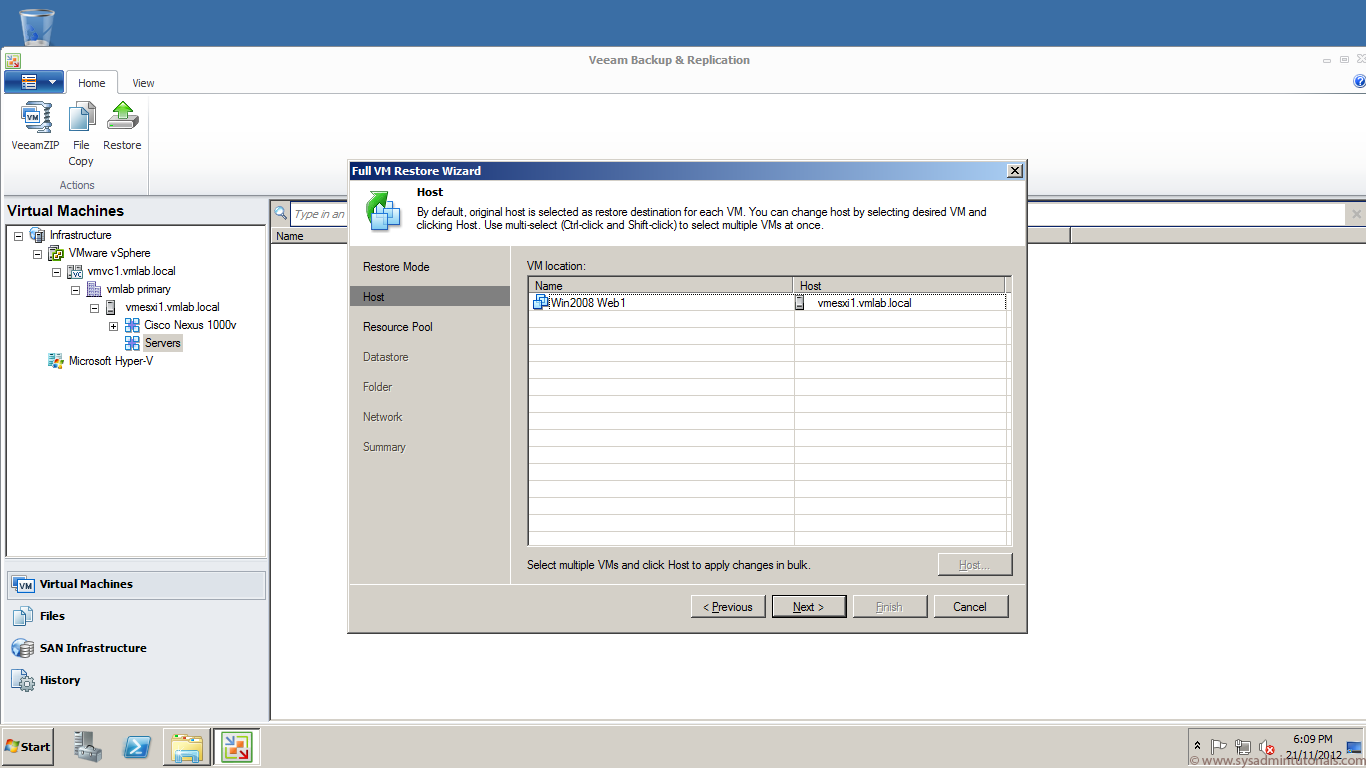
 16. You are presented with the virtual machine name and the ESXi host to which you will be restoring too. The Host option can be changed here. Click Next.
 17. In this screen you can select which Resource Pool you would like to restore the virtual machine too. Click Next.
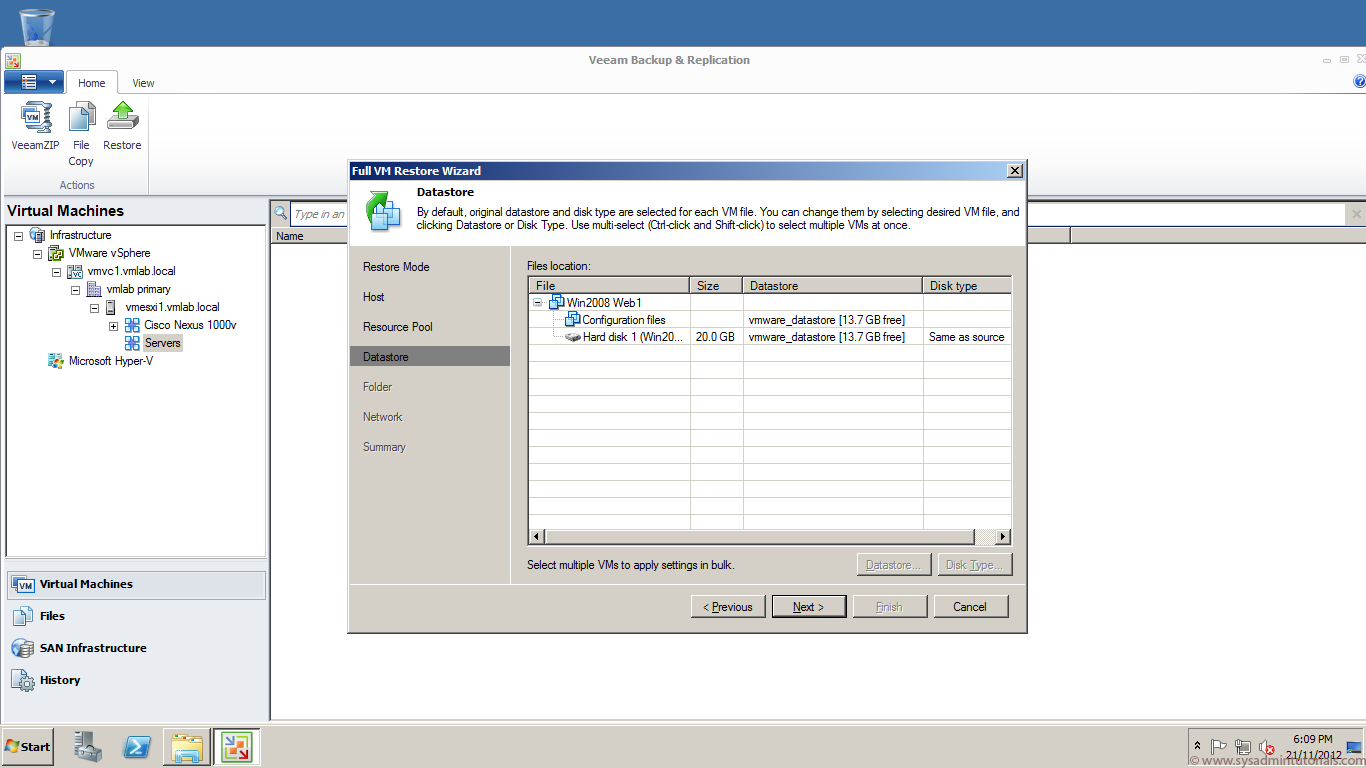
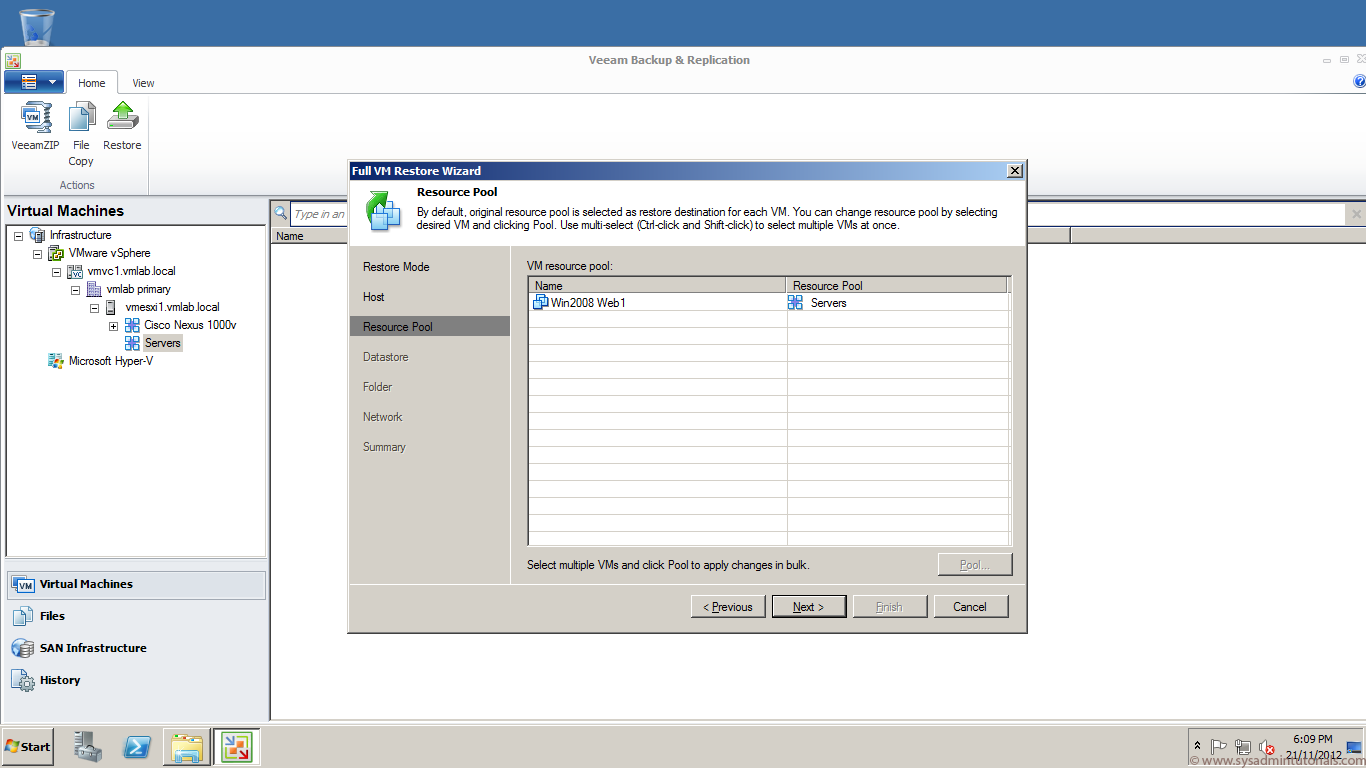 18. We are presented here with options as to which datastore we would like to restore our virtual machine too.
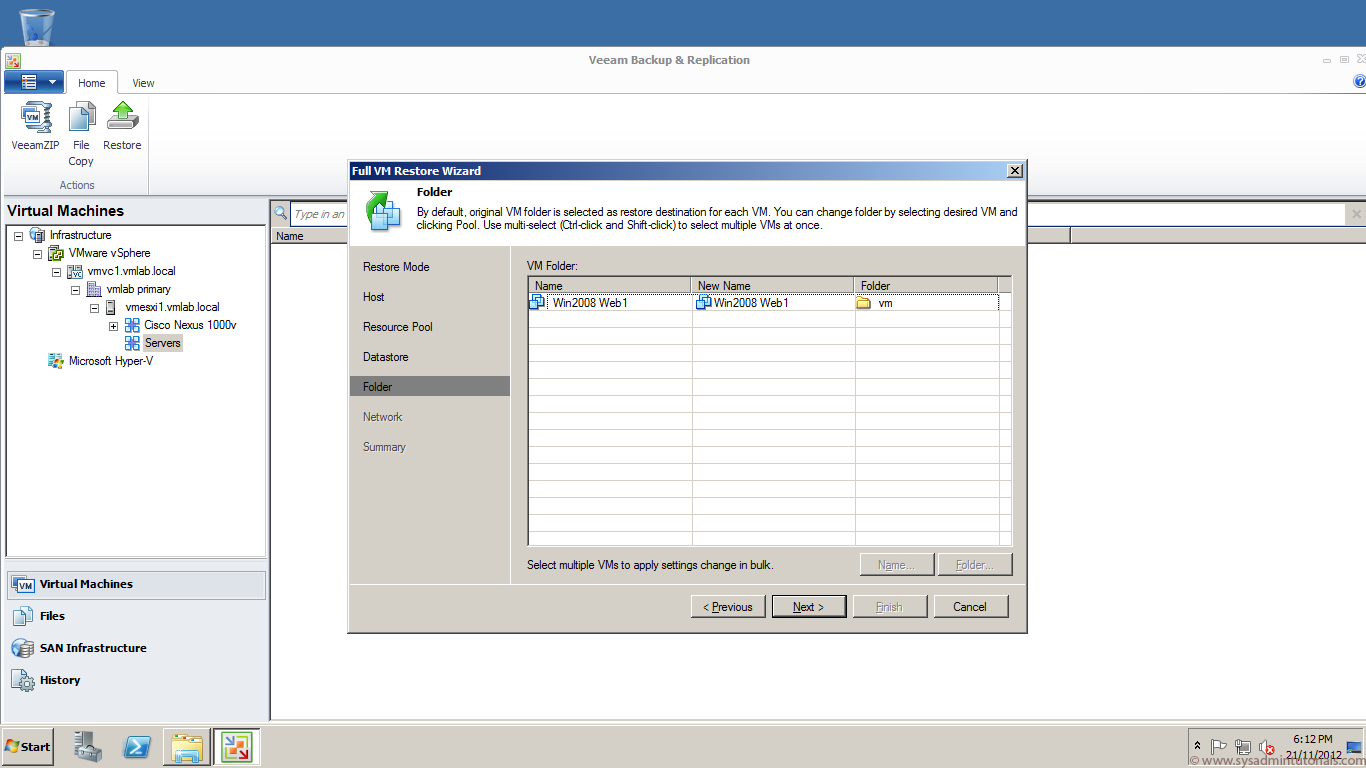
 19. Here we are able to change the virtual machine name and the folder to which it will be restored too.
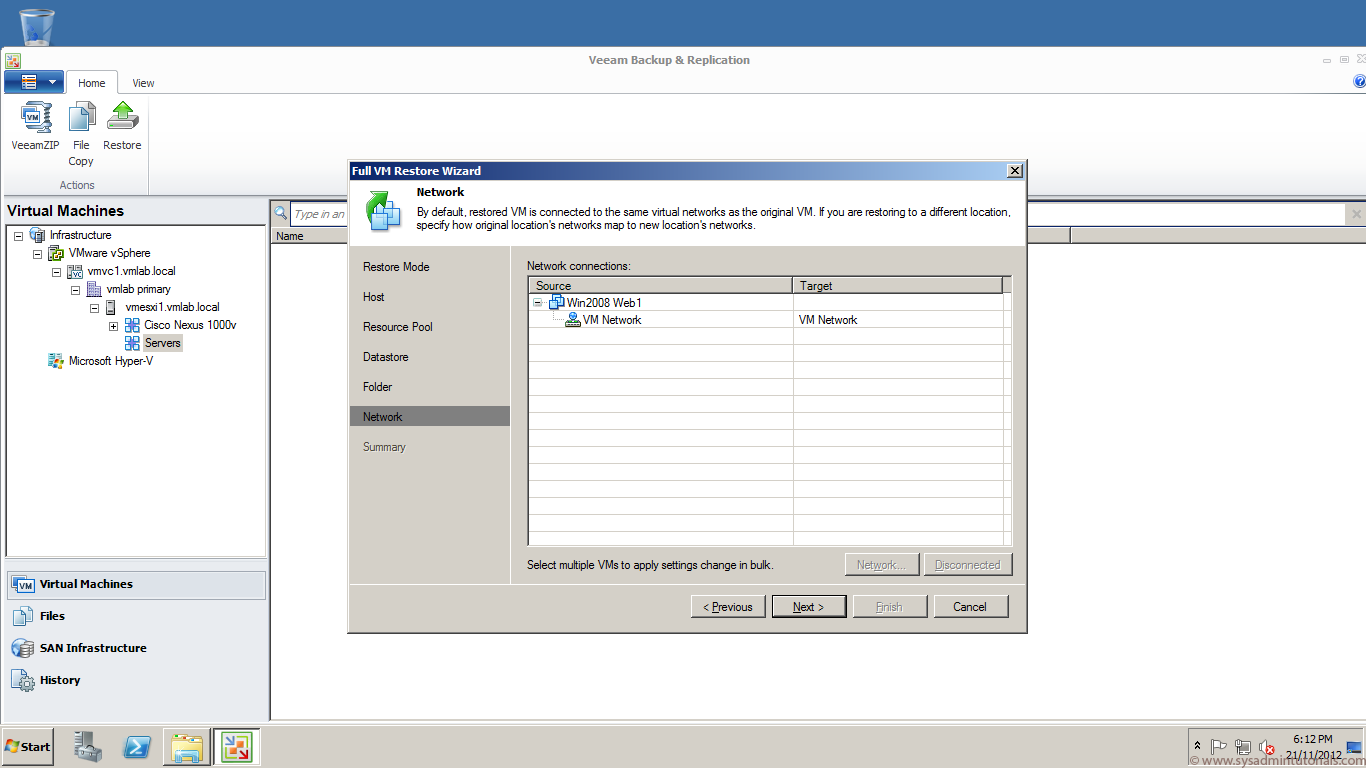
 20. The last screen allows us to select the Network for the virtual machine’s network card.
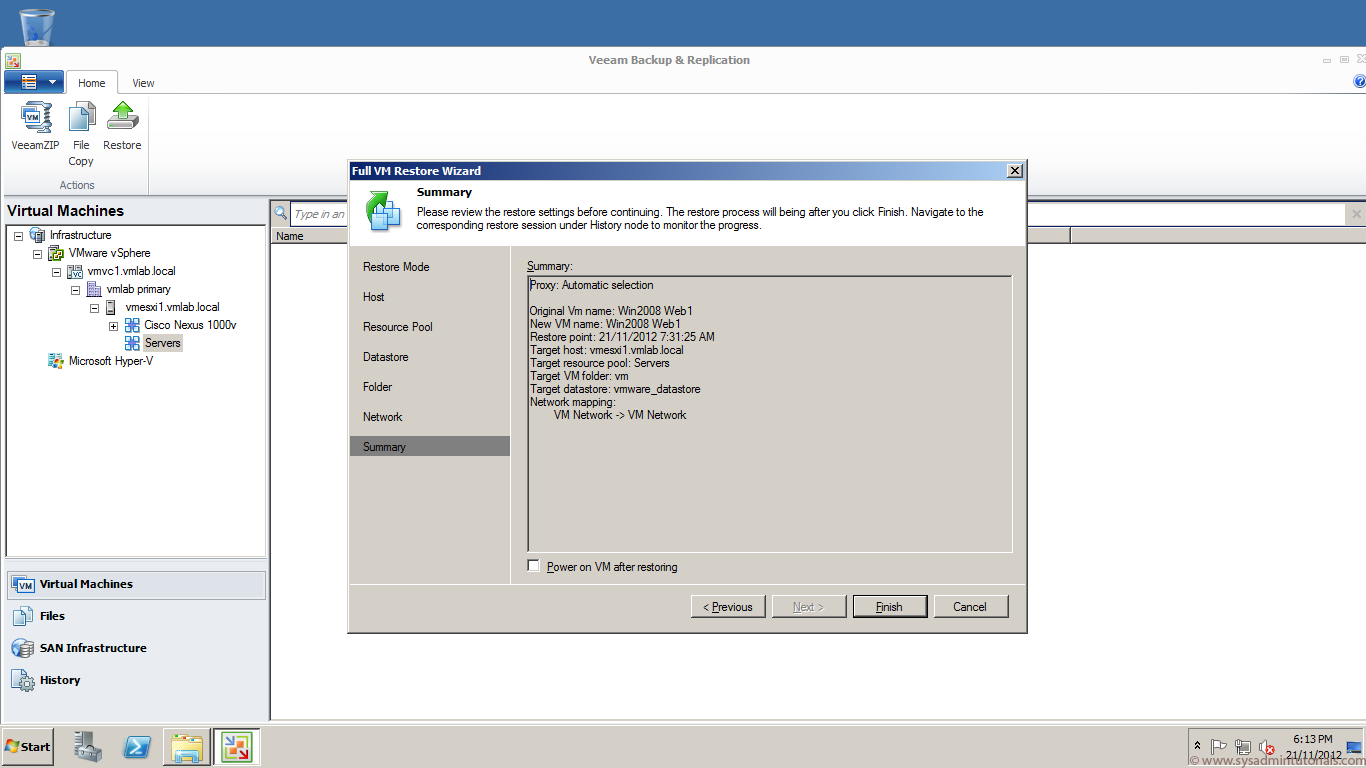
 21. We are presented with a summary of our Veeam restore settings. Click Finish to begin to restore process.
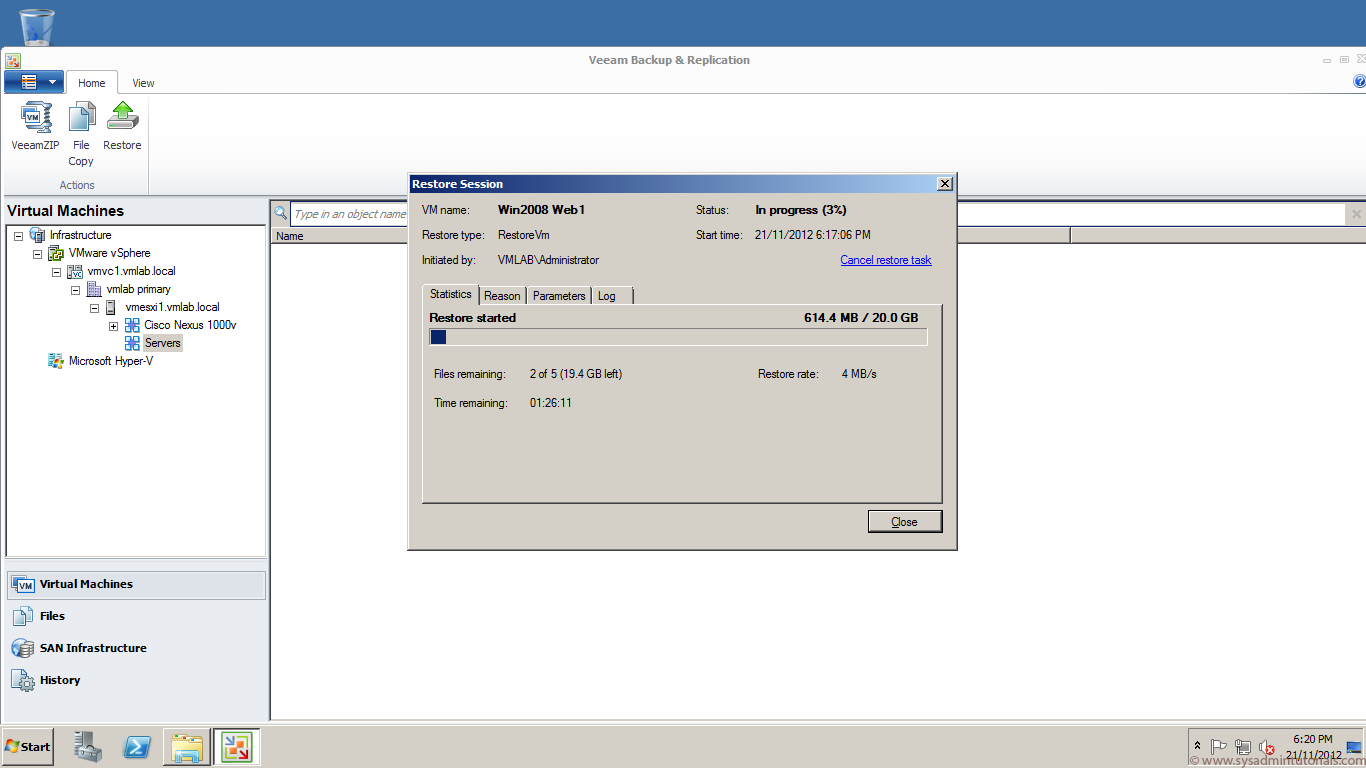
 22. This is the restore status window.
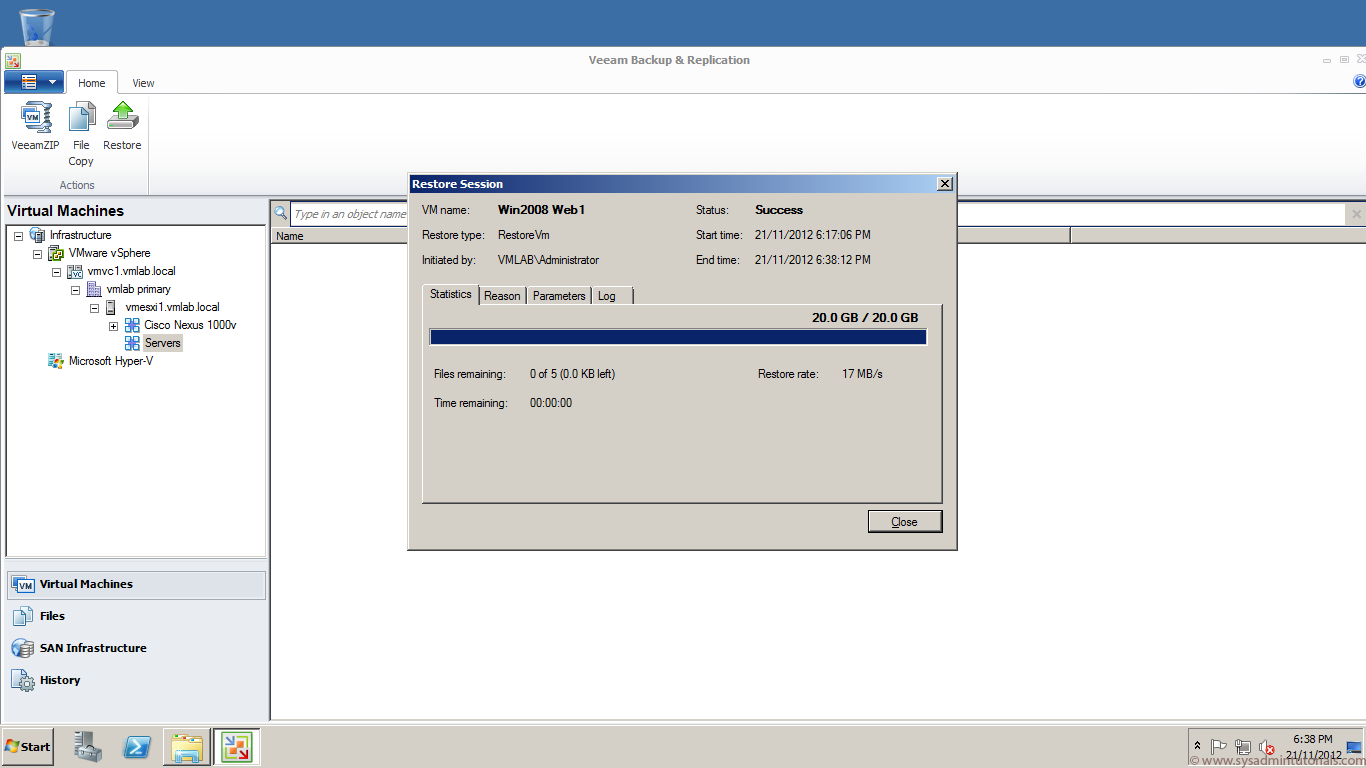
 23. The restore process is now complete and successfull.
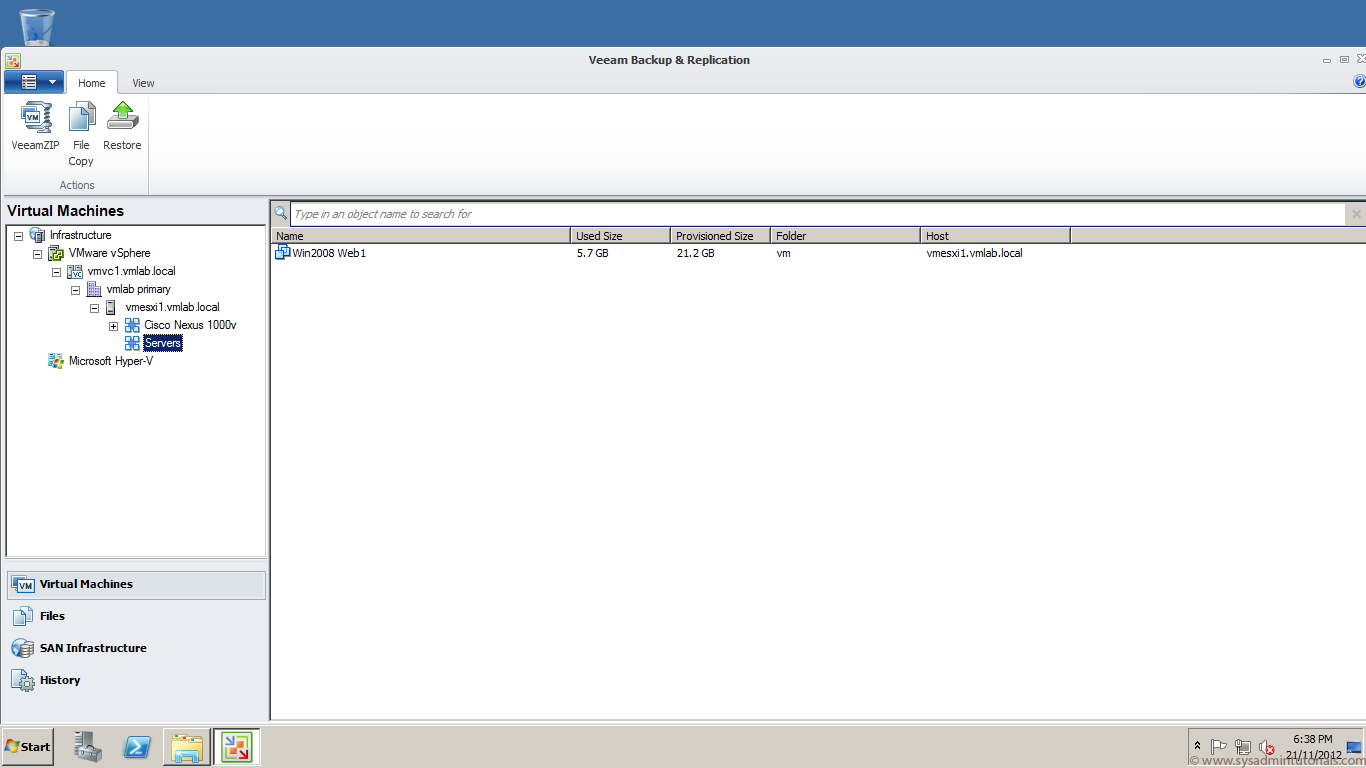
 24. As you can see below the restored virtual machine is now listed under Servers vApp within vCenter.
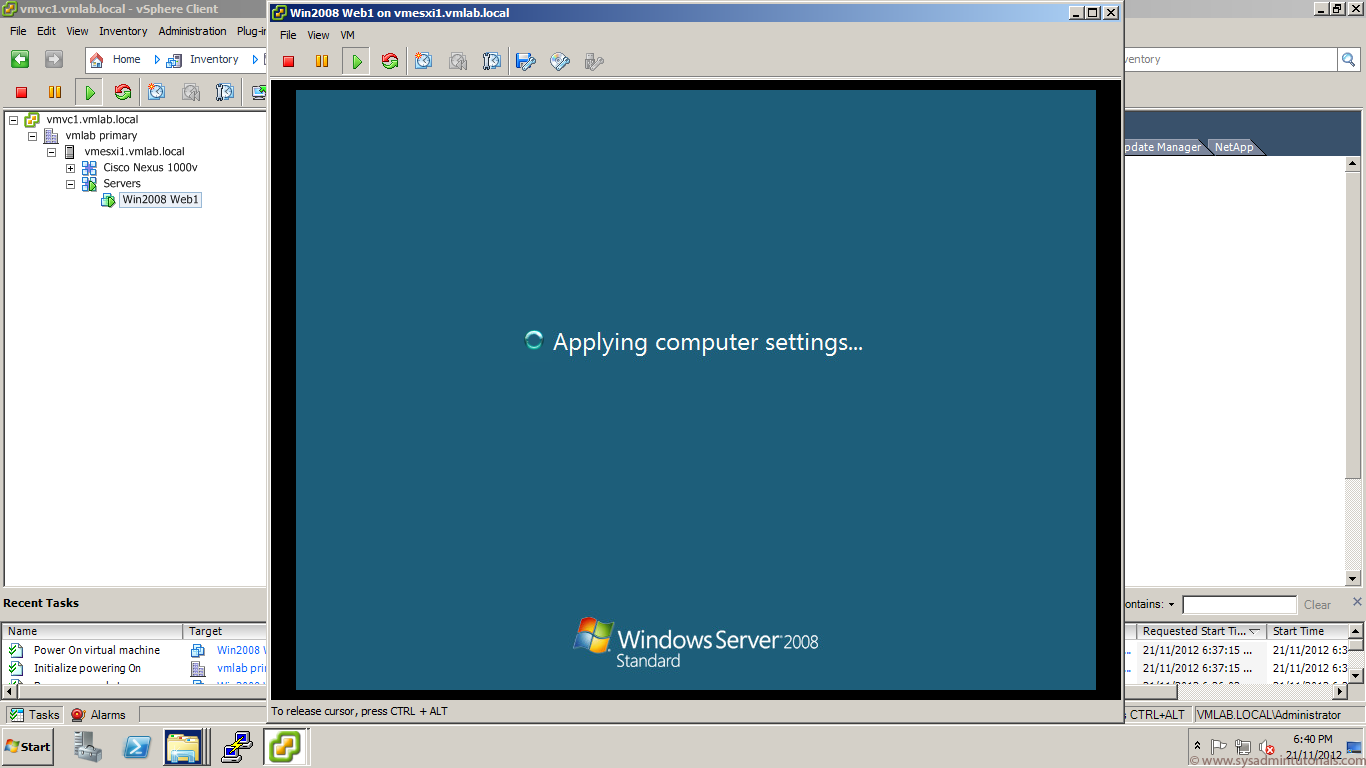
 25. The restored virtual machine power up without any issue.
Veeam Backup and Replication Free Edition – Browsing Guest Files from a Backup Image
26. If we click on Restore at the top left hand side of the screen, select our backup file, highlight our virtual machine and click on the Restore button, we will be presented with our restore options once again. This time click on Guest files Windows.
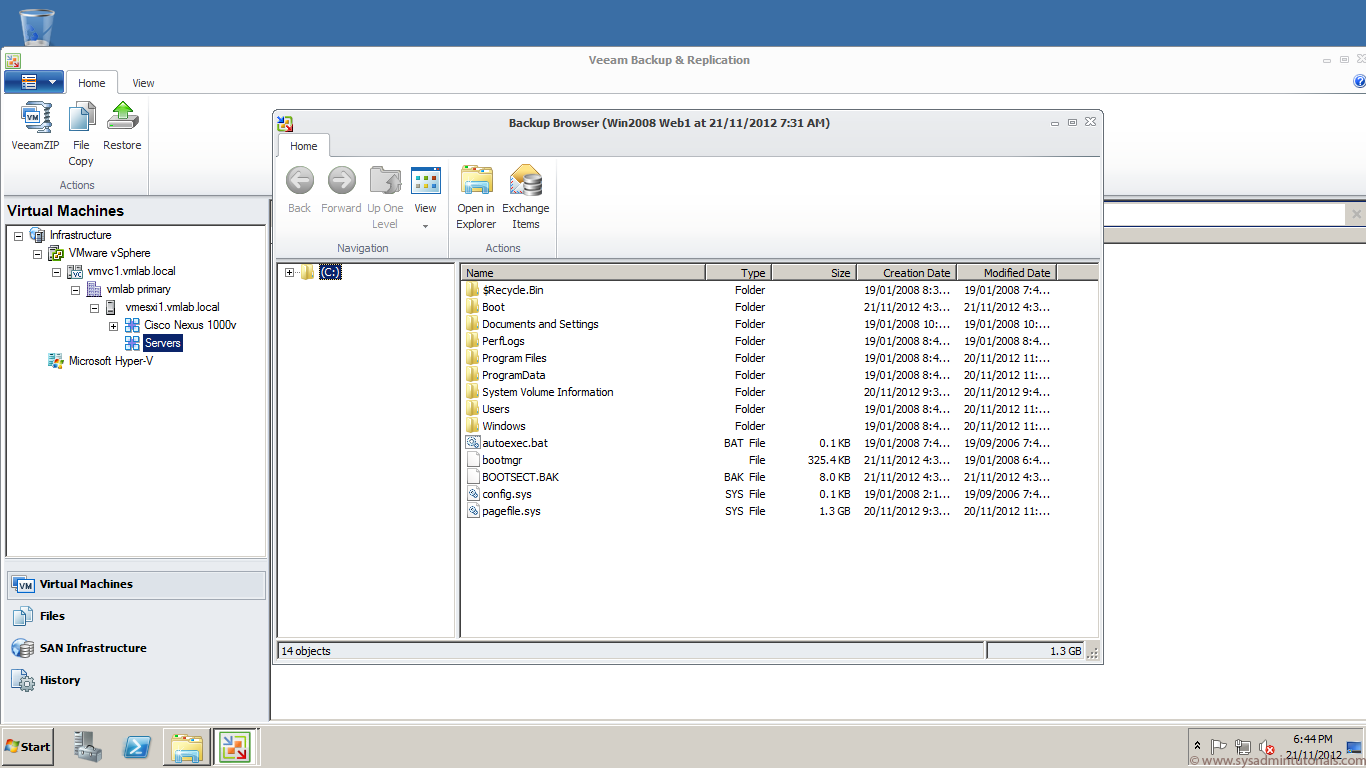
 27. The Veeam Backup Browser window pops up and you can now browse the Local Drives of the Backed up virtual machine.
 Disclaimer:
All the tutorials included on this site are performed in a lab environment to simulate a real world production scenario. As everything is done to provide the most accurate steps to date, we take no responsibility if you implement any of these steps in a production environment.

