Note: In this tutorial I will show you how to backup a Virtual Machine or Group of Virtual Machines using Veeam Backup and Replication 5.
1. Once you have installed Veeam Backup and Replication 5 you are ready to begin backing up your virtual machines. Fire up the program and let’s begin.
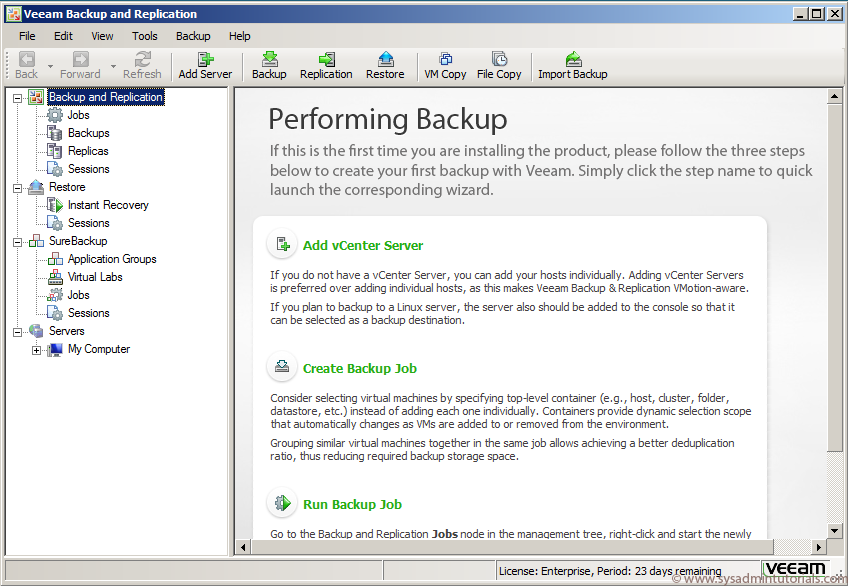
2. Veeam backs up your virtual machines via VMware vCenter or directly via the host. Veeams recommendations are via vCenter. So one of the first things we need to do is add our vCenter server into Veeam Backup and Replication. Click Add vCenter Server.
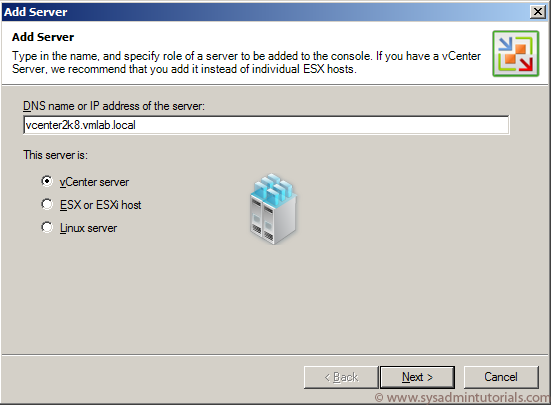
3. Type in the DNS name or IP address of your vCenter server and Click Next.
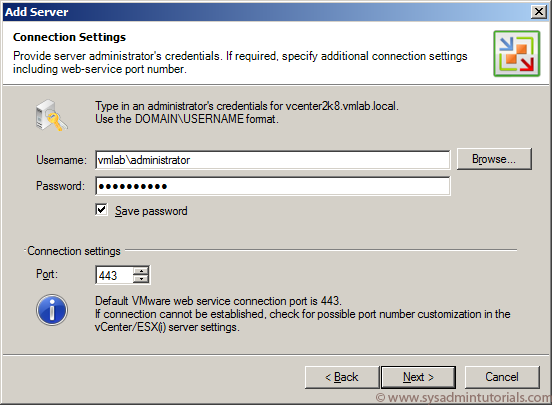
4. Type in a domain account that has admin rights to your vCenter server, save the password and ensure the web service connection port is correct. Click Next.
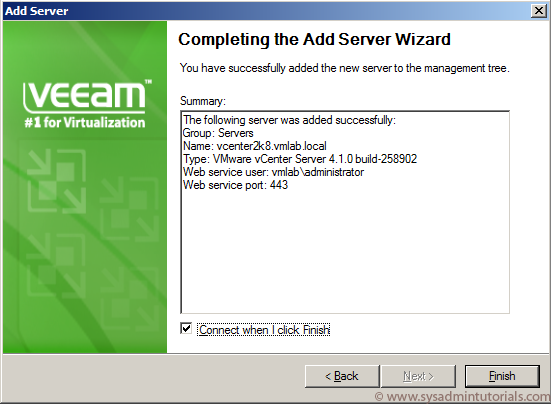
5. Click Connect when I click Finish, check that the summary is correct and click Finish.
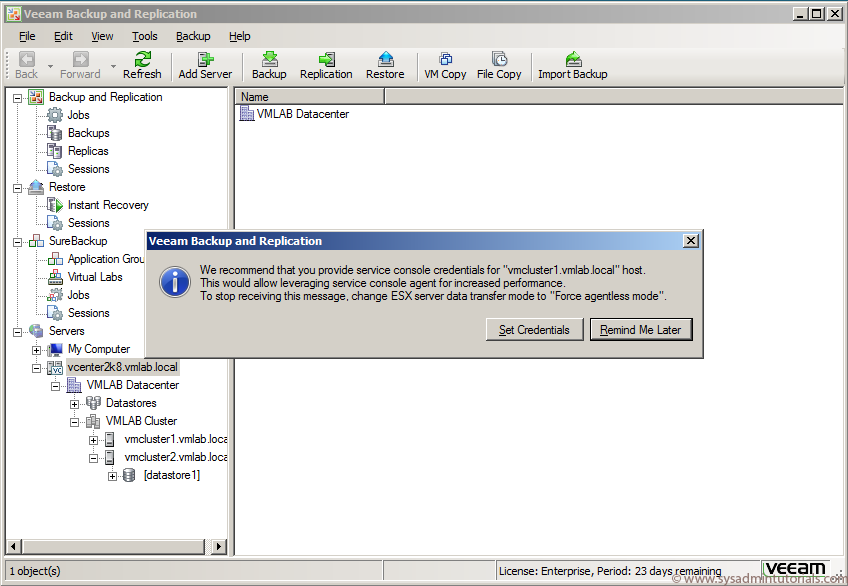
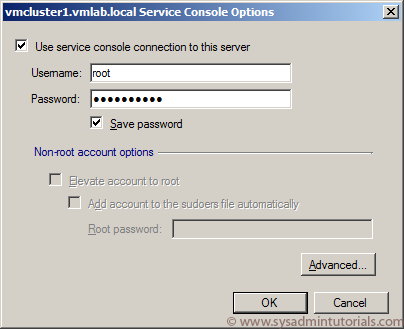
6. In the right hand pane under Servers you can now see my vCenter server vcenter2k8.vmlab.local. As I expand the tree I can then see the Datacenter, Datastores and ESX/ESXi hosts. Your ESXi hosts will no require any further information, however your ESX hosts will require you to Set Credentials in order to utilize the service console for increased performance. Click Set Credentials. Enter in the username and password with service console access and click Ok.
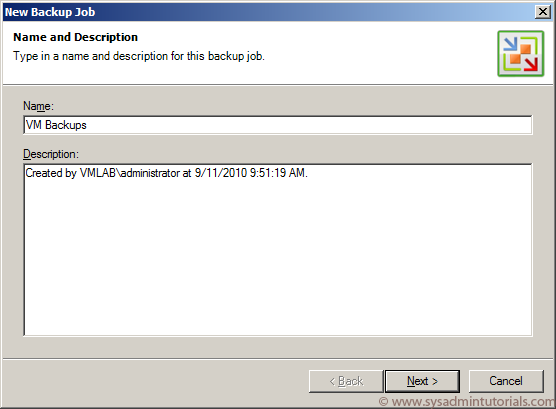
7. Click on the Backup button at the top of the Window to create a new backup job. Enter in a name of the backup and click Next.
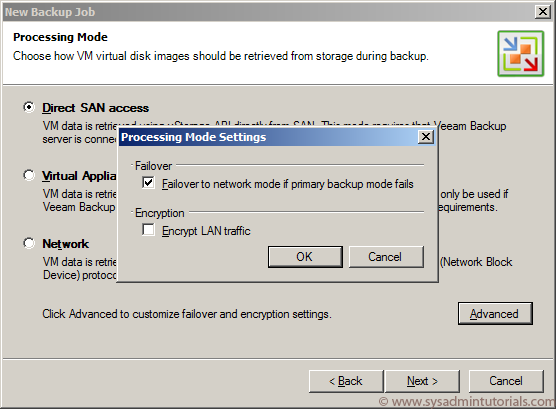
8. 3 options are presented to you in how the virtual machine will be retrieved from the host. Direct SAN access – allows the Veeam server to backup the image directly from the SAN and by passing the host. Virtual Appliance – Your veeam server must be running as a virtual machine. The vm disks are temporarily mounted to the veeam server for faster backups. Network – The virtual machine is backed up across the network. The default is Direct SAN access with failover to Network if SAN access is not detected.
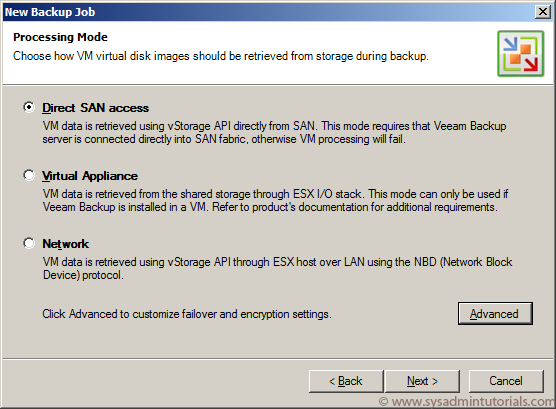
9. Click the advanced button to show that if the primary backup method fails, failover to Network. You also have the option to encrypt the LAN traffic. Click Ok and click Next.
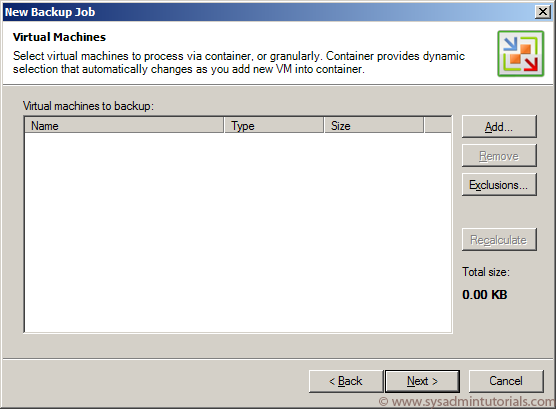
10. This screen will allow us to add in which virtual machines we would like backed up. You can create one backup job per virtual machine however the deduplication ration will not be as big then if you add them all to one job.
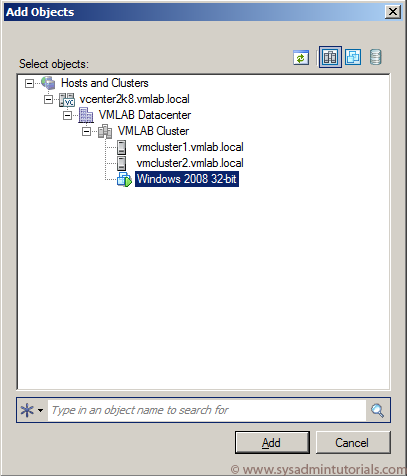
11. Click Add and select the Virtual Machine you wish to backup. Click Add.
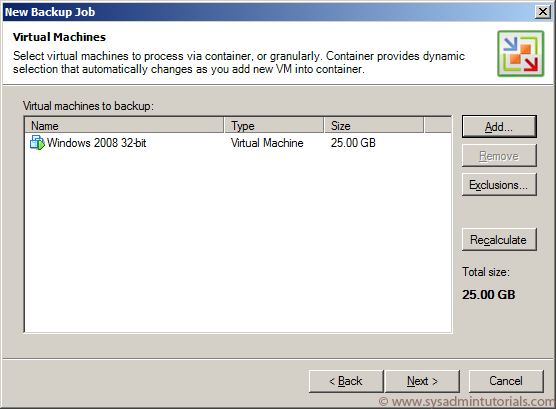
12. The virtual machine is in the list. Click Exclusions, you can exclude virtual machines and exclude selected disks from being backed up within the Virtual Machine. Click Next.
13. You can store your backups on the veeam server, a network share or ESX server. Here we are storing the backup on my veeam server F:VeeamBackups. Give the backup files a name and select how many restore points you would like to keep on the disk. As you can see i’m storing 7, when the 8th backup runs the oldest backup will be deleted. Click Advanced.

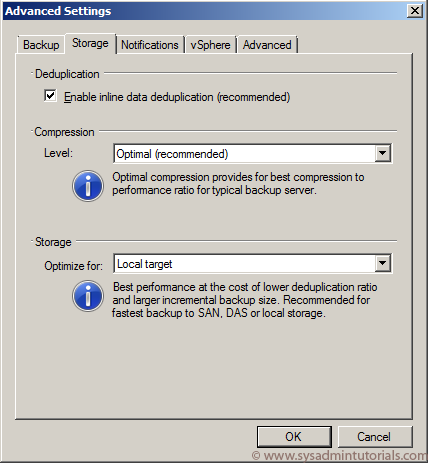
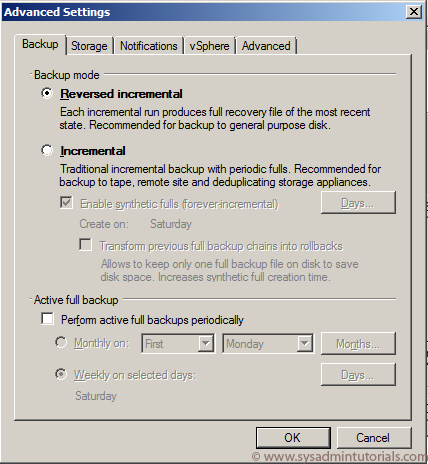
14. We will run the Reversed incremental backup mode as we are backing up to the local server. However if you are backin up to remote site or a deduplicating storage appliance select Incrememental. You can also perform active full backups periodically. Select the Perform active full backups periodically and select the days you would like the backup to run on. Otherwise you can manually perform full backups. Click the storage tab.
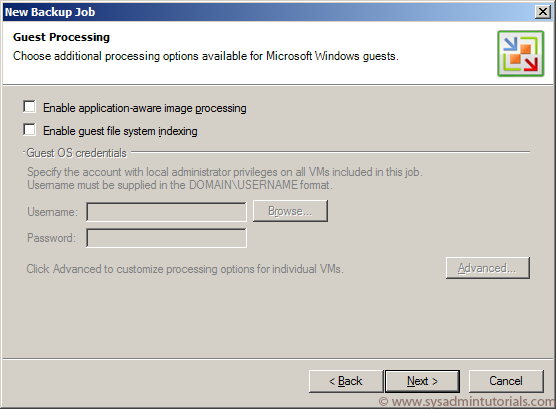
19. Now we are out of the advanced settings and back to configuring our backup job. If you are running SQL or Exchange you will want to select application-aware image processing so that veeam is able to utilise Microsoft VSS and create a consisten backup of your databases. We are only backing up a simple Windows 2008 server in this demo so we won’t be using these options. Click Next.
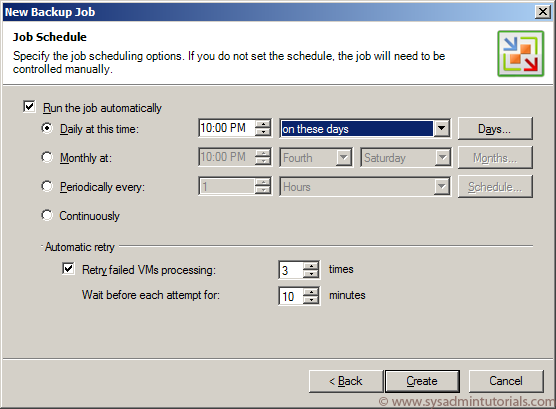
20. Select when you would like the job to run and what do to in the case that the VM’s fail backup processing.
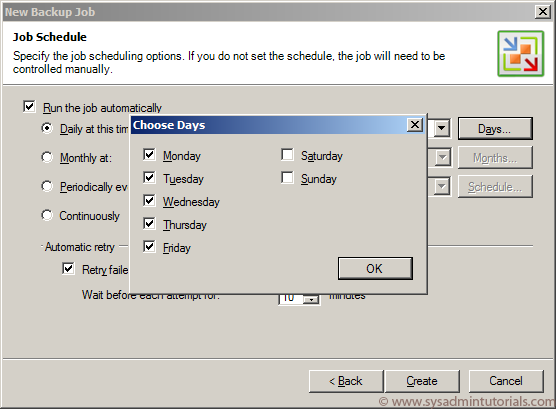
21. Click Days to select which days you want the backup to occur on. Click Ok and then click Create.
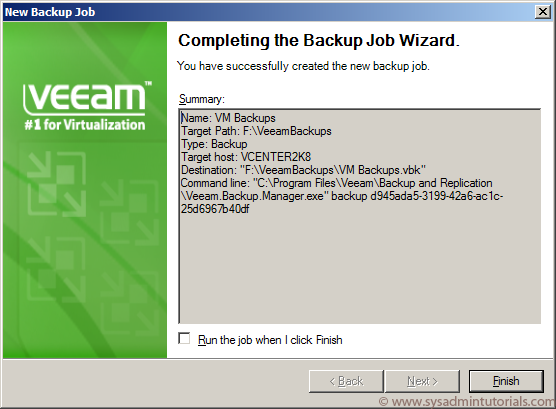
22. The backup job is now complete. Click Finish.
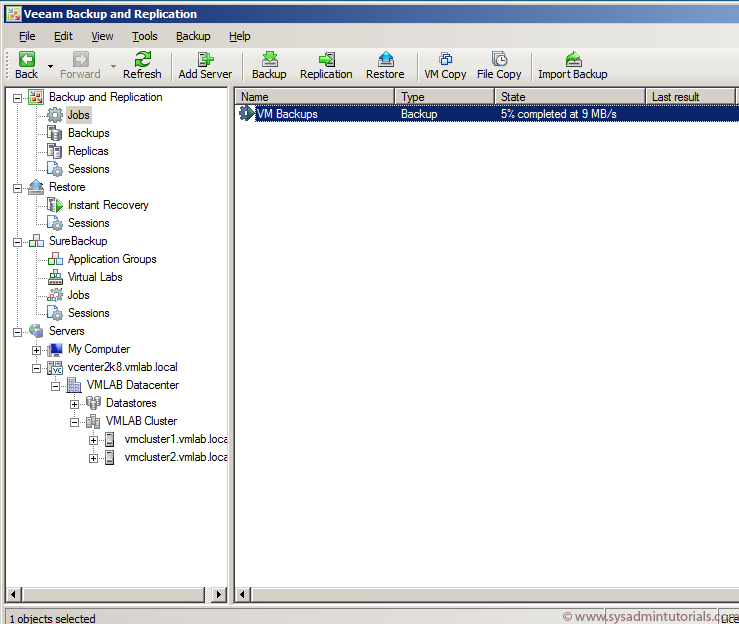
23. The backup job is now shown in the right hand window pane when you click on Jobs. To manually start a full backup, right click on the job and select Perform Full Backup.
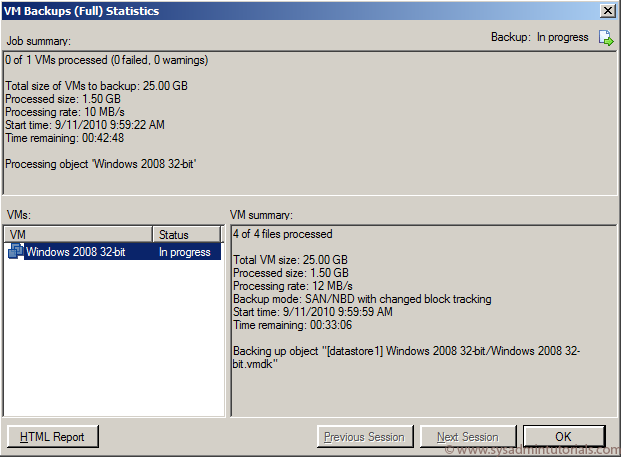
24. If you right click on an active job and select View Statistics you can see such things as Total Backup Size, Processed Size, Processing Rate, Start time, Time Remaining, Backup Mode and the name of Virtual Machine. Click Ok.
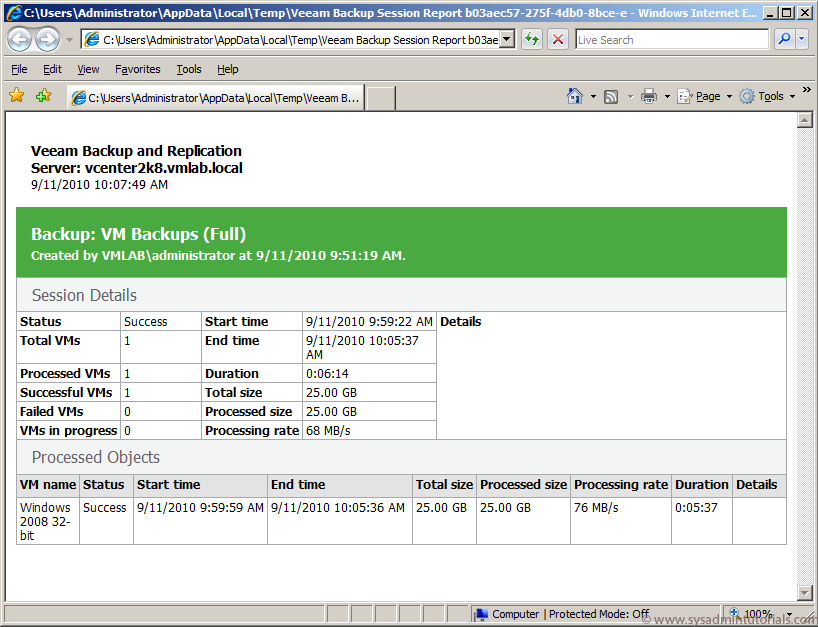
25. Once the backup has complete you can right click and select View Session Report in HTML. It will display a summary of the job.
Disclaimer:
All the tutorials included on this site are performed in a lab environment to simulate a real world production scenario. As everything is done to provide the most accurate steps to date, we take no responsibility if you implement any of these steps in a production environment.