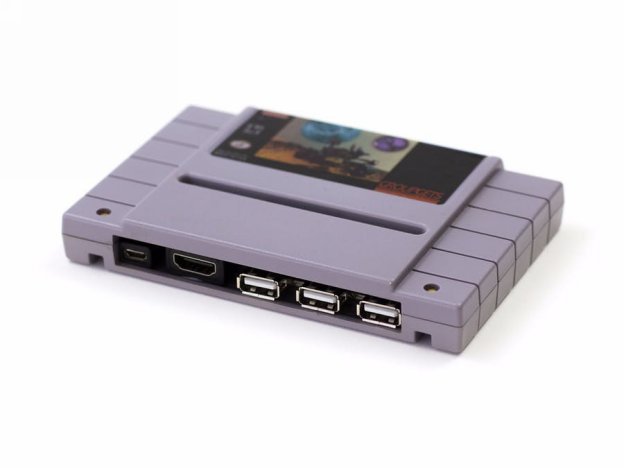

This project was inspired by the "Pi Cart: a Raspberry Pi Retro Gaming Rig in an NES Cartridge". I thought it might be interesting to see if everything could be crammed into the even smaller SNES cartridge, there was just barely enough room!
This project uses the Raspberry Pi Zero W, this was chosen because of how easy it is to emulate roms thanks to RetroPie. The Zero is also pretty small and powerful enough to run pretty much any game pre-N64.
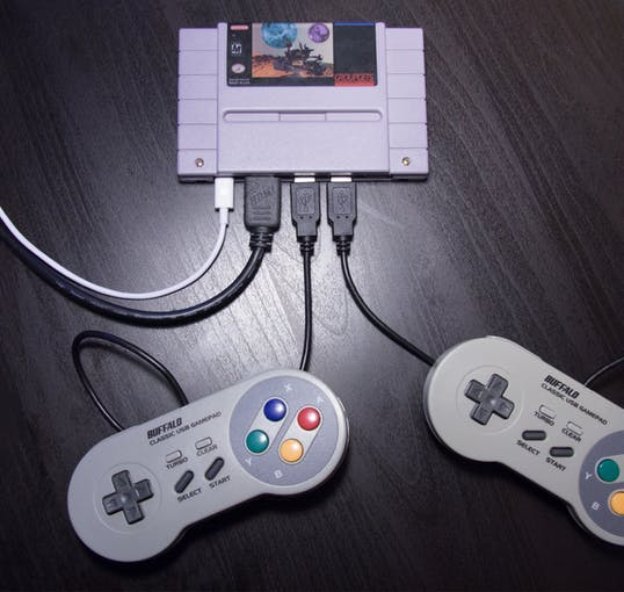
First thing is to open up the SNES cartridge using a 3.8mm Screwdriver Security Bit such as this one on Amazon.
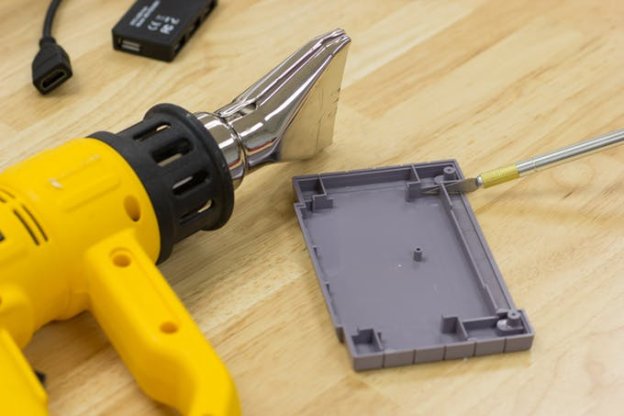
Next was finding a way to remove the plastic inside that would get in the way of the new components. Originally I used a heat gun and x-acto knife, which initially worked, but I found that the cartridge was very easily warped with the heat.
After the problem with the heat gun I used a dremel cut off wheel and sanding bit, which did work fine although the end result was a bit messy, and it took quite a bit longer than I would like (this plastic also smells quite a bit).
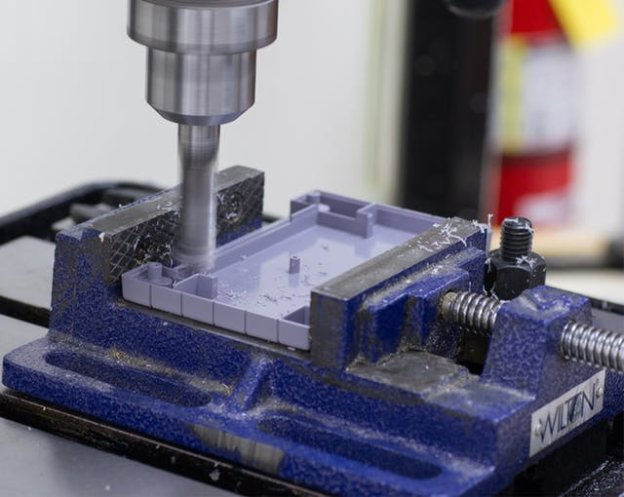
Finally at the recommendation of an employee at the UNR Innevation Center I tried the drill press. This actually ended up working very well. It is relatively fast and consistent after setting the maximum depth.
Now to get all of these parts into the cartridge. I used double stick tape to hold the Raspberry Pi Zero, and a bit of hot glue for the other components. To make the USB hub fit you have to remove the housing, which comes off very easily when pulling the two halves apart.
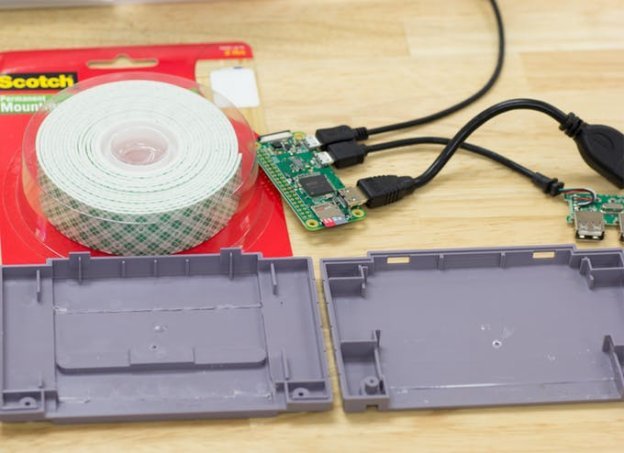
After a bit of trial and error I found that this was the best layout to get everything to fit and to leave enough room for all of the cables to plug in properly. By far the most difficult cable is the HDMI extension, it is very thick and did not like to be bent much.
To customize the SNES cartridge a bit I made a custom label. Removing the original label is fairly easy using a hair dryer or heat gun (on lowest setting). Once the label was removed I used a bit of rubbing alcohol to clean up any remaining residue.
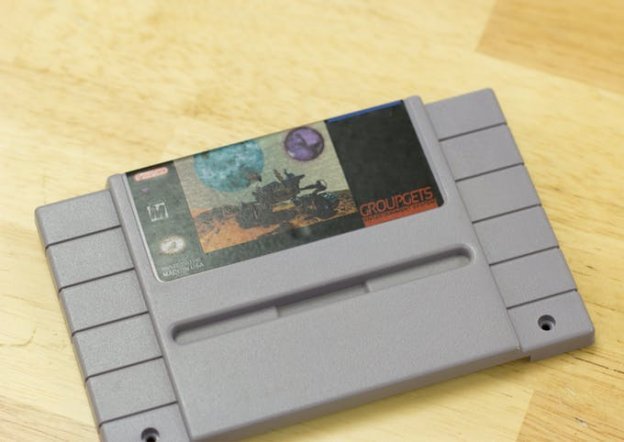
The print came out okay, but if I were to get more printed I would use white backed stickers instead of clear as it is a bit darker than I wanted.
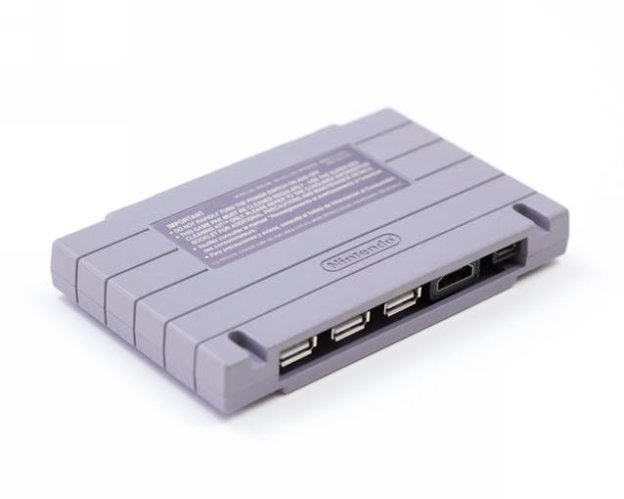
There is a GroupGet currently running for some hand made SNES Pi: Zero's which you can find here: https://groupgets.com/campaigns/350-snes-pi-zero