Source: gfycat
Overview
Motion detection using Python is easy because of the multiple open-source libraries provided by the Python programming language. Motion detection has many real-world applications. For example, it can be used for invigilation in online exams or for security purposes in stores, banks, etc.
Introduction
Python programming language is an open-source library-rich language that provides a plethora of applications to its user and has a number of users. Thus, it is fastly growing in the market. There is no end to the list of benefits of Python language due to its simple syntax, easy-to-find errors, and fast debugging process that makes it more user-friendly.
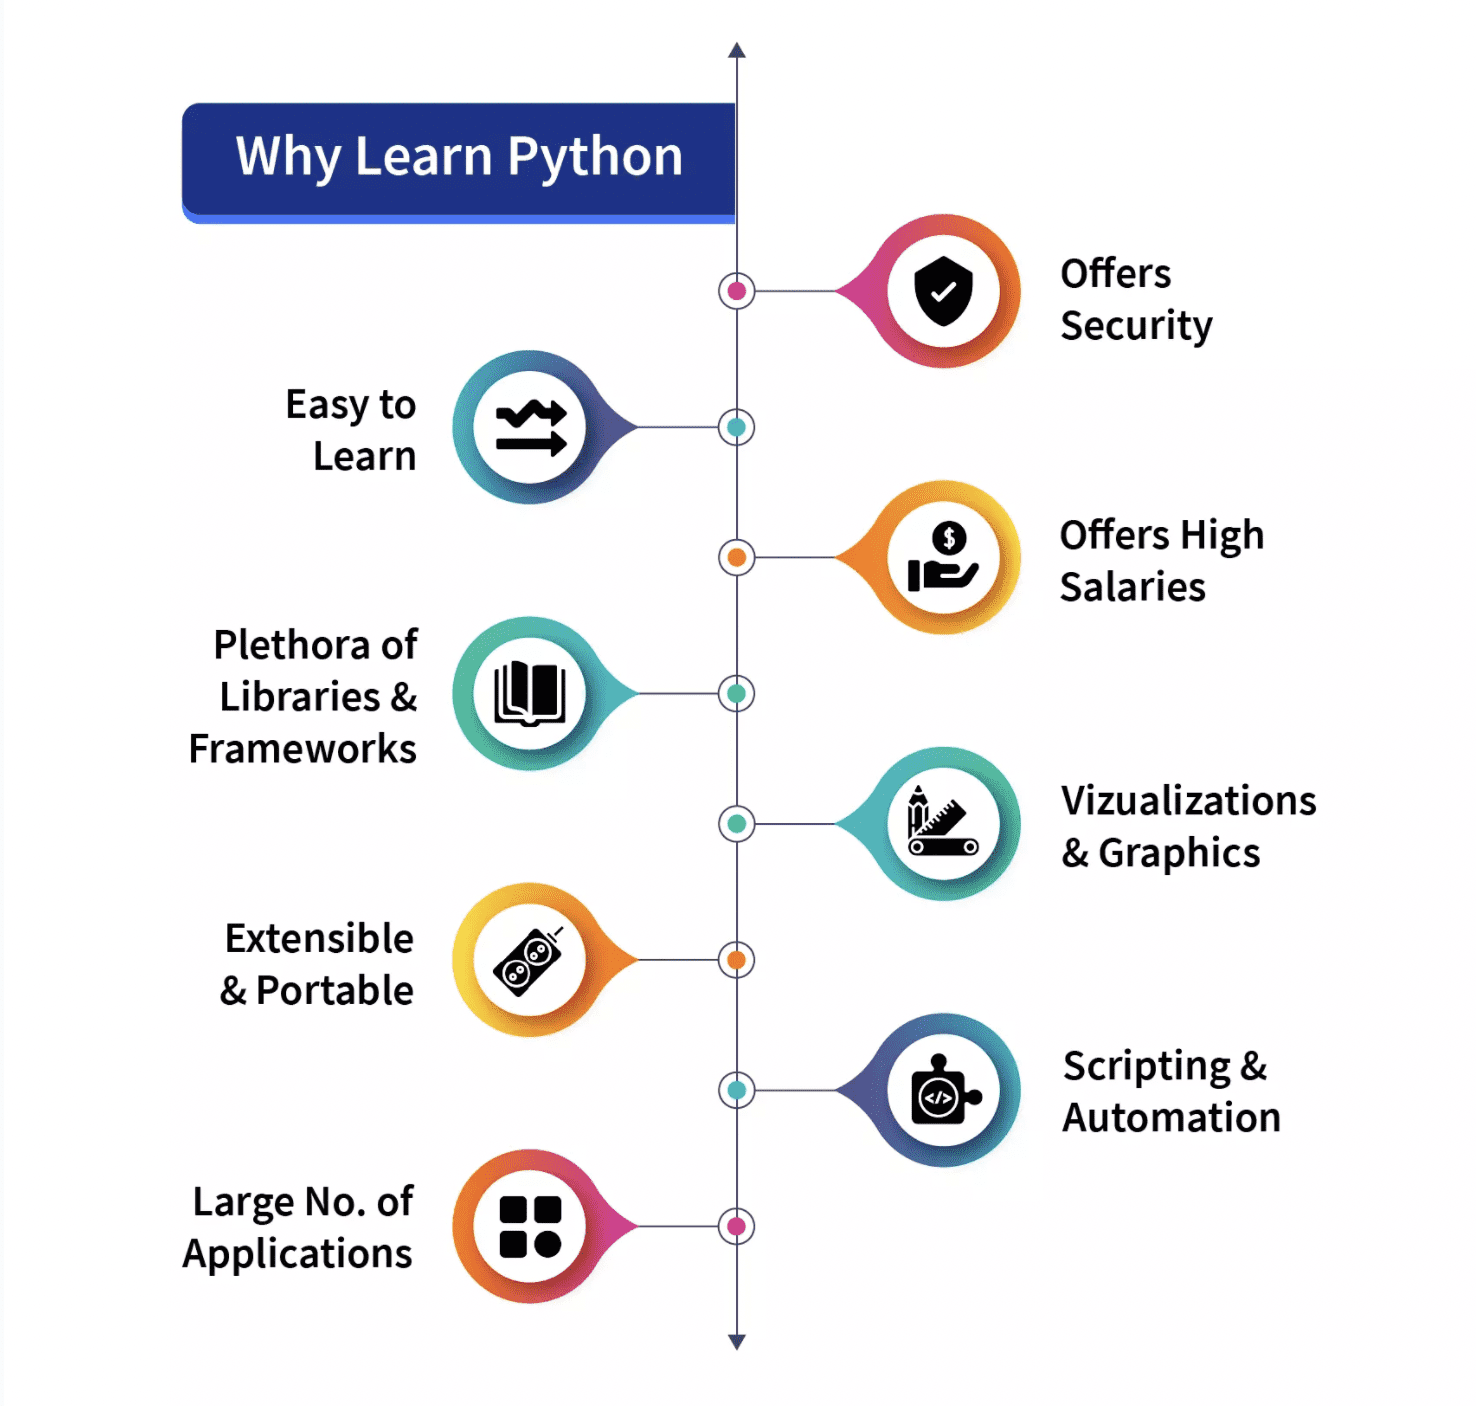
Why should you learn Python? a pictorial representation:

Source: Scaler Topics
Python was designed in 1991 and it is developed by the Python Software Foundation. There are many versions of python that are released. Out of them, python2 and python3 are the most famous. Currently, python3 is mostly used and users of python3 are increasing quickly. In this project or script, we are going to use python3.
What is Motion Detection?
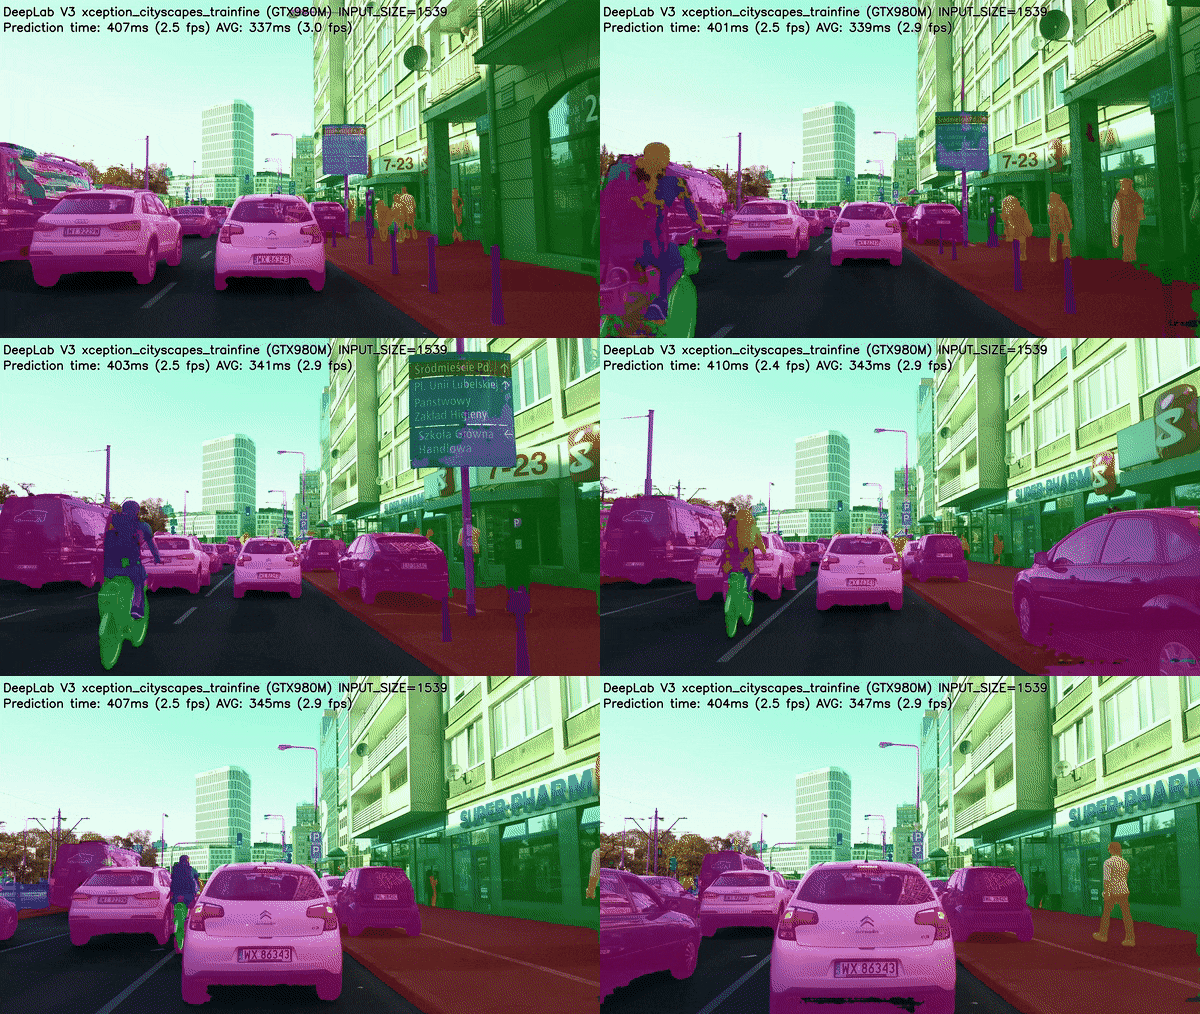
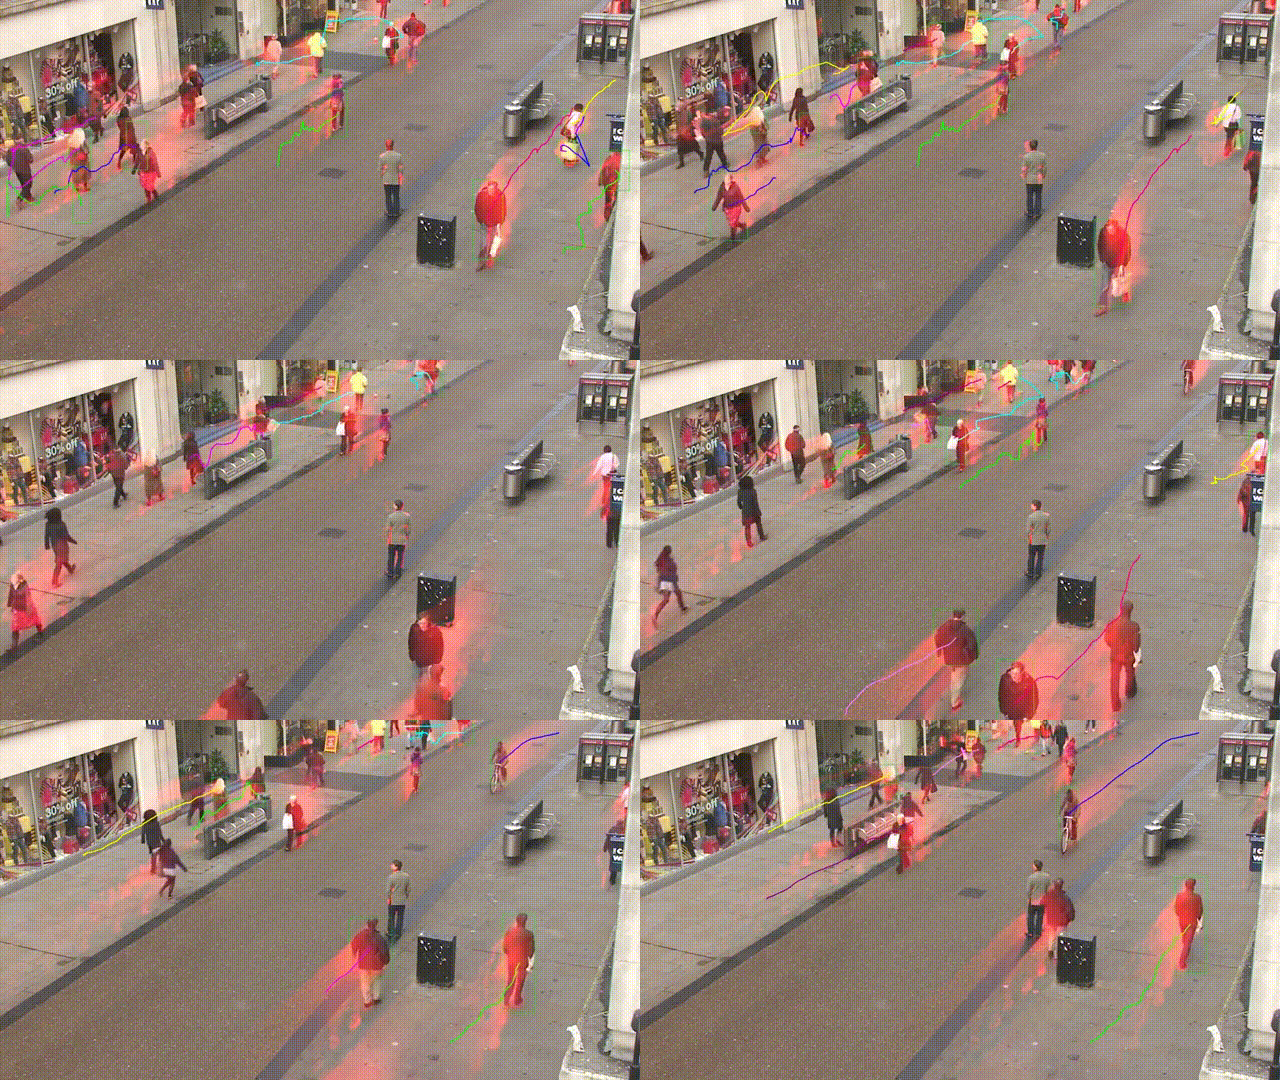
According to the Physics, when an object is motionless and has no speed, then it is considered to be at rest, and just the opposite is when an object is not at complete rest and has some movement or speed in some direction, either left-right, forward-backward, or up-down then it is considered to be in motion. In this article, we will try to detect it.

Source: gtycat
Motion detection has many real-life implementations or usages where it can prove its worthiness, such as for invigilation of online exams using a webcam (which we will implement in this article), as a security guard, etc.
In this article, we will try to implement a script through which we will detect motion using the Web-Camera of the desktop or laptop. The idea is that we will take two frames of the videos and try to find differences between them. If there is some kind of difference between the two frames, then it is clear that there is some kind of movement of an object in front of the camera, which creates the difference.
Important Libraries
Before we start the code implementation, let’s look at some of the modules or libraries we will use through our code for motion detection with a webcam. As we have discussed libraries play an important role in the fame of python, let’s look into what we need:
- OpenCV
- Pandas
Both of the above-mentioned libraries, OpenCV and Pandas are purely python-based, free, and open-source libraries and we are going to use them with the Python3 version of the python programming language.
1. OpenCV
OpenCV is an open-source library that can be used with many programming languages like C++, Python, etc. It is used to work on the images and videos and by using or integrating it with python’s panda/NumPy libraries we can make the best use of the OpenCV features.
2. Pandas:
As we have discussed, “pandas” is an open-source library of Python and provides rich inbuilt tools for data analysis due to which it is widely used in the stream of data science and data analytics. We are provided with data frames in the form of a data structure in pandas that is helpful to manipulate and store tabular data into a 2-Dimensional data structure.
Both of the above-discussed modules are not in-built in python and we have to install them first before use. Apart from this, there are two more modules that we are going to use in our project.
- Python DateTime Module
- Python Time Module
Both of these modules are in-built in python and there is no need to install them later. These modules deal with the Date and Time-related functions respectively.
Code Implementation
Until now we have seen the libraries we are going to use in our code, let’s start its implementation with the idea that video is just a combination of many static image or frames and all these frames combined creates a video:
Importing the required libraries
In this section, we will import all the libraries, like pandas and panda. Then we import the cv2, time, and DateTime function from the DateTime module.
# Importing the Pandas libraries
import pandas as panda

# Importing the OpenCV libraries
import cv2

# Importing the time module
import time

# Importing the datetime function of the datetime module
from datetime import datetime
Initializing our data variables
In this section, we initialized some of our variables which we are going to use further in the code. We define initial state as "None" and are going to store motion tracked in another variable motionTrackList.
We defined a list ‘motionTime’ to store the time when motion gets spotted and initialized dataFrame list using the panda's module.
# Assigning our initial state in the form of variable initialState as None for initial frames
initialState = None

# List of all the tracks when there is any detected of motion in the frames
motionTrackList= [ None, None ]

# A new list ‘time’ for storing the time when movement detected
motionTime = []

# Initialising DataFrame variable ‘dataFrame’ using pandas libraries panda with Initial and Final column
dataFrame = panda.DataFrame(columns = ["Initial", "Final"])
Main capturing process
In this section we will perform our main motion detection steps. Let's understand them in steps:
- First, we will start capturing video using the cv2 module and store that in the video variable.
- Then we will use an infinite while loop to capture each frame from the video.
- We will use the read() method to read each frame and store them into respective variables.
- We defined a variable motion and initialized it to zero.
- We created two more variables grayImage and grayFrame using cv2 functions cvtColor and GaussianBlur to find the changes in the motion.
- If our initialState is None then we assign the current grayFrame to initialState otherwise and halt the next process by using the ‘continue’ keyword.
- In the next section, we calculated the difference between the initial and grayscale frames we created in the current iteration.
- Then we will highlight the changes between the initial and the current frames using the cv2 threshold and dilate functions.
- We will find the contours from the moving object in the current image or frame and indicate the moving object by creating a green boundary around it by using the rectangle function.
- After this, we will append our motionTrackList by adding the current detected element to it.
- We have displayed all the frames like the grayscale and the original frames,etc., by using imshow method.
- Also, we created a key using witkey() method of the cv2 module to end the process, and we can end our process by using the ‘m’ key.
# starting the webCam to capture the video using cv2 module
video = cv2.VideoCapture(0)

# using infinite loop to capture the frames from the video
while True:

   # Reading each image or frame from the video using read function

   check, cur_frame = video.read()


   # Defining 'motion' variable equal to zero as initial frame

   var_motion = 0


   # From colour images creating a gray frame

   gray_image = cv2.cvtColor(cur_frame, cv2.COLOR_BGR2GRAY)


   # To find the changes creating a GaussianBlur from the gray scale image

   gray_frame = cv2.GaussianBlur(gray_image, (21, 21), 0)


   # For the first iteration checking the condition

   # we will assign grayFrame to initalState if is none

   if initialState is None:

       initialState = gray_frame

       continue


   # Calculation of difference between static or initial and gray frame we created

   differ_frame = cv2.absdiff(initialState, gray_frame)


   # the change between static or initial background and current gray frame are highlighted


   thresh_frame = cv2.threshold(differ_frame, 30, 255, cv2.THRESH_BINARY)[1]

   thresh_frame = cv2.dilate(thresh_frame, None, iterations = 2)


   # For the moving object in the frame finding the coutours

   cont,_ = cv2.findContours(thresh_frame.copy(),

                      cv2.RETR_EXTERNAL, cv2.CHAIN_APPROX_SIMPLE)


   for cur in cont:

       if cv2.contourArea(cur) < 10000:

           continue

       var_motion = 1

       (cur_x, cur_y,cur_w, cur_h) = cv2.boundingRect(cur)


       # To create a rectangle of green color around the moving object

       cv2.rectangle(cur_frame, (cur_x, cur_y), (cur_x + cur_w, cur_y + cur_h), (0, 255, 0), 3)


  # from the frame adding the motion status

   motionTrackList.append(var_motion)

   motionTrackList = motionTrackList[-2:]


   # Adding the Start time of the motion

   if motionTrackList[-1] == 1 and motionTrackList[-2] == 0:

       motionTime.append(datetime.now())


  # Adding the End time of the motion

   if motionTrackList[-1] == 0 and motionTrackList[-2] == 1:

       motionTime.append(datetime.now())


  # In the gray scale displaying the captured image

   cv2.imshow("The image captured in the Gray Frame is shown below: ", gray_frame)


   # To display the difference between inital static frame and the current frame

   cv2.imshow("Difference between the  inital static frame and the current frame: ", differ_frame)


   # To display on the frame screen the black and white images from the video

   cv2.imshow("Threshold Frame created from the PC or Laptop Webcam is: ", thresh_frame)


   # Through the colour frame displaying the contour of the object

   cv2.imshow("From the PC or Laptop webcam, this is one example of the Colour Frame:", cur_frame)


   # Creating a key to wait

   wait_key = cv2.waitKey(1)


   # With the help of the 'm' key ending the whole process of our system

   if wait_key == ord('m'):

       # adding the motion variable value to motiontime list when something is moving on the screen

       if var_motion == 1:

           motionTime.append(datetime.now())

       break
Finishing the code
After closing the loop we will add our data from the dataFrame and the motionTime lists into the CSV file and finally turn off the video.
# At last we are adding the time of motion or var_motion inside the data frame
for a in range(0, len(motionTime), 2):

   dataFrame = dataFrame.append({"Initial" : time[a], "Final" : motionTime[a + 1]}, ignore_index = True)


# To record all the movements, creating a CSV file
dataFrame.to_csv("EachMovement.csv")

# Releasing the video
video.release()

# Now, Closing or destroying all the open windows with the help of openCV
cv2.destroyAllWindows()
Summary of Process
We have created the code; now let’s again discuss the process in brief.
First, we captured a video using the webcam of our device, then took the initial frame of input video as reference and checked the next frames from time to time. If a frame different from the first one was found, motion was present. That will be marked in the green rectangle.
Combine Code
We have seen the code in different sections. Now, let’s combine it:
# Importing the Pandas libraries
import pandas as panda

# Importing the OpenCV libraries
import cv2

# Importing the time module
import time

# Importing the datetime function of the datetime module
from datetime import datetime

# Assigning our initial state in the form of variable initialState as None for initial frames
initialState = None

# List of all the tracks when there is any detected of motion in the frames
motionTrackList= [ None, None ]

# A new list 'time' for storing the time when movement detected
motionTime = []

# Initialising DataFrame variable 'dataFrame' using pandas libraries panda with Initial and Final column
dataFrame = panda.DataFrame(columns = ["Initial", "Final"])

# starting the webCam to capture the video using cv2 module
video = cv2.VideoCapture(0)

# using infinite loop to capture the frames from the video
while True:

   # Reading each image or frame from the video using read function

   check, cur_frame = video.read()


   # Defining 'motion' variable equal to zero as initial frame

   var_motion = 0


   # From colour images creating a gray frame

   gray_image = cv2.cvtColor(cur_frame, cv2.COLOR_BGR2GRAY)


   # To find the changes creating a GaussianBlur from the gray scale image

   gray_frame = cv2.GaussianBlur(gray_image, (21, 21), 0)


   # For the first iteration checking the condition

   # we will assign grayFrame to initalState if is none

   if initialState is None:

       initialState = gray_frame

       continue


   # Calculation of difference between static or initial and gray frame we created

   differ_frame = cv2.absdiff(initialState, gray_frame)


   # the change between static or initial background and current gray frame are highlighted


   thresh_frame = cv2.threshold(differ_frame, 30, 255, cv2.THRESH_BINARY)[1]

   thresh_frame = cv2.dilate(thresh_frame, None, iterations = 2)


   # For the moving object in the frame finding the coutours

   cont,_ = cv2.findContours(thresh_frame.copy(),

                      cv2.RETR_EXTERNAL, cv2.CHAIN_APPROX_SIMPLE)


   for cur in cont:

       if cv2.contourArea(cur) < 10000:

           continue

       var_motion = 1

       (cur_x, cur_y,cur_w, cur_h) = cv2.boundingRect(cur)


       # To create a rectangle of green color around the moving object

       cv2.rectangle(cur_frame, (cur_x, cur_y), (cur_x + cur_w, cur_y + cur_h), (0, 255, 0), 3)


  # from the frame adding the motion status

   motionTrackList.append(var_motion)

   motionTrackList = motionTrackList[-2:]


   # Adding the Start time of the motion

   if motionTrackList[-1] == 1 and motionTrackList[-2] == 0:

       motionTime.append(datetime.now())


  # Adding the End time of the motion

   if motionTrackList[-1] == 0 and motionTrackList[-2] == 1:

       motionTime.append(datetime.now())


  # In the gray scale displaying the captured image

   cv2.imshow("The image captured in the Gray Frame is shown below: ", gray_frame)


   # To display the difference between inital static frame and the current frame

   cv2.imshow("Difference between the  inital static frame and the current frame: ", differ_frame)


   # To display on the frame screen the black and white images from the video

   cv2.imshow("Threshold Frame created from the PC or Laptop Webcam is: ", thresh_frame)


   # Through the colour frame displaying the contour of the object

   cv2.imshow("From the PC or Laptop webcam, this is one example of the Colour Frame:", cur_frame)


   # Creating a key to wait

   wait_key = cv2.waitKey(1)


   # With the help of the 'm' key ending the whole process of our system

   if wait_key == ord('m'):

       # adding the motion variable value to motiontime list when something is moving on the screen

       if var_motion == 1:

           motionTime.append(datetime.now())

       break

# At last we are adding the time of motion or var_motion inside the data frame
for a in range(0, len(motionTime), 2):

   dataFrame = dataFrame.append({"Initial" : time[a], "Final" : motionTime[a + 1]}, ignore_index = True)


# To record all the movements, creating a CSV file
dataFrame.to_csv("EachMovement.csv")

# Releasing the video
video.release()

# Now, Closing or destroying all the open windows with the help of openCV
cv2.destroyAllWindows()
Results
The results derived after the above code was run would be similar to what can be seen below.

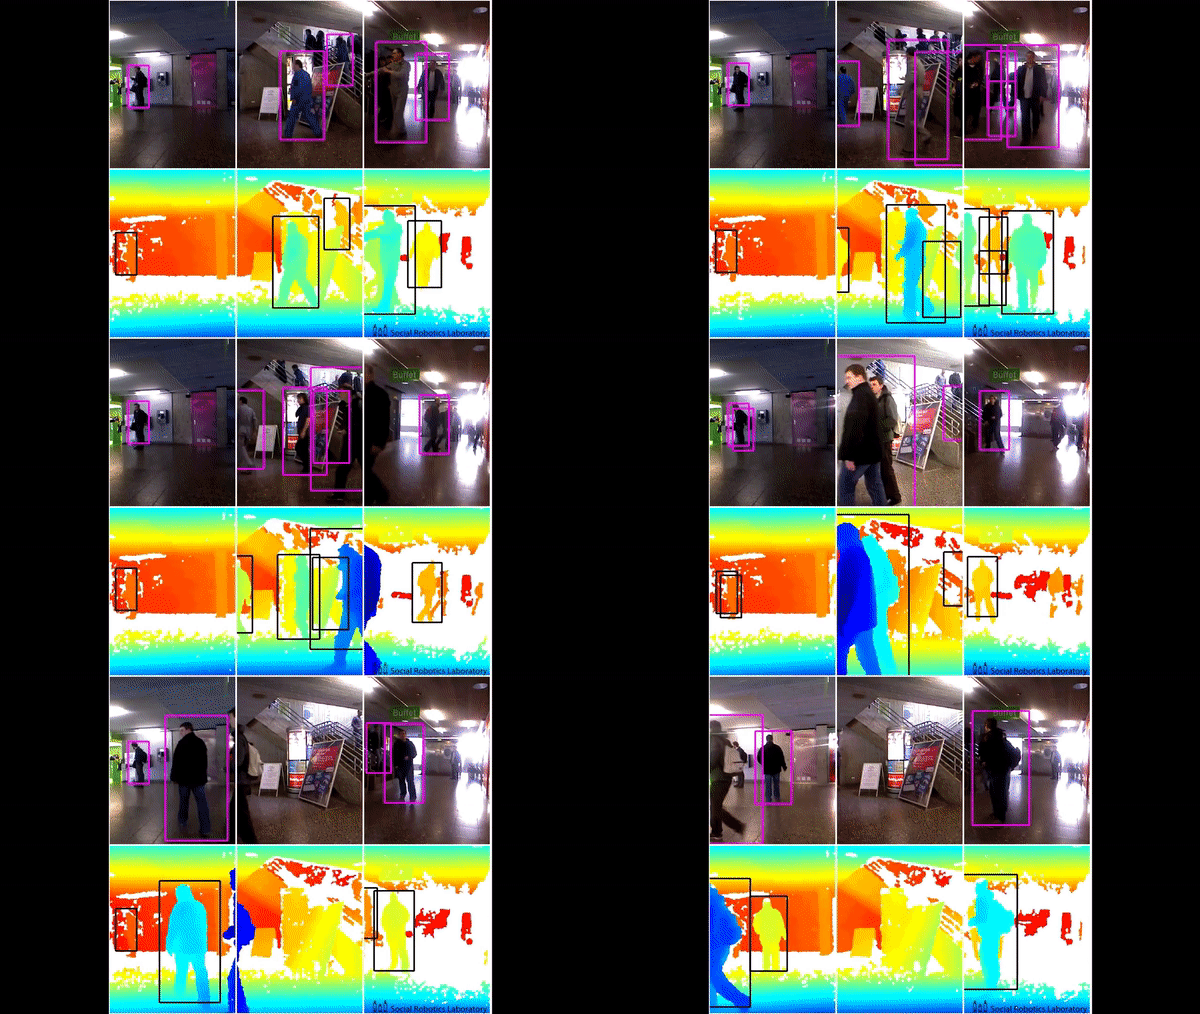
Here, we can see that the man's motion in the video has been tracked. Thus, the output can be seen accordingly.
However, in this code, the tracking would be done with the help of rectangular boxes around moving objects, similar to what can be seen below. An interesting thing to note here is that the video is a security camera footage on which detection has been done.

Conclusion
- Python programming language is an open-source library-rich language that provides a number of applications to its user.
- When an object is motionless and has no speed then it is considered to be at rest, and just the opposite is when an object is not at complete rest then it is considered to be in motion.
- OpenCV is an open-source library that can be used with many programming languages, and by integrating it with python’s panda/NumPy libraries we can make the best use of the OpenCV features.
- The main idea is that every video is just a combination of many static images called frames, and a difference between the frames is used for the detection
Vaishnavi Amira Yada is a technical content writer. She have knowledge of Python, Java, DSA, C, etc. She found herself in writing and she loved it.