50 Excellent Adobe After Effect Tutorials By Peteris Kelle in Graphics. Updated on September 1, 2020.
Posted by Superadmin on January 11 2021 07:44:45

50 Excellent Adobe After Effect Tutorials

By  in Graphics. Updated on September 1, 2020.

Adobe After Effects is a digital motion graphics and compositing software. Its main purpose is for film and video post-production. With Adobe After Effects it’s possible to create so great looking visual effects as in “Hollywood style” movies.

Adobe After Effects is mainly used to create visual  effects for commercials and movies but you can also create image slide-shows, some small videos, transition effects for websites and stuff like that.

It is not difficult to learn by your own. You only need to find some good tutorials and you are ready to start. There are a lot of good tutorials these days, just try to search for them on the Internet.

Here is a massive collection of Adobe After Effects  tutorials which, in our opinion, are very useful for learning After Effects.

They are categorized in these following section for your learning convenience: BeginnersIntermediate users and Advanced users. Enjoy the beauty of Adobe After Effects!

For beginners
Introduction to Adobe After Effects @Andrew Kramer
after-effect-tutorials


Basic effects @Andrew Kramer

Learn to create some basic effects using After Effects.
after-effect-tutorials


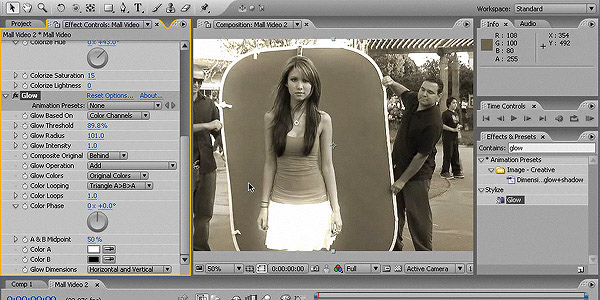
Animation @Andrew Kramer

Now you can learn how to create an animation.
after-effect-tutorials


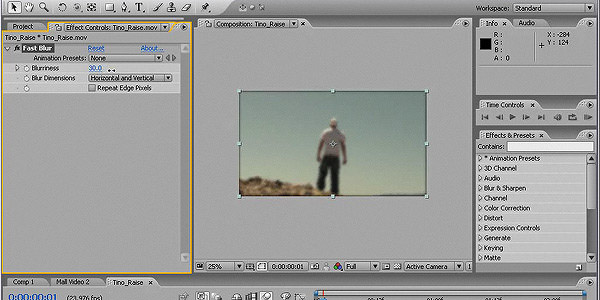
Trim Paths @Aharon Rabinowitz

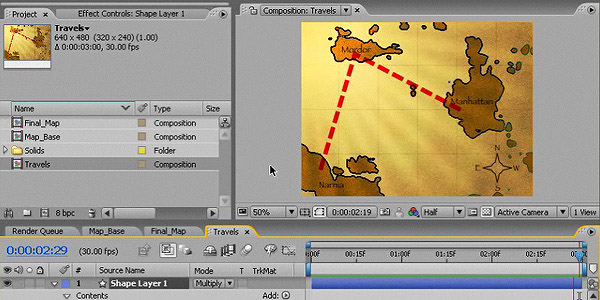
Learn how to create simple trim paths.
after-effect-tutorials


Simple Reflection Techniques @Aharon Rabinowitz

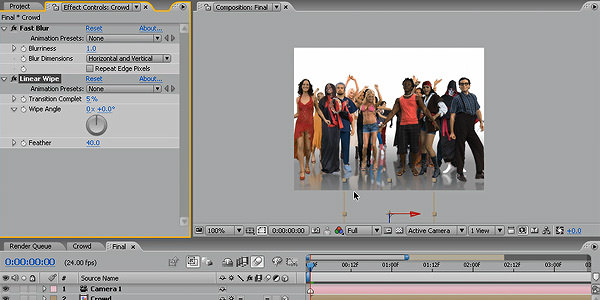
Very simple but cool technique creating reflections.
after-effect-tutorials


Boharg II Breakdown @David Madry

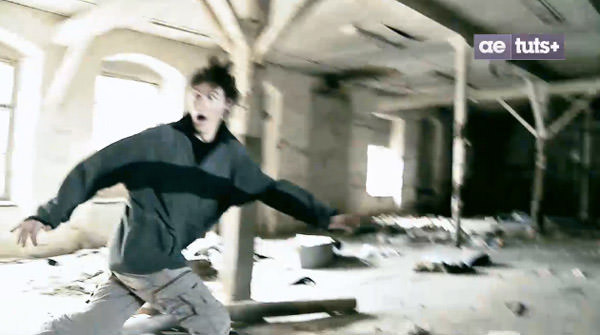
Learn to set different speed for your footage and also learn how to set a color correction.
after-effect-tutorials


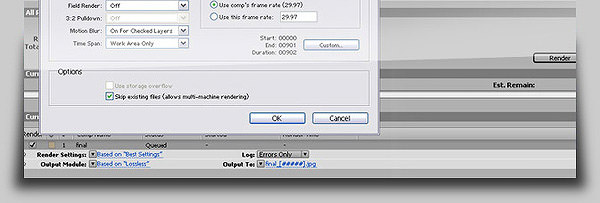
Rendering @Shoaib Khan

Learn about rendering your video.

after-effect-tutorials


For Intermediate Users

Creating 3D Cloud Motion From a Still Image @Aharon Rabinowitz

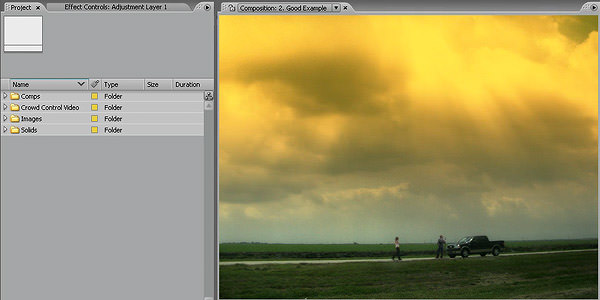
Very useful effect for cloud motion. It gives much more realistic feeling than just a moving image.
after-effect-tutorials


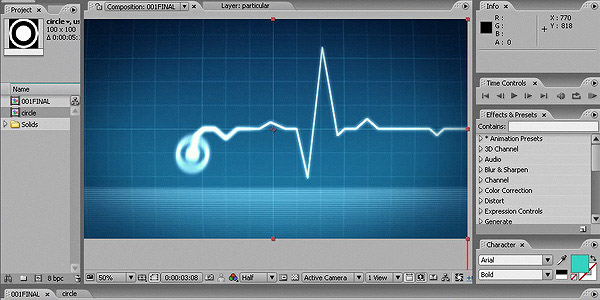
Heart Rate Monitor @Shoaib Khan

Learn how to create a cool heart rate monitor.
after-effect-tutorials


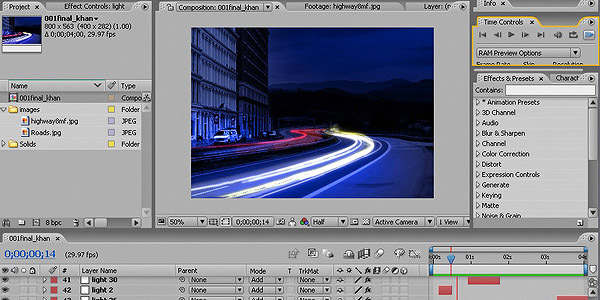
Car Light Trails @Shoaib Khan

Shows how to create car light trails in After Effects.
after-effect-tutorials


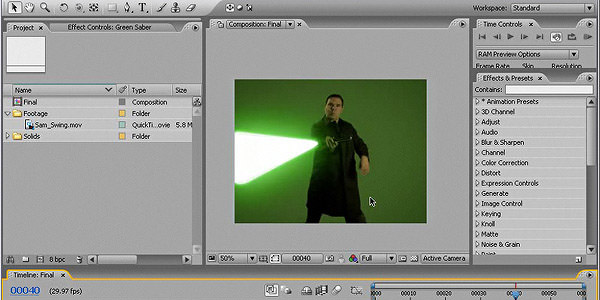
Light Sabers @Andrew Kramer

Learn how to create Star Wars style Jedi.
after-effect-tutorials


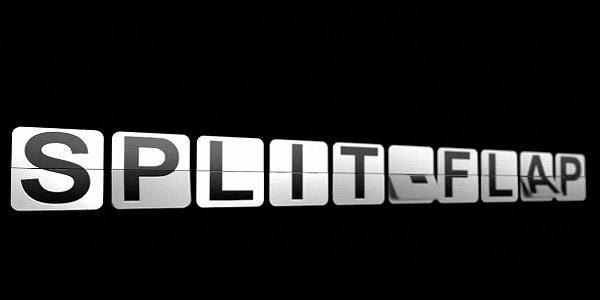
Create a Split-Flap Type Display @Mattias Peresini

Very cool looking animation.

after-effect-tutorials


Creating Fire @Steve Holmes

Learn how to create a fire effect.

after-effect-tutorials


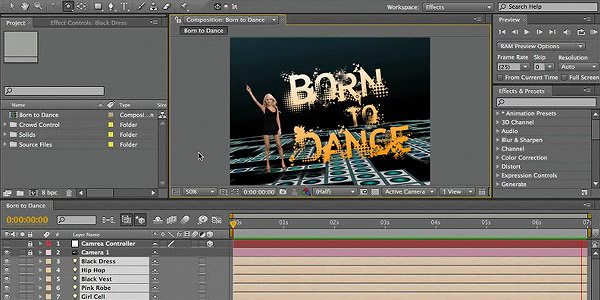
Adjustment Lights @Eran Stern

One way how to create adjustment lights.
after-effect-tutorials


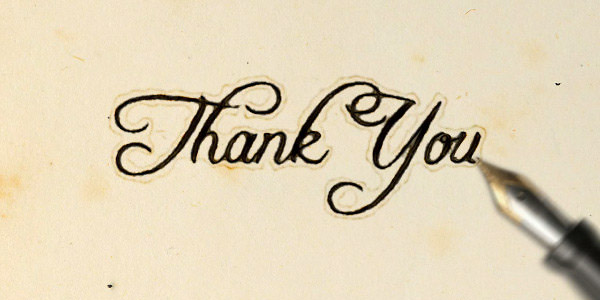
Create an Elegantly Handwritten Text Reveal @Jurrien Boogert

Good looking effect for intro or outro.
after-effect-tutorials


Keep Your Eye on the Ball @Steve Holmes

Create a 3D looking ball animation using After Effects.

after-effect-tutorials


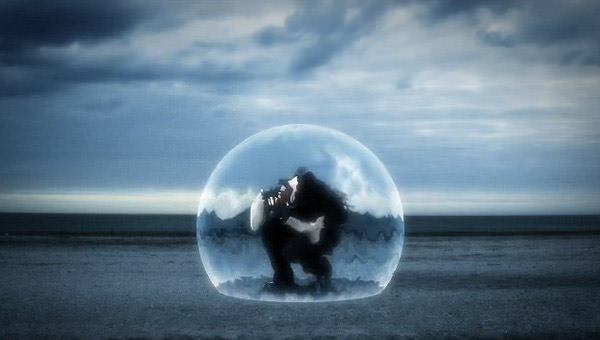
Creating a Force Field Effect @Aharon Rabinowitz

Useful effect if you are creating futuristic videos.
after-effect-tutorials


Create a TV bumper @Harry Frank

Very simple but cool animation.

after-effect-tutorials


Create an Animated Homage to Bruce Lee @Markus Gustafsson

Brilliant video including very cool text and image transitions. This tutorial also teaches how to use an audio for your video.

after-effect-tutorials


How to Create Glowing Elegant Lines @Haley Saner

Learn how to create an animation with elegant lines.
after-effect-tutorials


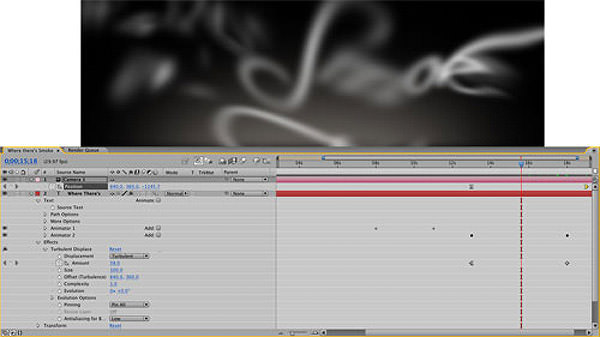
Smokey Type Effect @Steve Holmes

Basic smoke effect for a text.

after-effect-tutorials


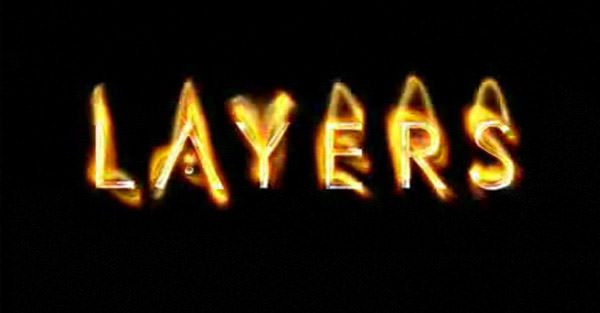
Flaming Chrome Text @J. Schuh

Create an animation of flaming text.

after-effect-tutorials


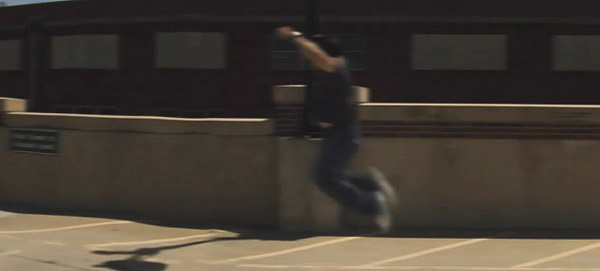
Learn How to Create an Advanced Jumper Effect @Tim Babb

Create a "Jumper" style effect.

after-effect-tutorials


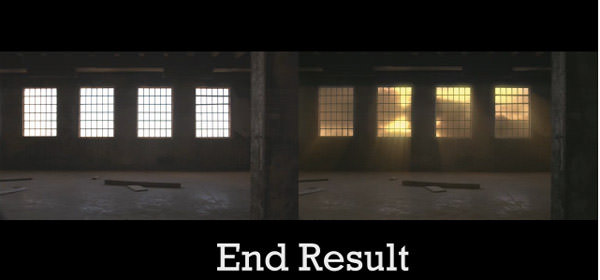
Shine Some Light On The Situation @Marc R Leonard

Great looking effect with beautiful lighting and sky.
after-effect-tutorials


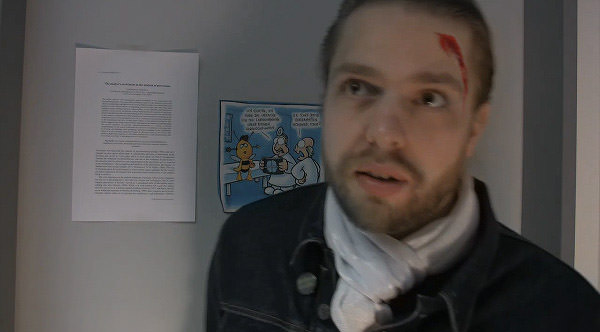
Creating a Tracked Head Wound @Mathias Mohl

Learn to create a head wound which is tracked in constant position on the face.
after-effect-tutorials


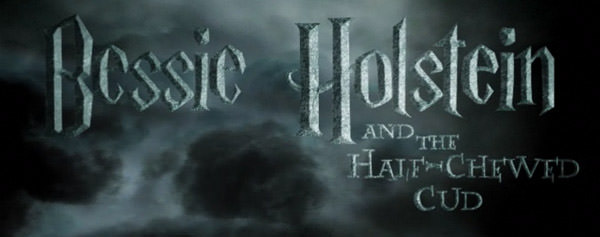
Bessie Potter @Michael Park

Create a movie title just like in "Harry Potter".
after-effect-tutorials


For Advanced Users

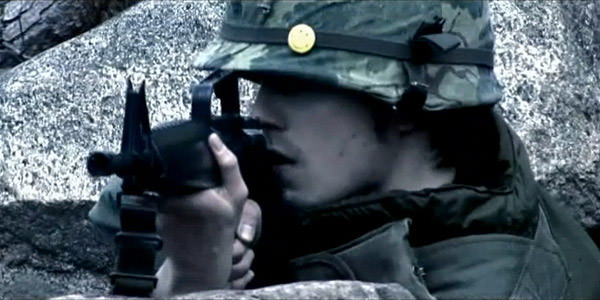
“Private Ryan” Style Movie Shot @Michal Jagiello

Brilliant tutorial, showing how to create a war movie style scene.
after-effect-tutorials


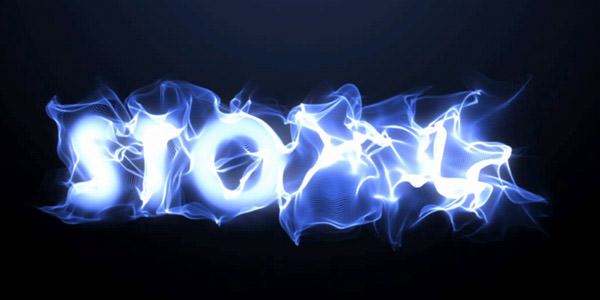
Create a Stormy, Electric Type Reveal @Markus Gustafsson

Beautifully made effect. Could be useful for intro text.
after-effect-tutorials


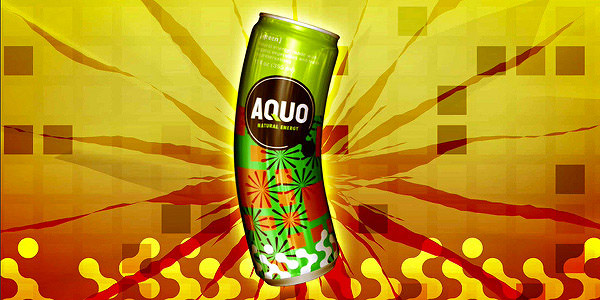
The Dancing Can @John Dickinson

Learn how to create a can which dances following music beats.
after-effect-tutorials


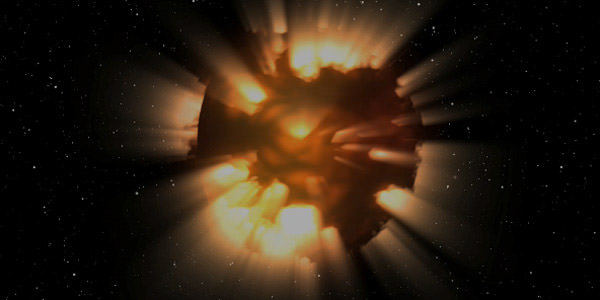
Light Rays Custom Effect from Scratch @Michal Jagiello

This technique can be useful for your own effects.
after-effect-tutorials


Create Whispy Spirit-like Text @Adam Everett Miller

Awesome looking text effect.

after-effect-tutorials


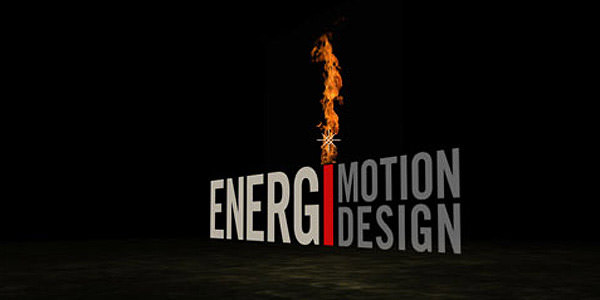
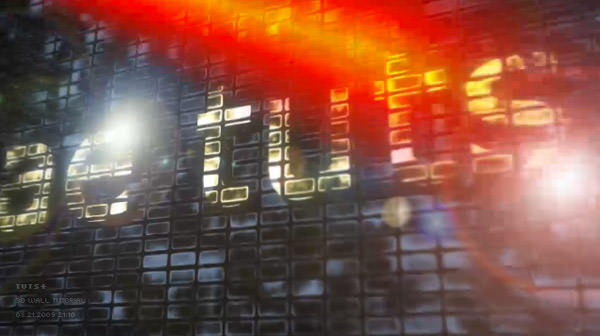
Learn to Make a Custom 3D Wall Text Reveal @Roman Komurka

Awesome looking 3D text effect.

after-effect-tutorials


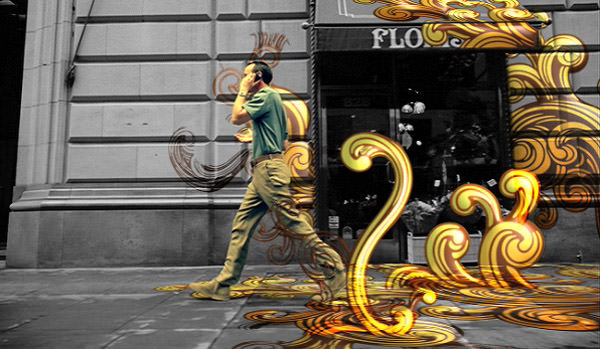
Create a MoGraph Urban Jungle @Naim Alwan

Stunning effect using After Effects and Boujou.
after-effect-tutorials


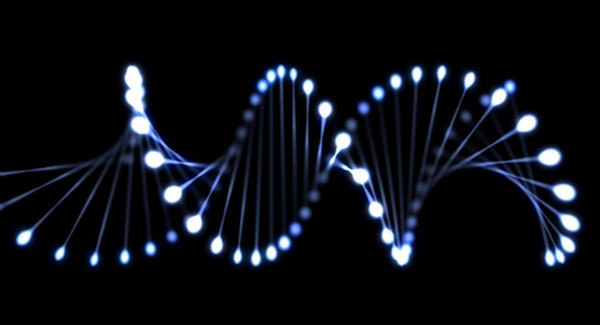
Create a 3D DNA Strain @Jerzy Drozda Jr

Cool animation of 3D DNA strain.

after-effect-tutorials


Animate Your Logo Into Characters @Chaithanya Y

Cool transformation from characters to logo.
after-effect-tutorials


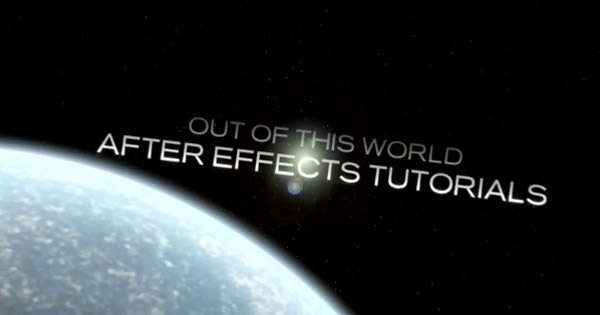
Create a Sci-Fi Movie Title Sequence @Michael Park

Very cool tutorial for a movie intro.
after-effect-tutorials


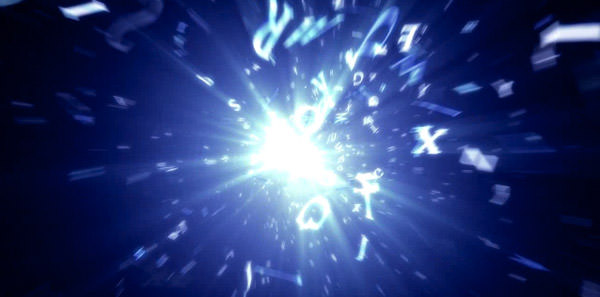
The Birth Of A Logo @Stefan Surmabojov

Brilliant looking animation with cool lighting.
after-effect-tutorials


Introduction to Adobe After Effects @Andrew Kramer


Basic effects @Andrew Kramer


Animation @Andrew Kramer


Trim Paths @Aharon Rabinowitz


Simple Reflection Techniques @Aharon Rabinowitz


Boharg II Breakdown

Nov 9, 2009 
  Read Time: 1 min   


I came across and this short film and it reminded me of so many friends' first video projects... except done really well. I asked David to show the basic techniques he used to create this effect driven action sequence. He'll show some Time RemappingDistortion, and Color Correction tips that could even save you from running into yourself in an old building...


Tutorial


Rendering @Shoaib Khan


Creating 3D Cloud Motion From a Still Image @Aharon Rabinowitz


Heart Rate Monitor @Shoaib Khan


Car Light Trails @Shoaib Khan


Light Sabers @Andrew Kramer


Create a Split-Flap Type Display;@Andrew Kramer


Create a Split-Flap Type Display

Jun 16, 2011 
  Read Time: 4 mins   
This post is part of a series called Logo Reveals.
Create Whispy Spirit-like Text
Create a Sci-Fi Movie Title Sequence

Twice a month we revisit some of our reader’s favorite posts from back in the archives of Aetuts+. Today we’ll look at a post that was published 2 years ago in June 2009. "Split-Flap-What?" You may ask... It's the term used for displays that are found in train stations and airports, where they typically display departure and/or arrival information and do that cool flipping of letters to display the new information.

This tutorial does not show how to create the effect from scratch but instead it is a tutorial to explain how to use the project file created by Mattias Peresini who runs the totally awesome mattrunks website which has incredible tutorials for After Effects in French. We are very happy to have Mattias doing his first English tutorial for us here at Aetuts+.


Tutorial


Show Video Transcription


Hi, everybody, and welcome this new After Effect tutorial for ae.tutsplus.com. My name is Mathias, and I am a French user. It is the first time I've had to make an English version of my tutorials, so sorry for my bad accent. I hope you will understand me.

So, today we will learn how to make some cool transitions between words, like this one you can see right now on the video. It's based on the split flap effect, like the effect you can see in the displays device in the airport. And, first of all, you have to download the free project, which is on the AE tuts page of this tutorial, and open it.

Once you are done, you will have a final comp, which has some composition on it, and one light and one camera. So, you don't have to touch all the flip comp; don't worry about it. Just make sure you have a camera and with orbit tool, the C touch. You can fly around your letters. Each part of this project is free, so you can turn around animate your camera. The depth of field to simulate the depth with the camera works fine, and the motion reel, too.

So, everything with this is okay. And I will show you how to change the words in this project. So, if you work at the comps which are open, you have word one, word two, word three, word four, and word five. So, you can set up five words with ten letters max for each. So, there are some simple guidelines to help you change the words.

Each word is composed by different letters and each letter are on single text layers. So, by example, on word one, which is the first of the word display, if you want to change to another word, simply change each text layer in the comp.

So, if you want to type AE tuts.com, simply double click on the layer and type your new letters: A, E. And you can change all of this, so it's really easy. AE tuts.com. All you have to worry about is, don't cross, don't exceed, the pink square. So, if you do, your letter will be cut, so don't exceed the square.

And then, you have two white things at the top of the comps. These are styles. So, you have backup style dark and backup style white. If you go into them, you will see some layer style. Just select it, copy it by hitting command C or Edit > Copy. And then, select all of your letters and hit command V to paste the layer style, and all your letters will have the dark style.

So, you can set different backgrounds if you work with dark style, like the white background. And if I come back into the final comps you will see a new style with a white background and dark letters. So, it's really easy; you can go with word two and copy onto all the layers your new dark style. So, it's fairly easy.

And if you want to put it back again on white, just select the layer style in the backup style white, hit copy, and then paste on your letters. So, it's really easy. You can change all of your words, and once it's done, you're done, and you can just make a preview to see the result.

So, I hope this project will help you, and this is the end of this simple tutorial. Sorry for my English accent. It's not really easy for French person. I hope you like the project and goodbye.


Creating Fire ;@Steve Holmes


Adjustment Lights;@Eran Stern


Create a Elegantly Handwritten Text Reveal;@Jurien Boogert


Create an Elegantly Handwritten Text Reveal

Apr 1, 2009 
  Read Time: 7 mins   
This post is part of a series called Logo Reveals.
Create a Stormy, Electric Type Reveal

What You'll Be Creating

In this tutorial you will learn how to animate a handwritten text sequence with ink bleeding through the paper to create an elegant old-world style title reveal.

Optional:

  • Trapcode Particular (download the trial version here)
  • Trapcode 3D Stroke (download the trial version here)

Stock Photos:

We encourage you to use your own images but if you want to use these exact images you can get them here:

Step 1

First of all import the assets. Inside after effects go to File>Import>File. A window will open. Search for fountain-pen.psd, leave Import As: Footage and click Open. A new window will open. Flag Choose Layer and change Footage Dimensions to Layer Size. This will import the pen cropped so there is not much space around it and easier to work with later on. Do the same for paper.jpg except there will not open a second window because it is no psd file.

Step 2

Create three compositions. One called text, the other masks and the last final comp. Go to Composition>New Composition, name it and choose the settings you prefer. Below you can see which one I used. For the purpose of this tutorial it doesn't really matter which one you choose.

2 Million+ After Effects Templates, 3D Objects, and Stock Assets

Download thousands of 3D objects, After Effects templates, videos, graphics, and much more with an Envato Elements membership. Get unlimited access to a growing library to millions of creative and 3D assets.

3D Objects

Generate images from any angle with 30k+ 3D objects and items.

Logo Reveals, Stings + Animations

Add impact to your logo with these AE reveals and stings.

35k+ 3D Renders

35,000+ 3D objects, available to render or download.

Step 3

In this case we want to write with black ink so change the backgroundcolor of the text composition to white if it isn't allready. Make sure you are inside the text composition. Go to Composition>Background Color and change the color to white. Do the same for the masks composition

Step 4

Inside the text composition go to Layer>New>Text to create a new text layer. Type some text and with the layer selected choose a font you like. The font I used in this example is Freebooter Script (you can download it here). If the Character window is not present go to Window>Character. A menu will appear where you can change the font, size, color, etc. Leave the color to black, because we want to mimic the look of ink. Size of the font depends on the size of the composition and text layer. In this example I used194 px.

Advertisement

Step 5

With the textlayer selected go to Edit>Duplicate and do this two times so you have three identical layers. Now add some effects to let the text look more like ink. With the top textlayer selected go to Effect>Color Correction>Tint. Map black to a dark gray.

Step 6

To the same layer ad another effect. Go to Effect>Matte>Matte Choker. Inside the effect controls panel use these settings:

Step 7

Add the last effect to the same textlayer. Go to Effect>Stylise>Roughen Edges. Change the settings to these:

The text from the top layer should look like this now:

Advertisement

Step 8

Now add a effect to the second textlayer. With the layer selected go to Effect>Matte>Matte Choker. Change the setting to match these:

The text from the middle layer should look like this now:

Step 9

No add some effects to the bottom textlayer. With the layer selected go to Effect>Matte>Matte Choker. To add the last effect go to Effect>Stylise>Roughen Edges. change the settings of these two effects to match these:

The text from the bottom layer should look like this now:

Step 10

Now you've added all the effects change the blendmode of the top and middle text layer to Color Burn:

With all three layers visible the text should look something like this:

Step 11

Now drag and drop fountain-pen.psd into the text composition. It comes in fairly big. Scale it down to about 83 percent. Move the anchorpoint from it's center position to the tip of the pen with the Pan behind Tool so the pen can rotate from it's tip:

Flag the fountain-pen.psd layer as a 3D layer and change the value of the X rotation to -10,0, because later on we create a shadow beneath the pen on the paper:

Step 12

Now it is time to trace the letters with the pen like it is writing. Go to the first frame in the timeline, set a key for position and Z rotation, go a couple frames further, change position and Z rotation if necessary, and so on.
Step 13

Copy a textlayer and paste it into the masks composition. Now we start drawing the masks to reveal the text with later on. Go to Layer>New>Solid. The color doesn't matter. Duplicate this solid untill you have seven of them. These are the layers where the masks are drawn on. Hide all the other mask layers but leave one visible. With the first solid selected go to Effect>Trapcode>3DStroke or you can use Stroke from inside after effects (Effect>Generate>Stroke). Do this for all the seven mask layers. The reason why I use 3DStroke is because it is possible to taper the ends of the stroke which is not possible with after effect's build in Stroke. Use the Pen Tool to draw the first mask for the first letter (after adding the Stroke effect, otherwise the solid will have the color it had when initially created and the text will not be seen underneath the solid). Make sure the textlayer is beneath all the solids/masks.

Just to see the mask good change it's color to a bright one. Make sure you can't see parts of the text when drawing the mask. So change it's thickness to when the letter is not seen anymore. Also make sure that a mask never crosses a part of the text when moving it's position. So when te pen is lifted make a new mask. For this example there are seven masks in totall. Go on untill you traced all the letters. When you're done delete the reference text layer. It won't be needed anymore.

Step 14

Copy the animated fountain-pen from within the text composition and paste it into the masks composition, because now it is time to animate the masks or better to say animate the (3D)strokes. The animated fountain-pen layer will be used as a reference to animate the strokes. With the fountain-pen layer on top of the masks Start animating the End positions of the masks so to match the position of the pen tip.

If you use Trapcode's 3DStroke instead of Stroke from after effects you may also animate the End Thickness to get a nice bleeding of the 'ink'.

When the masks are animated you can delete the fountain-pen reference layer from within the masks composition.

Step15

Drag and drop the masks composition into the text composition and change it's blendmode to Stencil Alpha.

Now, when you scroll through the timeline you see the text is revealed by the masks composition.

Step 16

Copy the fountain-pen layer from within the text composition and paste it into the final comp. Now delete the fountain-pen layer from within the text layer. Duplicate the fountain-pen layer and change the X rotation from the bottom layer to 0. This is the layer which will act as shadow layer.

Step 17

Drag and drop paper.jpg into the final comp beneath the pen layers. It should look like this:

Select the bottom pen layer and go to Effect>Color Correction>Levels and change Output White to 0.

Turn of the top pen layer and it will look like this:

Step 18

The edges from the shadow are a bit to scharp. Go to Effect>Blur&Sharpen>Gaussian Blur. Change it's Bluriness value to about 15. Set the opacity of the layer to 80%.

It will look like this now:

Step 19

Drag and drop the text composition into the final comp. Duplicate the text composition and change the blendmode from the top composition to multiply and the bottom one to classic color burn.

Step 20 (optional)

Go to Layer>New>Solid. With this layer selected go to Effect>Trapcode>Particular. Set it's blendmode to classic color burn. Below are the settings for Particular:

Step 21 (optional)

With the layer selected which holds the Particular effect go to Effect>Matte>Matte Choker. Add another effect. Go to Effect>Stylise>Roughen Edges. Below are the settings:

Animate Choke from the Matte Choker effect to let Particular 'bleed' through the paper. Set a keyframe at 3:22 for Choke at a value of 127. At 6:10 set a keyframe of value 65.

Step 22

At last turn on the motion blur for the two pen layers.

The final effect looks like this:


Keep Your Eye on the Ball;@Steve Holmes


Keep Your Eye on the Ball;@Steve Holmes


Creating a Force Field Effect;@Aharon Rabinowitz


Create a TV bumper @Harry Frank


Create an Animated Homage to Bruce Lee @Markus Gustafsson


How to Create Glowing Elegant Lines @Haley Saner


Smokey Type Effect @Steve Holmes


Flaming Chrome Text @J. Schuh


Learn How to Create an Advanced Jumper Effect @Tim Babb


Shine Some Light On The Situation @Marc R Leonard


Creating a Tracked Head Wound @Mathias Mohl


Bessie Potter @Michael Park


“Private Ryan” Style Movie Shot @Michal Jagiello


Create Your Own "Private Ryan" Movie Shot - Day 1

Feb 20, 2009 
  Read Time: 1 min   

You don't have to be Steven Spielberg, you don't need millions of dollars, you don't even need more than one actor to make your own war movie (well, one shot anyway).
In this two day tutorial series, Michal will show you how to create a realistic war movie shot using only one actor and a camera man.

Day 1 will show you: Color correction, realistic camera shake, and bullets hitting the ground on fast footage.
These are just pointers to lead you on your track to making convincing war movie visual effects.

3... 2... 1... FIRE!


View Tutorial


Download

Tutorial


Create a Stormy, Electric Type Reveal @Markus Gustafsson


The Dancing Can @John Dickinson


Light Rays Custom Effect from Scratch @Michal Jagiello


Create Whispy Spirit-like Text @Adam Everett Miller


Learn to Make a Custom 3D Wall Text Reveal @Roman Komurka


Create a MoGraph Urban Jungle @Naim Alwan


Create a 3D DNA Strain @Jerzy Drozda Jr


Animate Your Logo Into Characters @Chaithanya Y


Create a Sci-Fi Movie Title Sequence @Michael Park


Create a Sci-Fi Movie Title Sequence


This tutorial covers the creation of a space-like si-fi title sequence from scratch. Michael shows us how you can easily create a visually interesting and impressive title animation with some simple title cards and text animation. The tutorial uses the Twitch plugin from Video Copilot, though a similar effect could be obtained by manual keyframing.


Tutorial

Requirement: Video Copilot Twitch Plugin (download here)
The effect can also be achieved without this plugin by manually keyframing the effect.


The Birth Of A Logo @Stefan Surmabojov


The Birth Of A Logo - Day 1


There was an explosion of characters and thus the Logo was born. In this tutorial we'll be using some of the new options of Trapcode Particular 2 as well as some techniques with Trapcode Form to create an epic depiction of the first logo in history.


Requirements

Watch the Video