Users Online
· Members Online: 0
· Total Members: 188
· Newest Member: meenachowdary055
Forum Threads
Latest Articles
Articles Hierarchy
SketchUp Tutorials
How to Draw 2D in Sketchup
For this tutorial, we’re going to teach you how to draw 2D in Sketchup by going back to the basics. It may sound simple, but 2D drawing is a foundational principle for anything you do in Sketchup. Before getting into 3D modeling, it’s important to take the time to familiarize yourself with the 2D drawing tools so you can create better geometry in your final models. Once you’re comfortable with the basic tools, you can move on to more complex models and drawings. Let’s get started!
Start Drawing 2D in Sketchup
Draw a Rectangle. Click on the rectangle tool and draw a rectangle from the origin point. One common mistake people make when using Sketchup is drawing on different axes. To avoid this, make sure the tool reads “on face” when you hover over the rectangle.
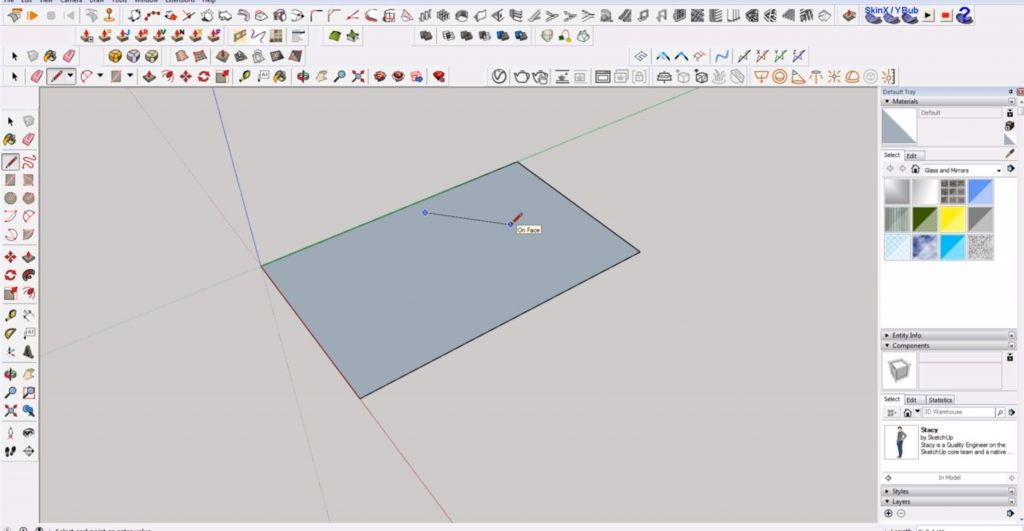
If you connect any two lines across the rectangle you drew, they will always be on the same plane.
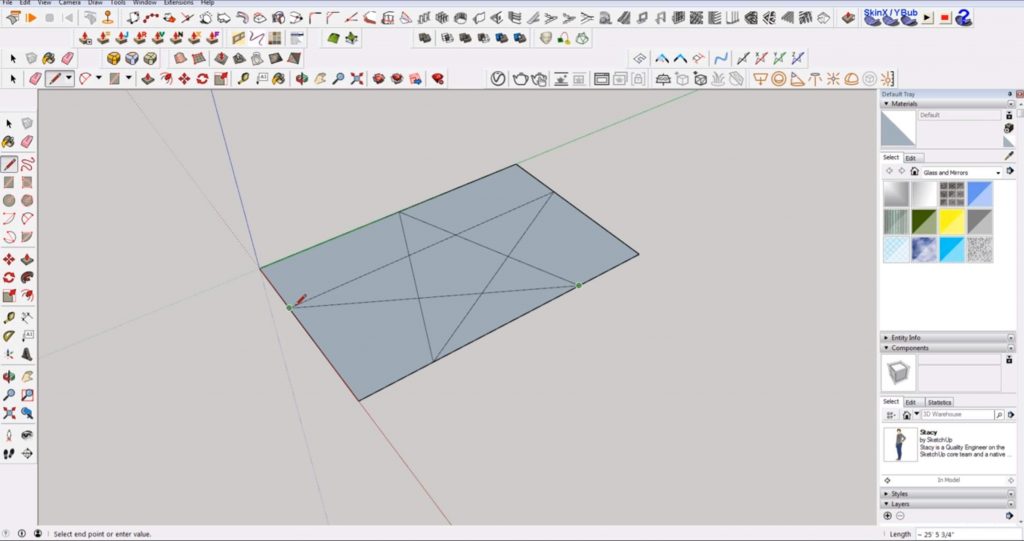
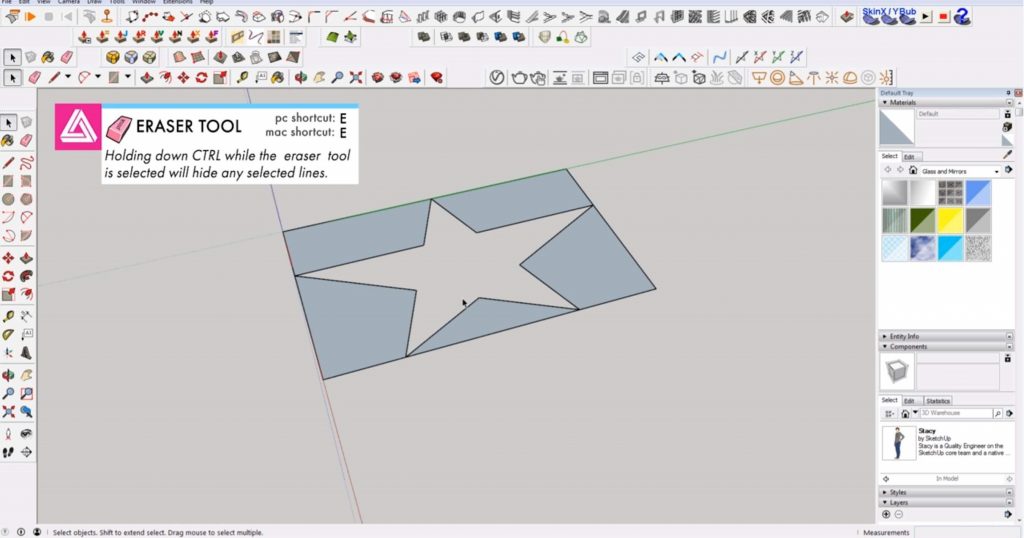
Erase Lines. Now that you have a shape drawn on your rectangle, you can delete the inner face. Click the eraser tool and hold “ctrl” while dragging over the lines to hide them. Select the inner face and hit “delete.”
How to Use the Freehand Tool
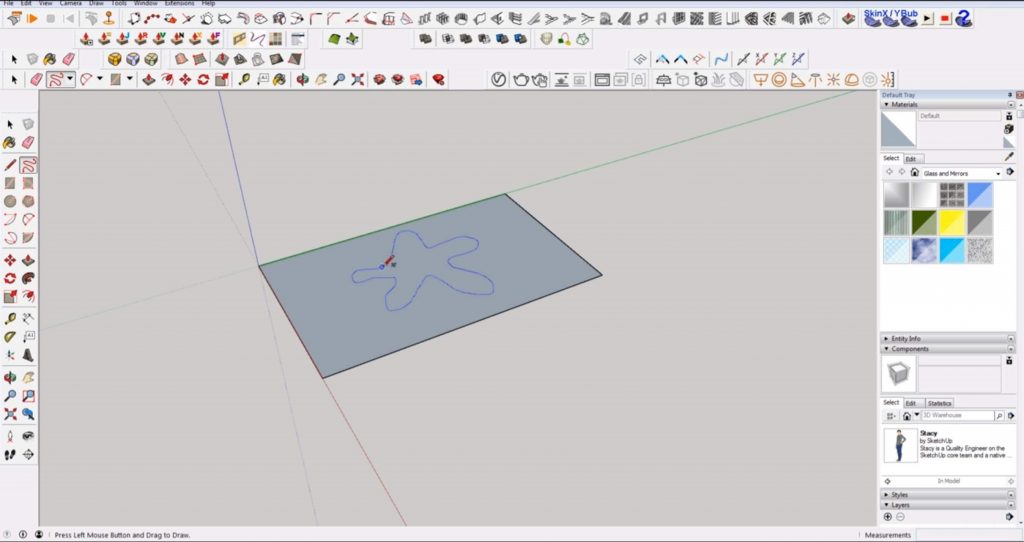
Another way to draw 2D in Sketchup is by using the “freehand” tool. Keep the rectangle plane and select the “freehand” tool. Make sure you are drawing on the face, and click and drag the mouse to create your shape. Keep in mind, this isn’t a perfect tool so you won’t end up with perfect geometry. If you want more precision, use tools like the line tool or circle tool.
How to Use the Circle Tool
Draw a Circle. Select the “circle” tool and draw a circle on your rectangle plane.
Find the Center Point. Identifying the center point is useful for creating objects like domes or cylinders. Before you start modeling, you’ll want to mark the center of your circle. Find the center point of the circle by mousing near where it should be and use the line tool to draw a vertical line. You can always hide or delete it later, but keep it for now.
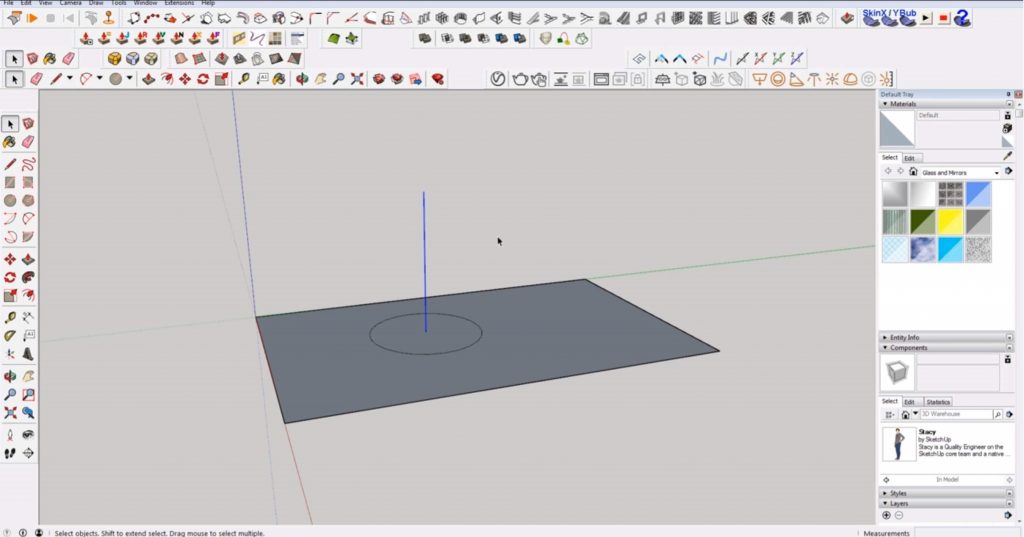
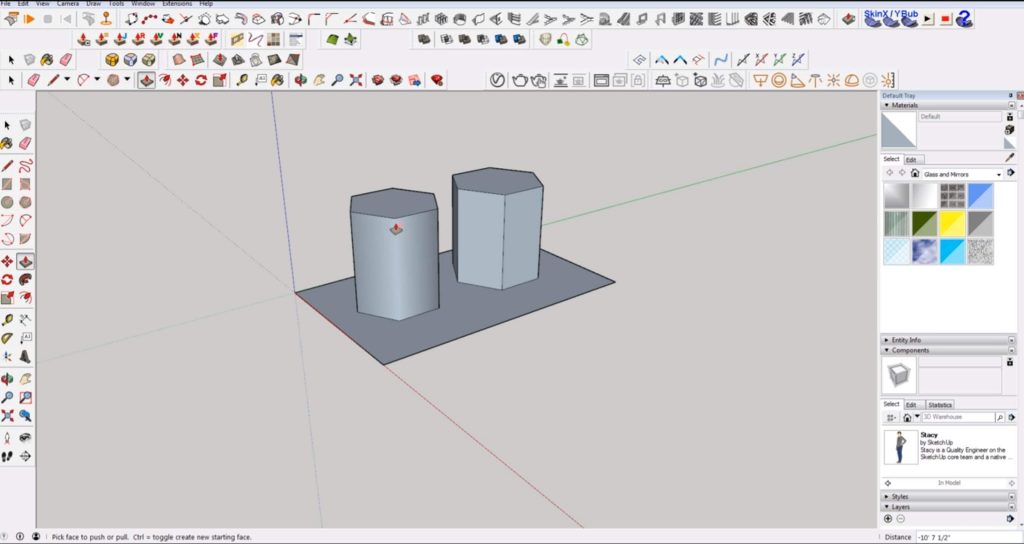
Edit the Number of Sides. When drawing a circle, you can edit the number of sides by typing a number into the “sides” box in the lower right corner. The higher the number of sides, the smoother your circle will look. If you want to draw a polygon instead of a circle, use the polygon tool to create a shape with a specific number of edges. You can basically use the circle and polygon tools interchangeably. The difference comes in when you push/pull them. A push/pulled circle will have softened edges. A push/pulled polygon will have hard edges.
How to Use the Arc Tools
Sketchup has a few different arc tools you can use depending on what you are trying to draw. If you have a reference image, the “three-point arc” is probably the best one to use. Alternatively, you can use a different arc tool to select the center point and then the angle of the arc. The final arc tool allows you to select two endpoints and then the radius.
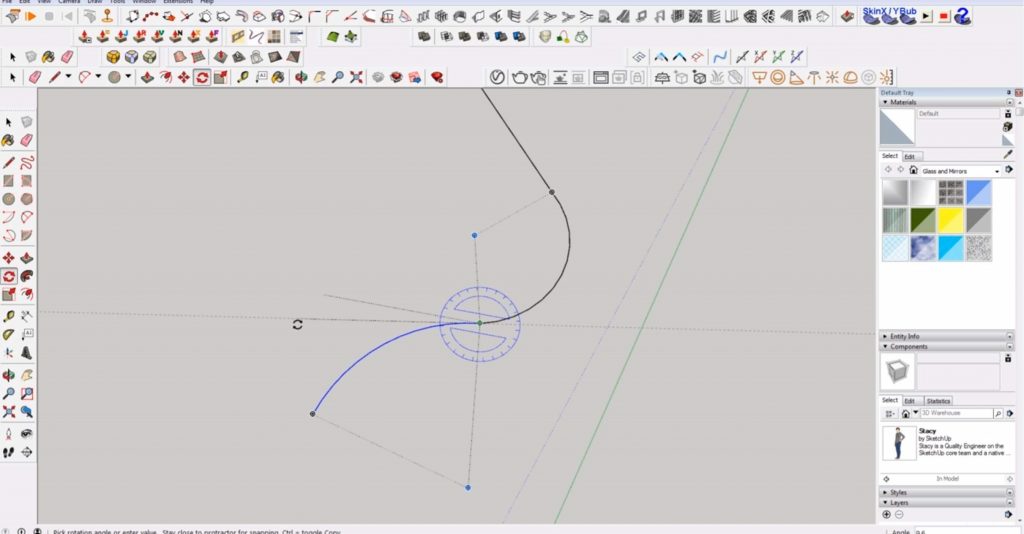
When using arcs to connect flowing lines, you want to make sure they are tangent with each other. Use the “rotate” tool to align the arcs as best you can.
Hopefully, this tutorial has taught you some basics tips on how to draw 2D in Sketchup! If you’re looking for more advanced tutorials or you’re just getting started, check out our tutorials page! There’s something for every level.


